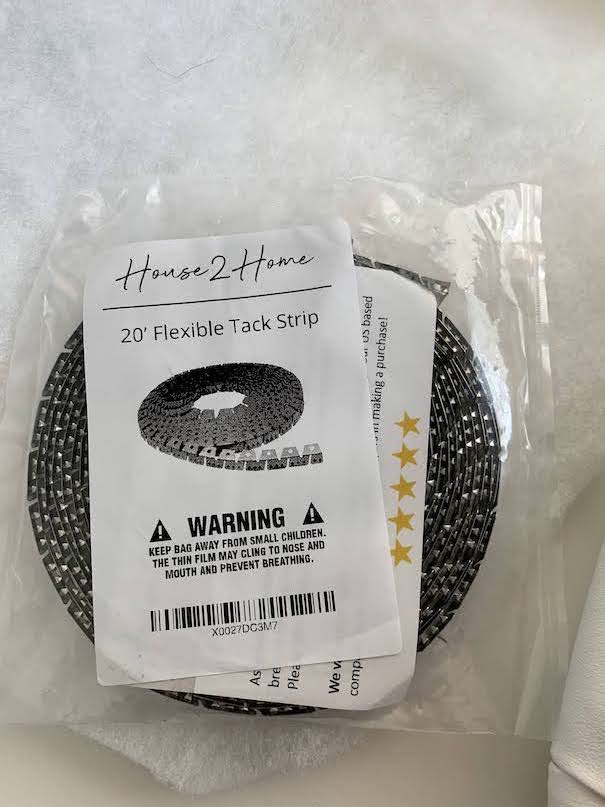
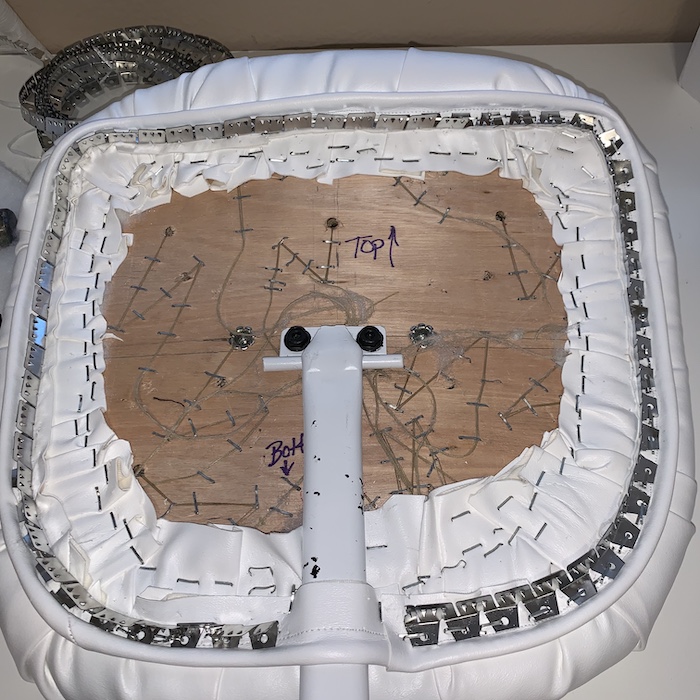
This is the same upholstery tack strip that I purchased and used for the back.
How to Finish off the Back of an Office Chair
This is Part II. You’ll definitely want to check out Part I of this tutorial. CLICK HERE to see the transformation process!
To finish off this office chair’s back, I had to try some techniques that I’ve never done before. But when has that ever stopped me? The back of the chair was reasonably easy to do.
So, step out of your comfort zone and just go for it!
Some of the links in this post are affiliate links. This means if you click on the link and purchase the item, I will receive an affiliate commission at no extra cost to you. All opinions remain my own. Please read my full disclosure for more info.
SUPPLIES
- Upholstery Tack Strip
- Staples for staple gun
- Cording
- Needle and thread

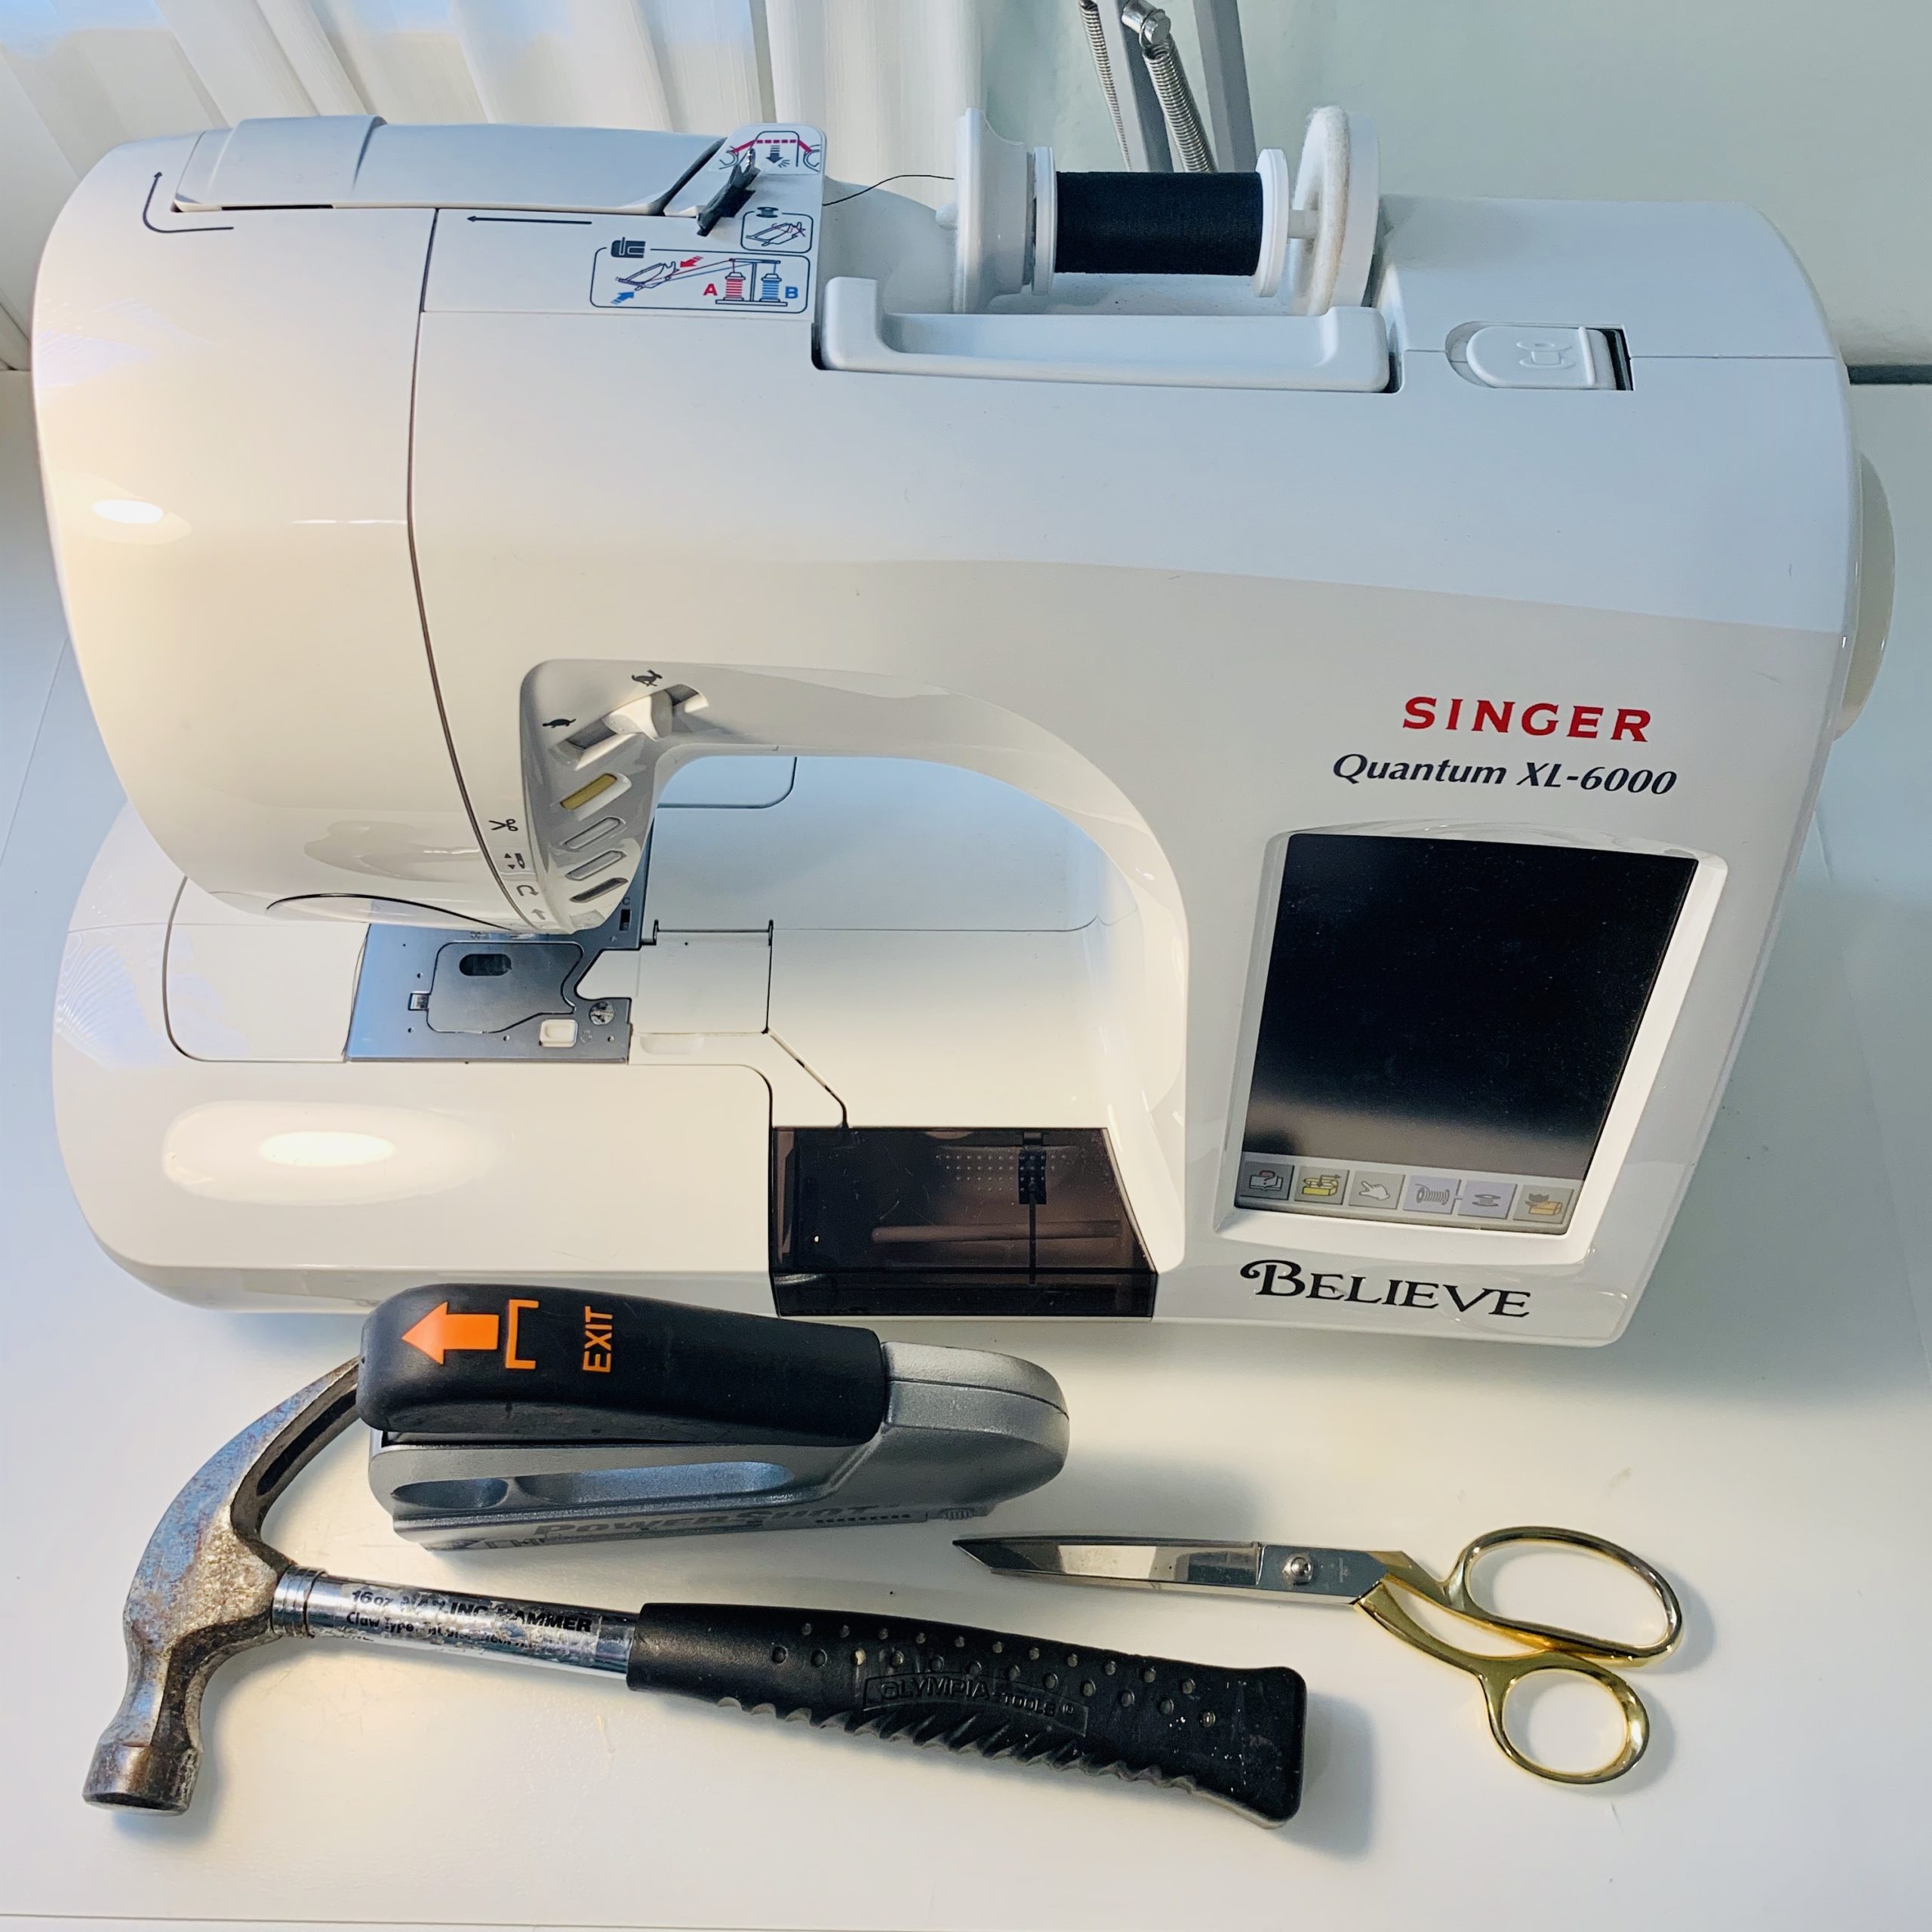
TOOLS
- Scissors
- Sewing Machine
- Staple Gun
- Hammer
HOW TO
Step 1
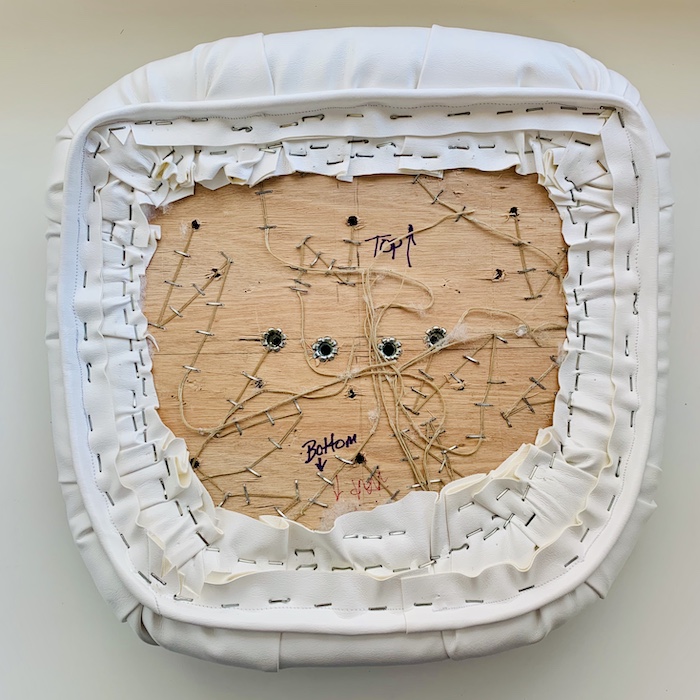
Once I was done stapling the vinyl all the way around, it’s time to add the piping.
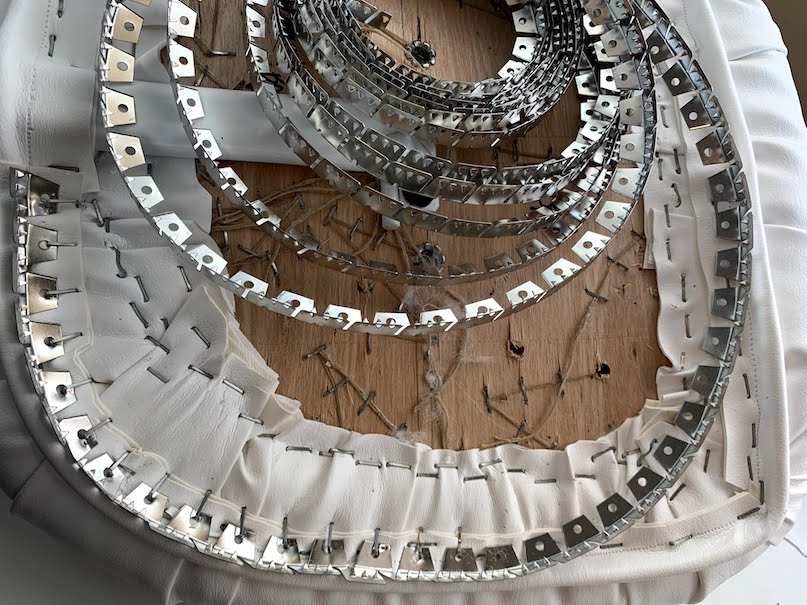
NOTE: This is an image of the seat bottom, but I wanted you to see what it should look like. I forgot to take a picture of the actual seat back at this point.

Step 2
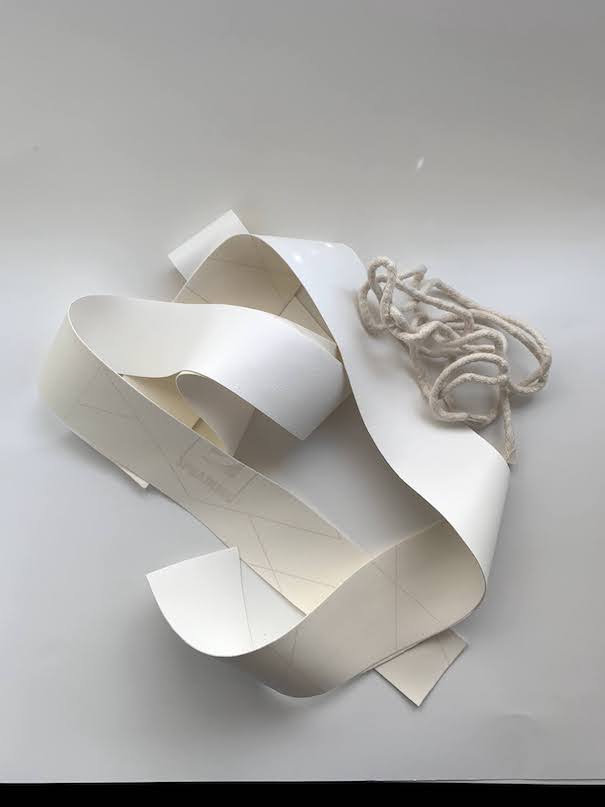
Cut your vinyl in 4 inch wide strips on the bias. The length will be determined by how much it will take to go around the chair’s back.
Sew your strips together on an angle.
Step 3
Fold your vinyl in half with your cording sandwiched between the fold.
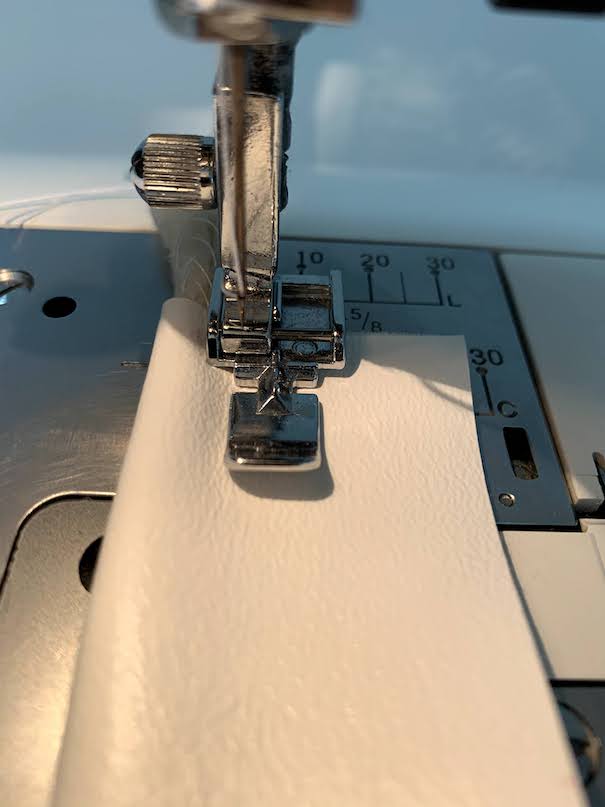
Using your zipper foot, sew close to the cording to form the piping.
Step 4
Starting at the bottom, staple the piping/welting around the edge of the chair’s back.
Once you get back around to the bottom, cut your cording slightly shorter and overlap the vinyl with the other edge. Staple.
Trim any excess vinyl.
Step 5
Slip the bar under the piping—you many need to take out some staples to get it just right.
Once you have it in place, secure the piping around the bar.

Step 6
Next, start stapling your upholstery tack strip around the edge of the seatback. Make sure the teeth are facing outward. Place a staple in each hole, all the way around.
Using clippers (I just used wire cutters), clip the tack strip when you get to the end.
Using a hammer, hammer the teeth closed slightly.
Step 7
Cut your final back piece of vinyl with a 1-inch allowance around all four sides. This will be the main piece that covers the rest of the wood.
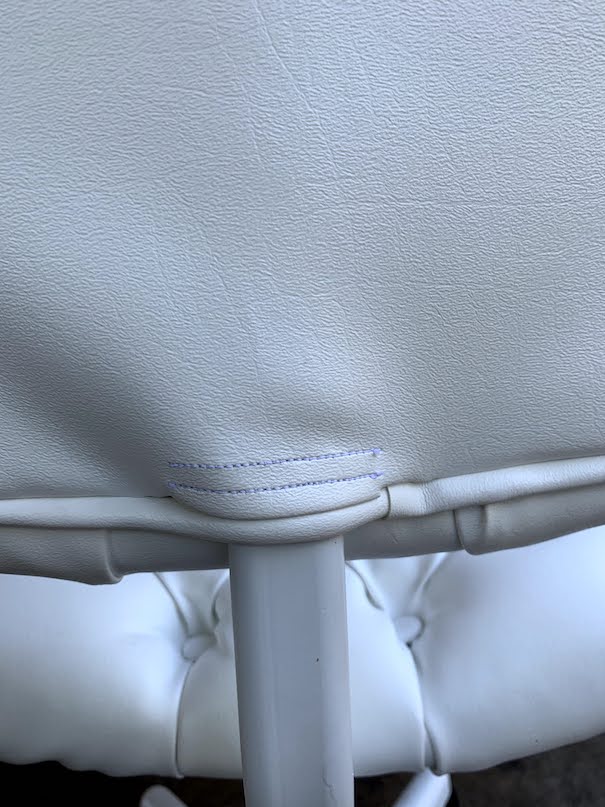
On the edge that will be at the bottom of the chair, cut two slits about 1 inch up and about 2 1/2 inches apart.
Fold the small edge over and double stitch.
Step 8
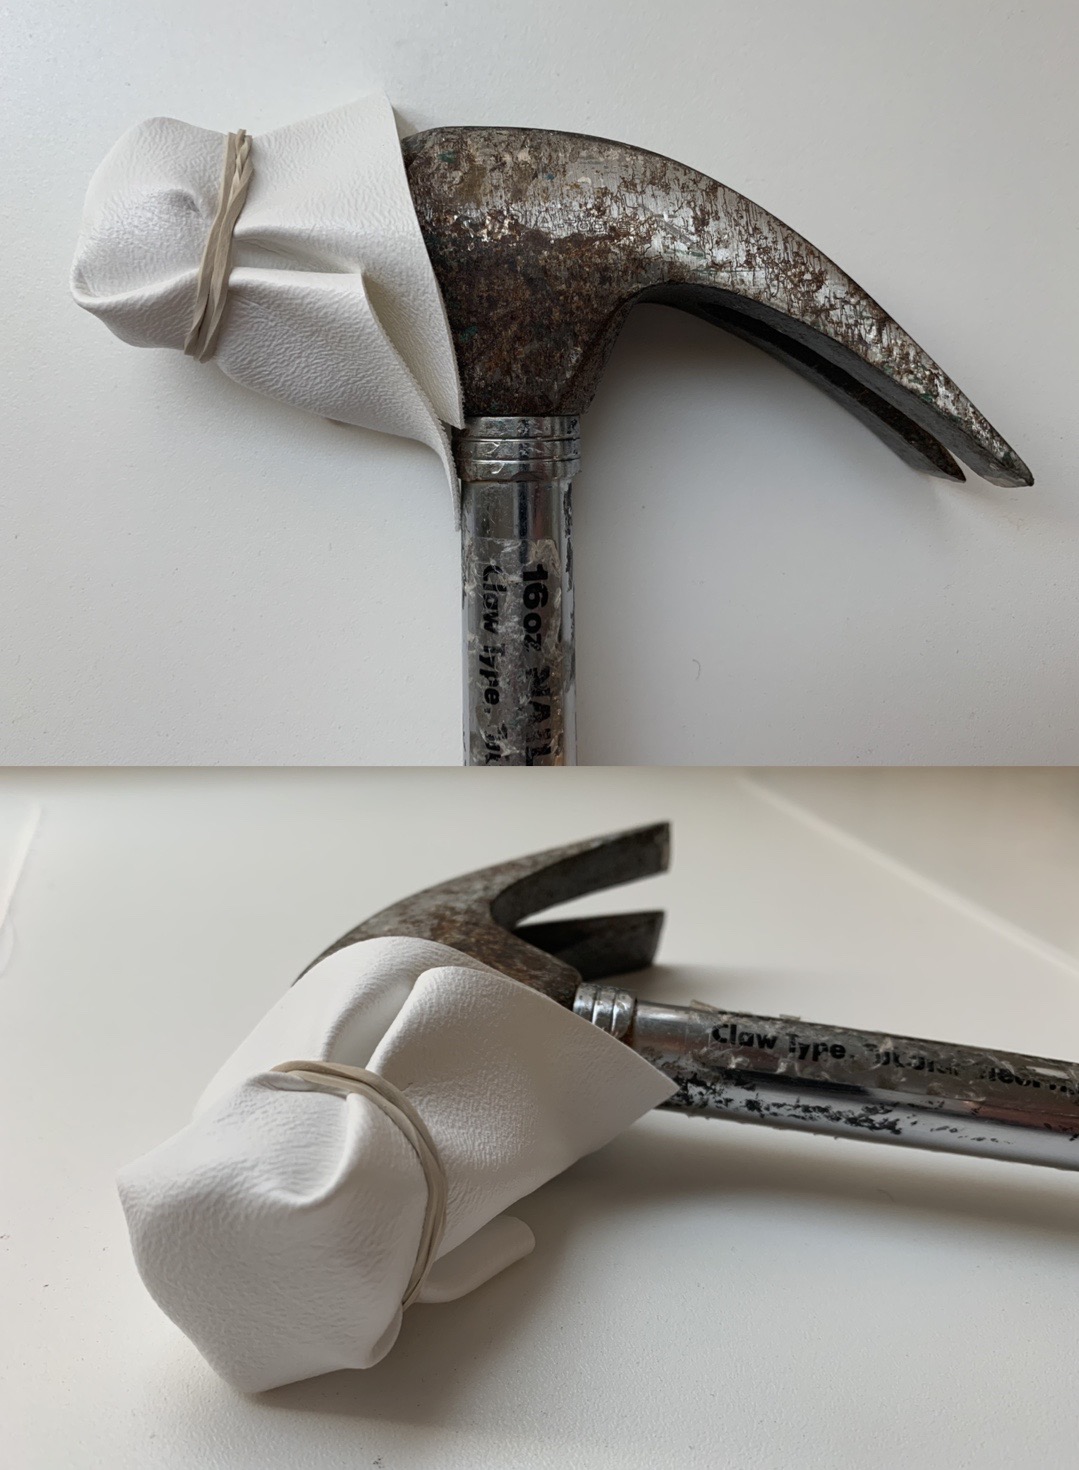
Cover your hammer with a piece of vinyl. This way, when you hammer the teeth all the way closed, it won’t damage the vinyl on your chair.
Starting with the bottom, fit the edge of your vinyl into the teeth. Hammer the teeth down.
Go to the top of the chair and fit the vinyl into the teeth, stretching the vinyl a tad.
Tuck the vinyl into the teeth all the way around and hammer down.
Go around one more time and hammer all of the teeth closed.
Step 9
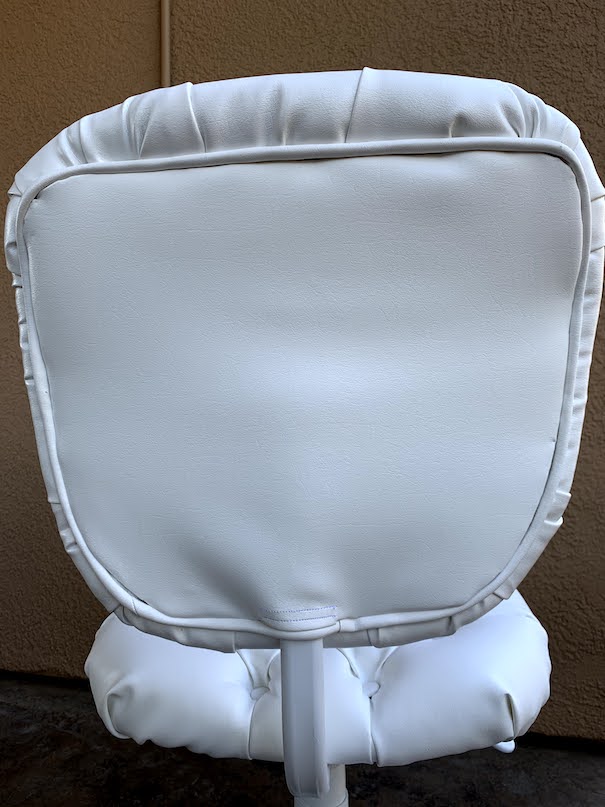
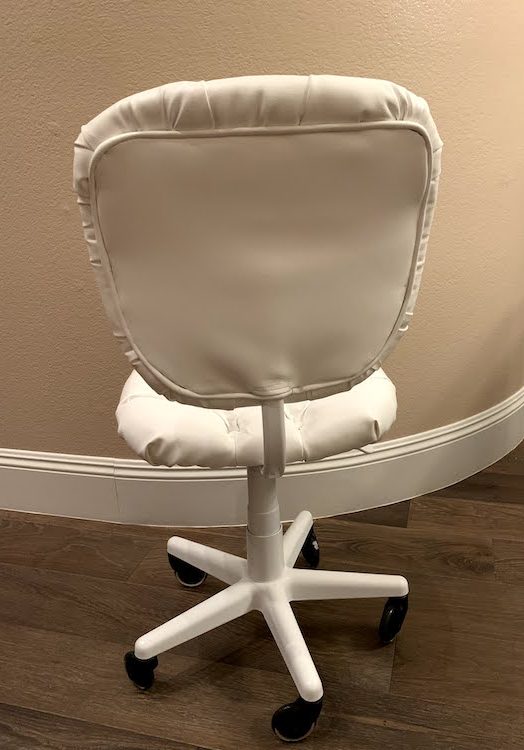
Assemble the rest of the chair.
BLOOPERS
This was the first time for me to use this upholstery tack strip. Here is the photo of how far along I got the first time before I realized that I was putting it on wrong.
It is supposed to go on with the teeth facing out.
So I had to pull all of the staples out and redo it.
