Some of the links in this post are affiliate links. This means if you click on the link and purchase the item, I will receive an affiliate commission at no extra cost to you. All opinions remain my own. Please read my full disclosure for more info.
Envelope Pillow Covers
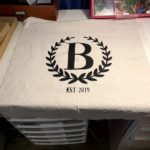
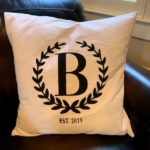
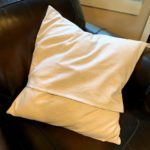
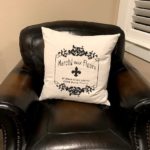
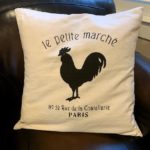
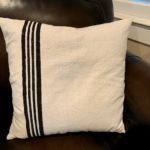
Our couches have been needing some new pillows. I love the French Country look, so I thought I’d make my own. I purchased the down pillow forms from Amazon (link below) and bought a 6′ x 9′ canvas drop cloth from the Home Depot to use as the fabric. I was so excited when I discovered that the Home Depot had curbside pick up because we are still quarantining at our house. I used Inkscape to design each cover, then I cut it out using my Cricut Expression. Yes, you read that right! My Cricut is over 10 years old! I use Sure Cuts a Lot 2 software to send the design to my Cricut. On one of the pillows, I used blue painters tape and washi tape to make the stripes. I sewed “envelope” throw pillow covers so that I can change them out seasonally or clean them.
I ran the drop cloths through the washer three times. Two times I used bleach, and the third time I added vinegar to the rinse cycle. Then, I dried them on high. I wanted them to shrink as much as they were going to before I painted them. That way, if I have to take them off and wash them later on, they won’t shrink. They turned out so lovely! I’m delighted with them!
SUPPLIES
- Dropcloth 6′ x 9′ [$12.50]
- (4) pillow forms 22″ x 22″ [set of two for $36.99]
- (1) pillow form 18″ x 18″ [I used the down pillow form from an old throw pillow we already had.]
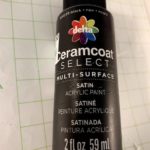
- black paint [$1.89]
- blue painters tape [$1.00)
- washi tape [$1.00]
- sponge brush, stencil brush, or makeup wedge [$1.00]
- thread
I purchased 2 sets of these! I just love them!
TOOLS
- cricut
- sewing machine
- scissors
HOW TO
- Cut out the fabric pieces.
- Cut stencil out of vinyl using a Cricut or by hand.
- Place vinyl on fabric front.
- Using a sponge brush, use light strokes to fill in the stencil. Take your time, go slow.
- Once the paint is dry, you can sew your pieces together.
- Add pillow.
BLOOPERS
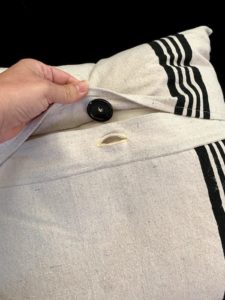
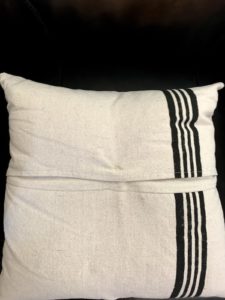
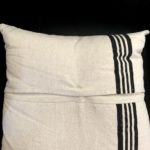
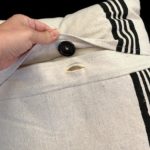
After I was done with the pillow with the stripes, I realized that there was not enough overlap of fabric in the back, so I need to add a button. No problem. But then I accidentally added the buttonhole on the wrong place. So to remedy this, I sewed the button on the inside of the other piece.
On the flower market pillow, I accidentally mirrored the image in my software. When I’m doing an iron-on, I have to mirror the software’s image because I have to flip it around to iron it onto the fabric. But this wasn’t an iron-on, it was just vinyl. I didn’t even realize my mistake until I painted the pillow! So I printed the design out again on vinyl, turned the fabric around, and tried to line up the new design on the backside of the material as closely as possible. I draped it over my computer monitor so the light would shine through and show me where the design was on the front. Then, carefully placed the new vinyl on the fabric. It actually worked!
I repainted the design on the back. But you won’t believe what I did. I accidentally sewed it together backward, so when I turned it right side out, I had the wrong design facing out. This project was going downhill fast. So, I decided to do a French Seam instead of frog stitching the entire thing. It actually turned out better than all of the other pillows, in my opinion! I mean, it better have, LOL… I spent more time on it than all the rest of them!
