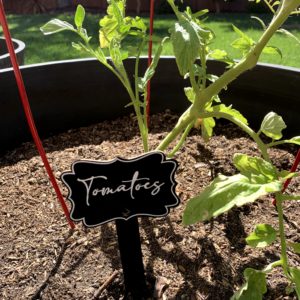
We usually have a large garden full of tomatoes, cucumbers, peppers, and more. But, since moving last year, Superman hasn’t decided where the garden is going to go. So, for now, we just have a few plants in pots.
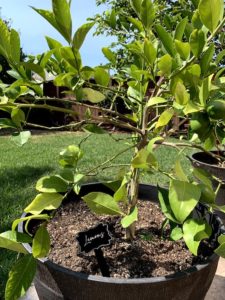
We are so blessed, though. Our backyard is full of fruit trees.
- Persimmons
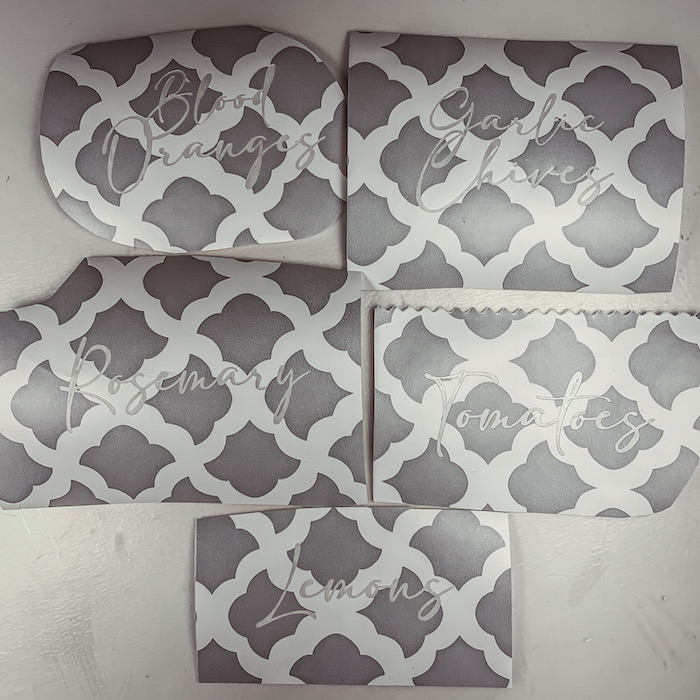
- Lemons
- Blood Oranges
- Plums
- Pommegranits
- Mandarin Oranges
We also have raspberries, figs, and who knows what else back there! Yummy goodness all year long.
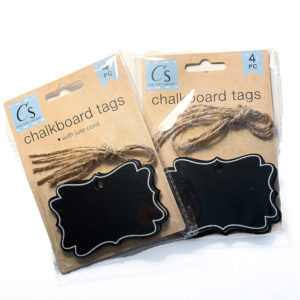
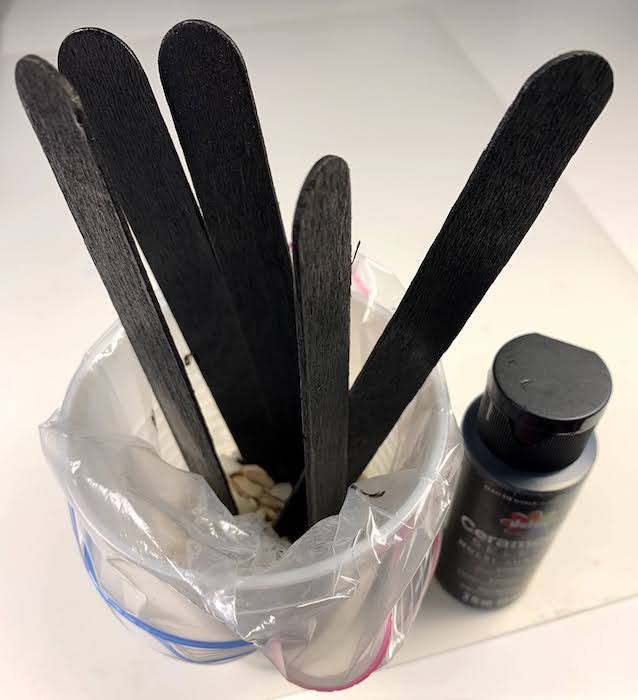
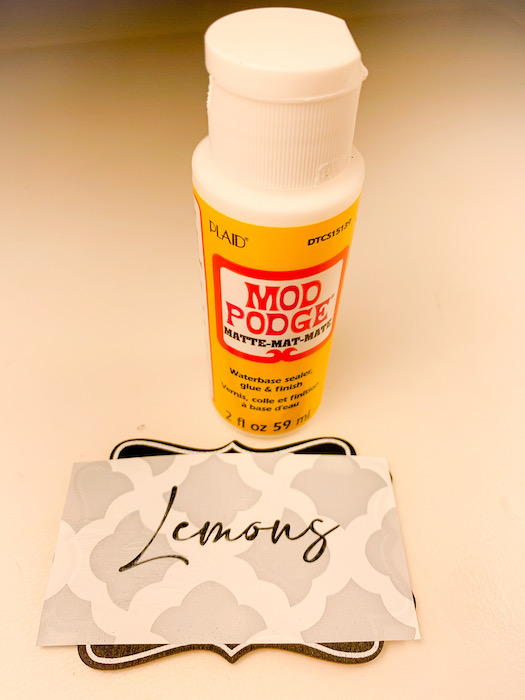
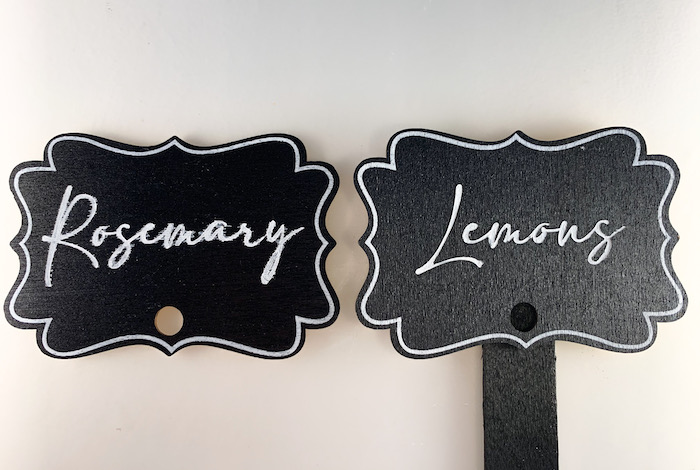
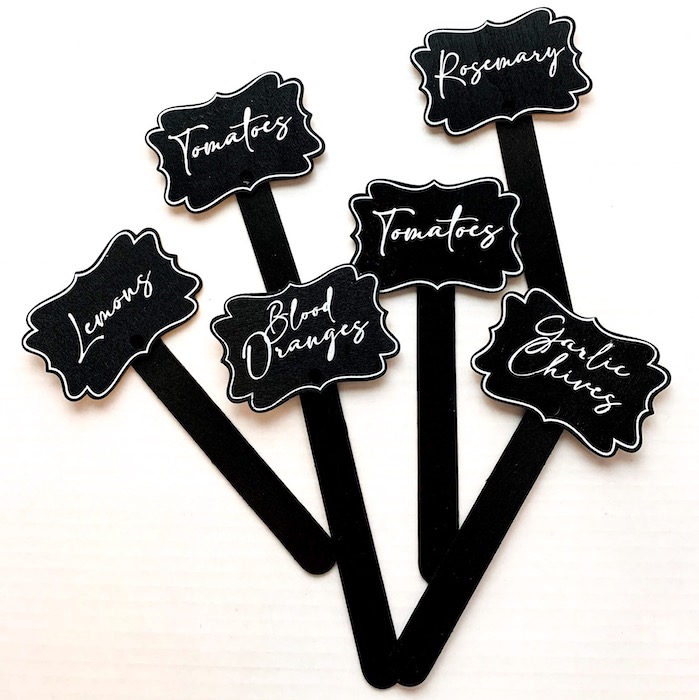
I thought I’d make a couple of cute little plant label stakes or garden labels to go in a couple of the pots.
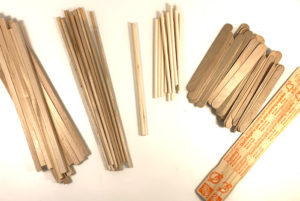
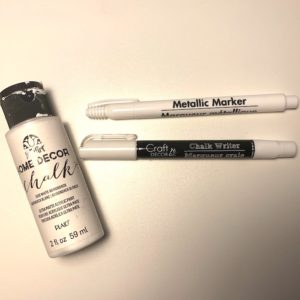
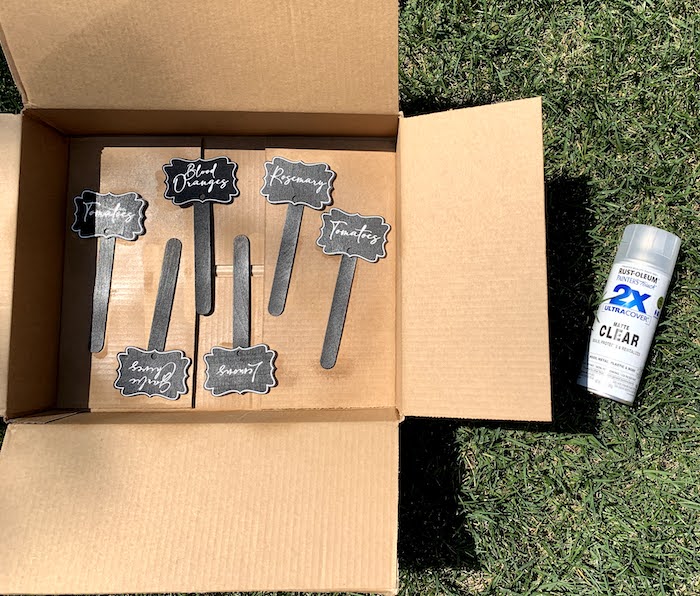
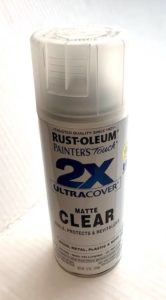
Most of the supplies came from the Dollar Tree, so this DIY was very inexpensive. And, it didn’t take long to make the garden stakes. I love those kinds of projects.

