Some of the links in this post are affiliate links. This means if you click on the link and purchase the item, I will receive an affiliate commission at no extra cost to you. All opinions remain my own. Please read my full disclosure for more info.
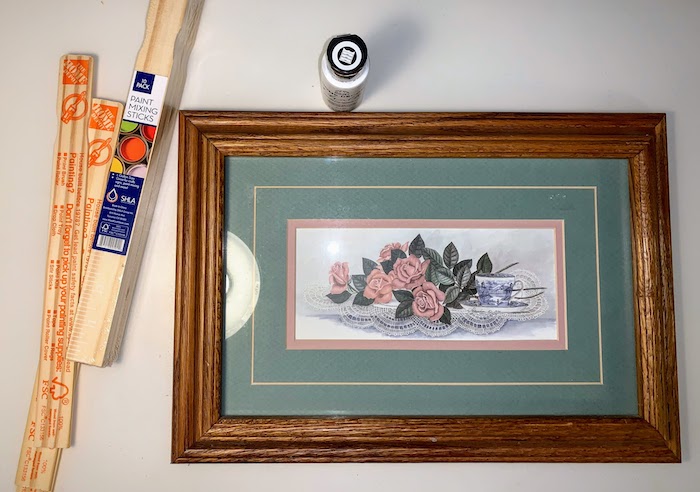
I picked up this old picture years ago because I liked the frame. I thought it would look great with some new paint, a new mat, and a photo.
But it got tucked away in a box out in the garage. I forgot about it until I came across it recently. I thought this was a great time to get it out and give it a picture and frame makeover.
How to Makeover Your Own Picture and Frame
SUPPLIES
- picture frame
- paint sticks
- white chalk paint
- hot glue sticks
- E6000 glue
- spackle
- blue painter’s tape
- SVG design (or freehand)
- vinyl
TOOLS
- saw
- paint brush
- glue gun
- pliers (Something to take the staples out of the back.)
- Cricut (or freehand)
HOW TO
STEP 1
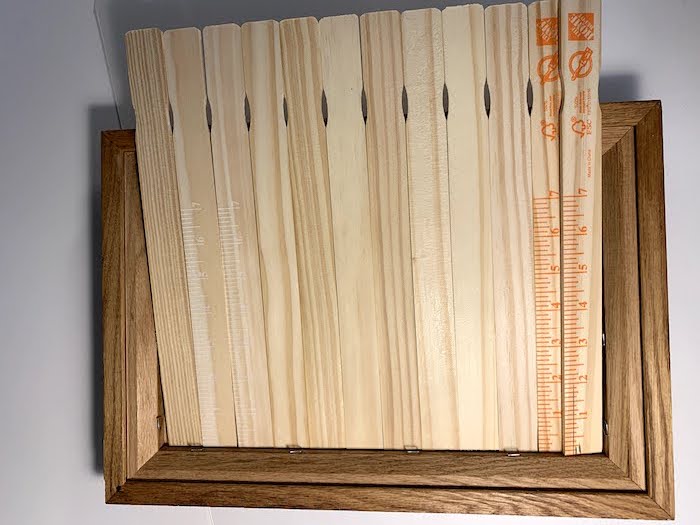
First, I removed the staples. Then, I took out the glass, mat, and picture. Next, I lined up my paint sticks to see how many I would need to fit all the way across.
STEP 2
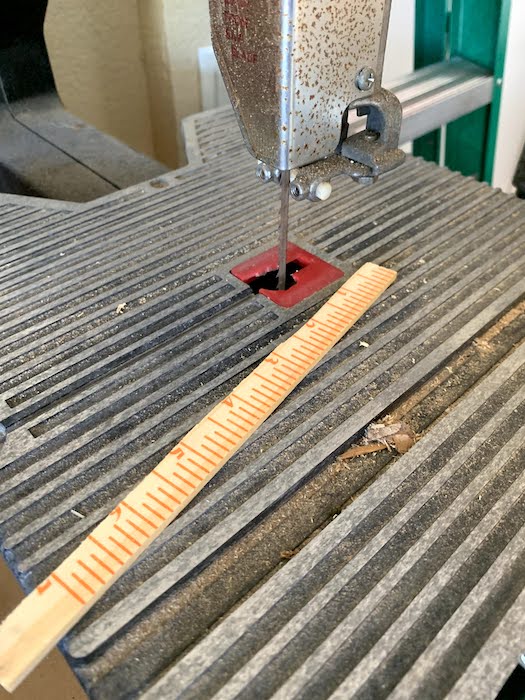
I needed to cut on the paint sticks in half length wise, so I used this old bandsaw that I picked up a few years ago off of craigslist. My cut didn’t have to be perfect because that edge could be hidden.
STEP 3
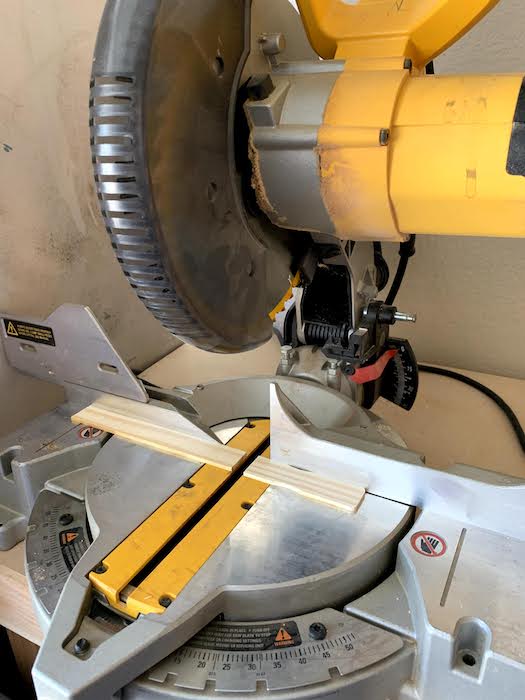
Superman let me use his miter saw to cut these paint sticks down to size. I had a few leftovers from a recent paint project. But I also purchased a pack of 10 for $1.10.
I saved the small ends to use as paint stirrers for small paint projects. I’m surprised how many times I have already found a use for them!
STEP 4
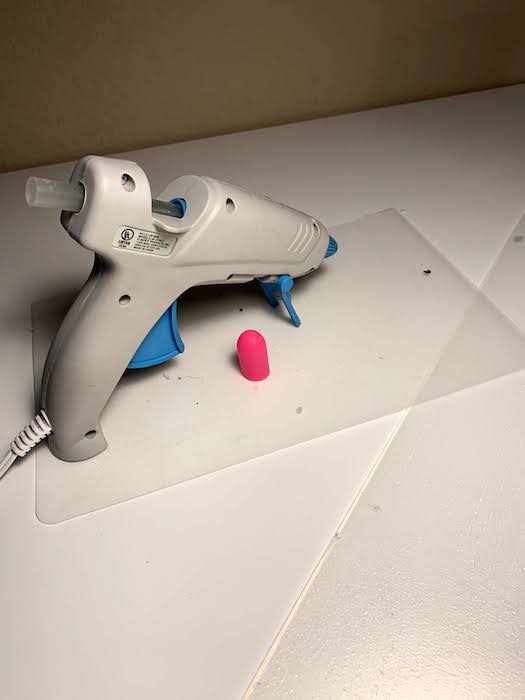
Get out your glue gun. I purchased a kitchen cutting mat at the Dollar Tree. It came with two of them, so I cut one of them in 1/2 for a little glue gun station. I punched a hole in the top of it to hang it on the side of the cabinet when I’m not using it. Another great find are these little silicone finger protectors. They come in a package of 3 at the Dollar Store. Never burn your fingers from hot glue again!
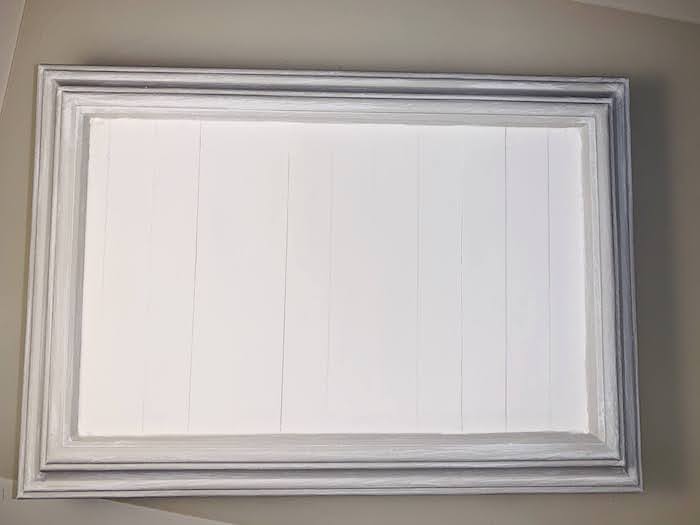
Glue the paint sticks into the backside of the frame where the glass would normally fit.
I used E6000 around the edge and followed that up with hot glue. That way, the hot glue will hold everything in place until the E6000 dries.
STEP 5
Turn the frame over and if desired, you can fill in the edges with woodfiller or spackle. I used spackle because it’s what I had on hand.
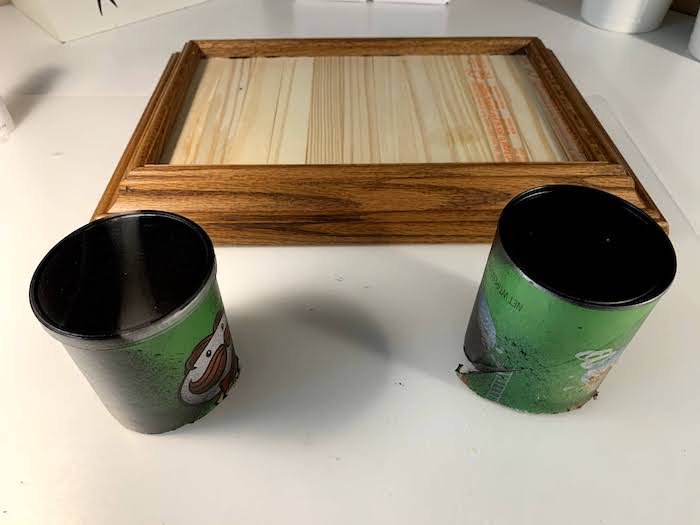
Now get ready to paint. I have been using this old Pringles can cut in 1/2 as stilts for different paint projects. I’ll be using them for this as well. That way, I can paint the edges without getting paint everywhere.
STEP 6
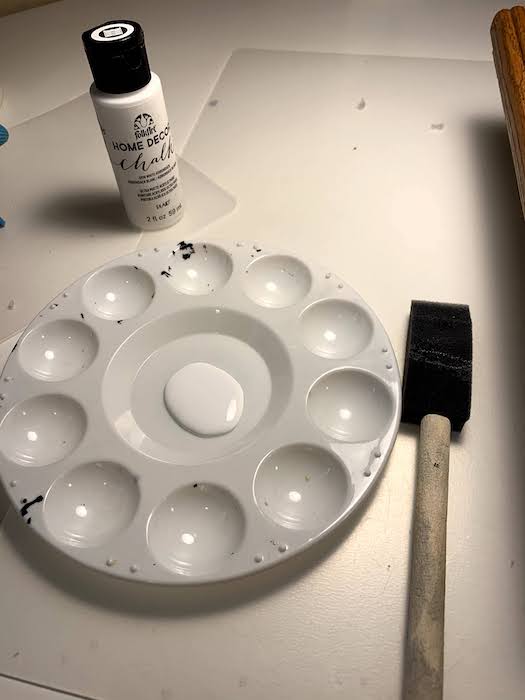
I painted the paint sticks using white chalk paint by Plaid.
This little paint palette and package of sponge brushes came from the Dollar Tree.
STEP 7
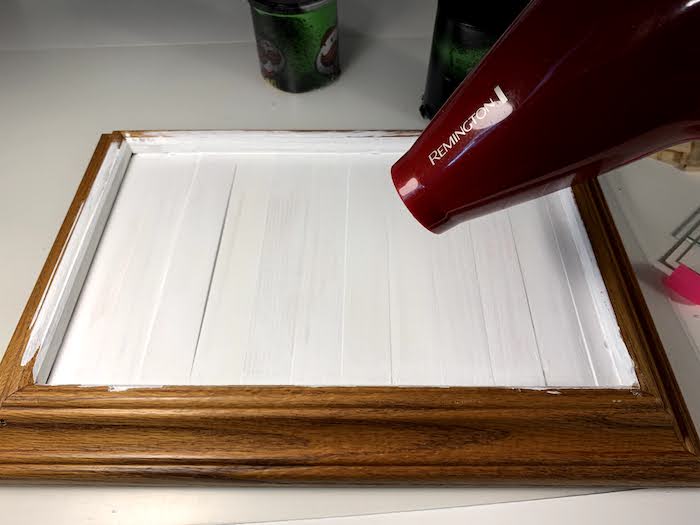
I got impatient and used my blow dryer to dry it.
STEP 8
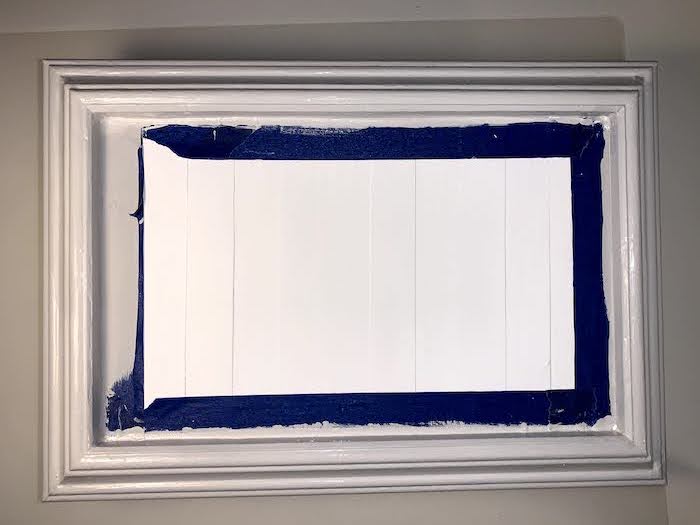
Apply painter’s tape and paint the frame. I chose a light gray.
STEP 9
After the gray paint dried. I used a dry brush and added some white paint strokes to give it dimension.
STEP 10
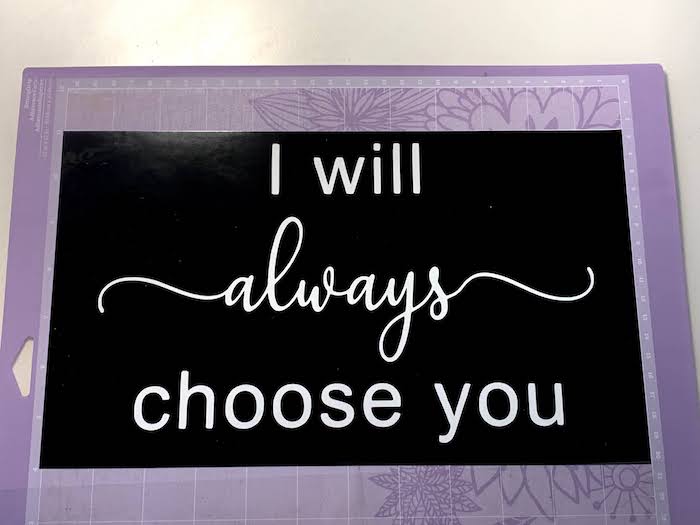
Next, I made this design using Inkscape and cut it out using my Cricut Expression. My Cricut is over 10 years old!
UPDATE: I purchased the Cricut Maker. Oh. My. Word. Best purchase ever!
STEP 11
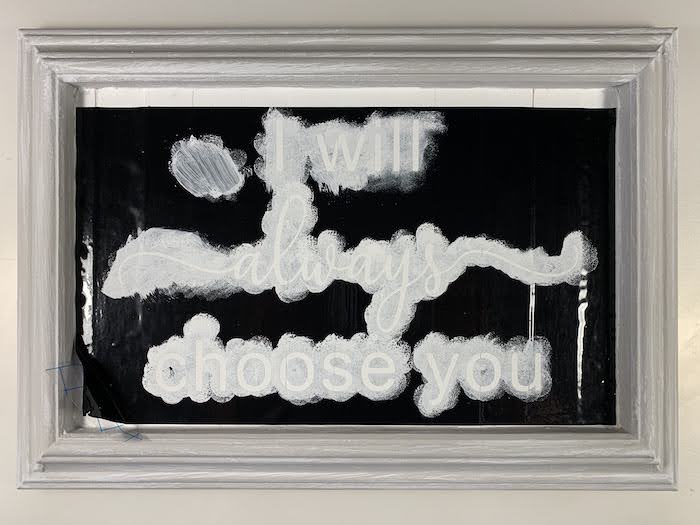
TIP: The trick to keeping your paint from bleeding is to first paint it the same color as your background. So, I used that same white chalk paint for the first coat. Doing this seals the edges so that when I paint my next layer, it won’t bleed.
TIP: An alternative to painting it the same color would be to use Modgepodge as your first layer. I have not tried the Modegepodge technique, but hear that it works.
I used a black paint mixed with a little bit of white for the lettering.
STEP 12
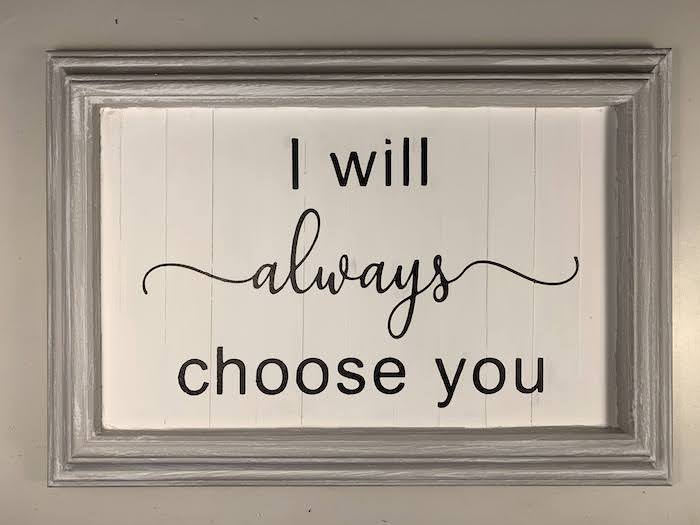
It came out very “sharp” looking. I needed to shabby it up a little.
STEP 13
I keep this this nail filing block in with my craft tools for little things like this. I use it almost like a 200 grit sanding block.
I sanded down the letters and made it look a little more worn.
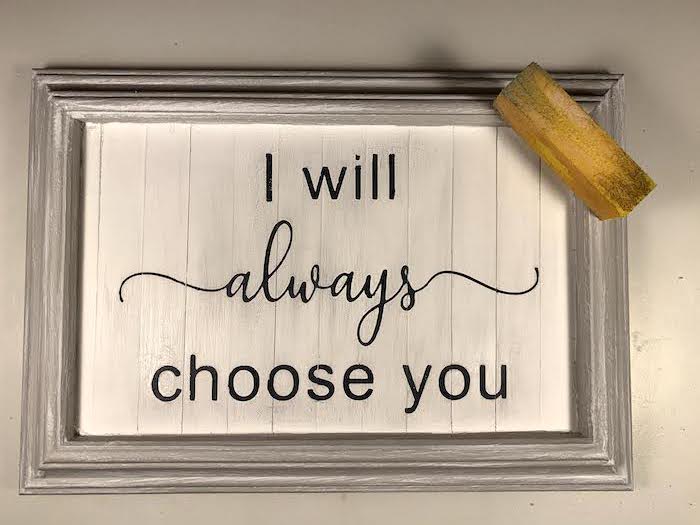

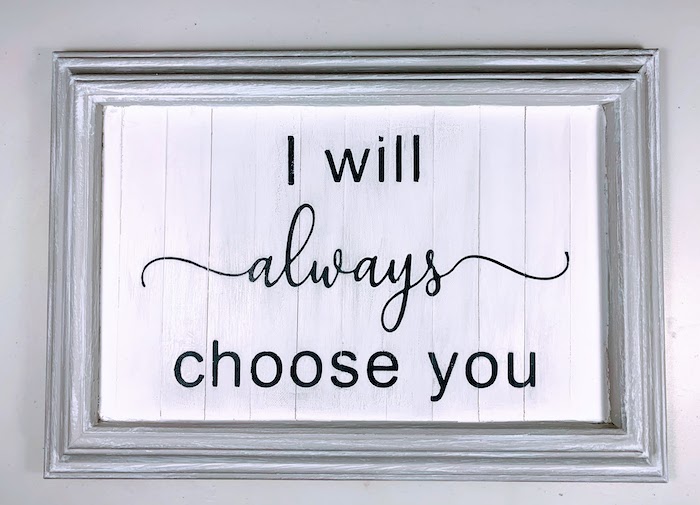
The finished project! I love how it turned out! I’m planning on hanging it on the wall outside of Superman’s closet. It will be a daily reminder to him that, “I will always choose” him!!
BLOOPERS
I knew in my head what I wanted this project to look like in the end. But let’s be honest, sometimes what we envision is not always what we get.
First of all, I should have painted the frame before gluing in the paint sticks.
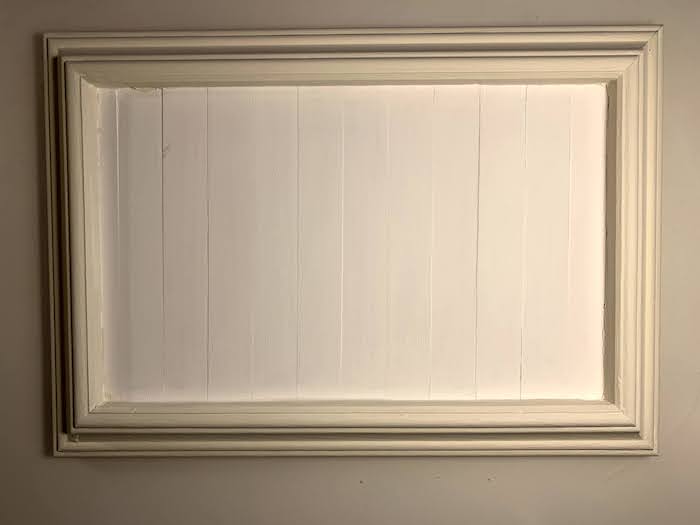
I started out painting the frame an off-white color in chalk paint. But, I decided I was not too fond of that.
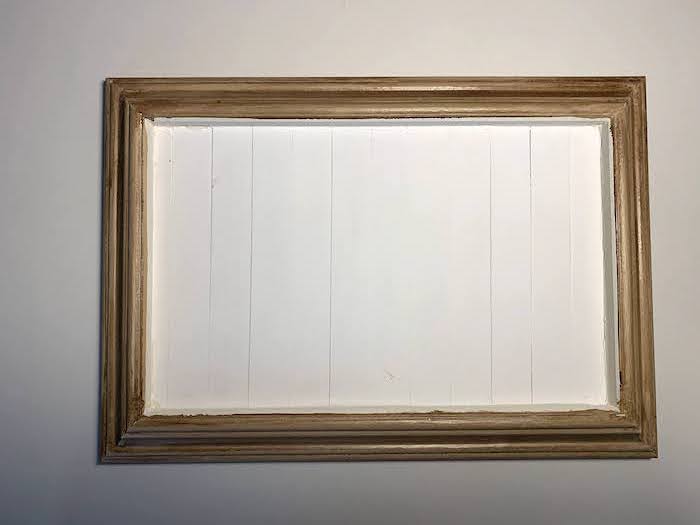
Then, I applied a stain. I know, I know, but I was trying this old technique that I had used in the past. It didn’t work. So, I finally grabbed the gray paint sample that I have for the master bedroom and added a little calcium carbonate powder to turn it into chalk paint.
It went from off-white to stained, to gray with white brush strokes. I love the final project.
Superman asked how many times I was going to paint it. “Until I’m happy.”
I’m happy.
