Farmhouse Kitchen Cabinet Makeover on a Budget
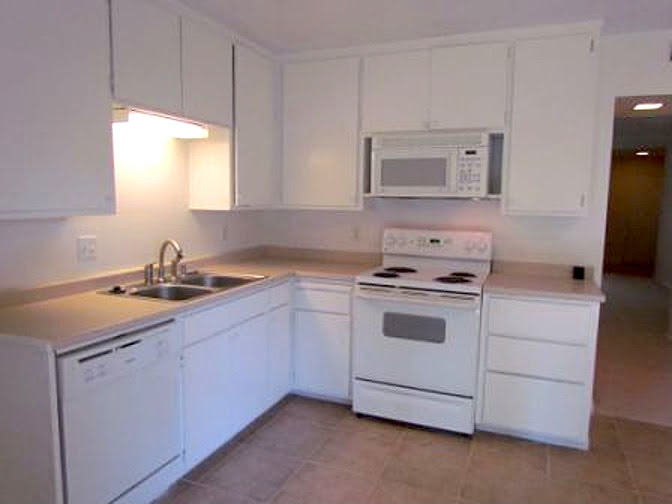
The kitchen in the little french country house needed a facelift. The cupboards were plain wood. There was no detail, and they were very old. But, I was a single mom on a tight budget. I needed to do it inexpensively.
I saw this paintable beadboard wallpaper at The Home Depot and got an idea! What if I applied the wallpaper to all of the cabinet doors. Then, I could use door casing/trim on top of it to give them a custom look.
It was a long process because the previous owner had painted over all of the hinges and knobs. I wanted everything to look new, so I removed all of the doors.
Then I removed all of the hinges and knobs. Everything got a thorough cleaning. I applied the wallpaper to the cabinet fronts.
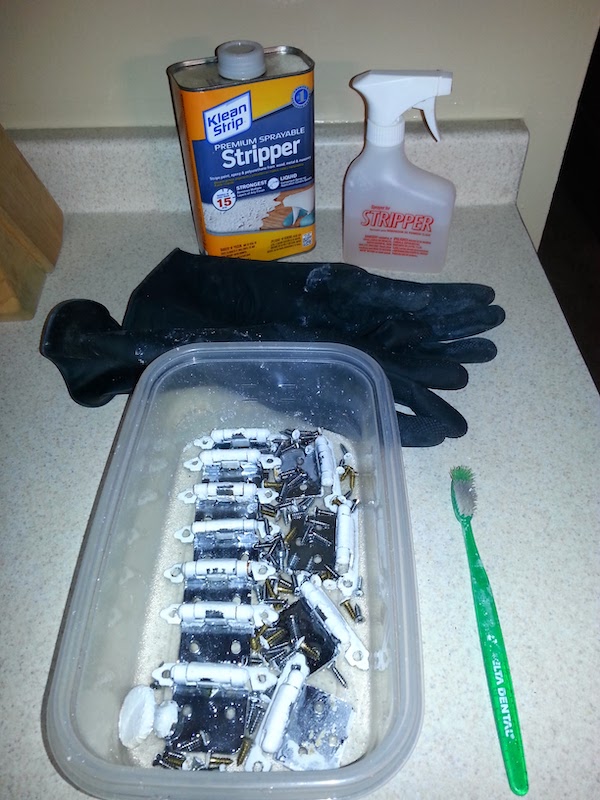
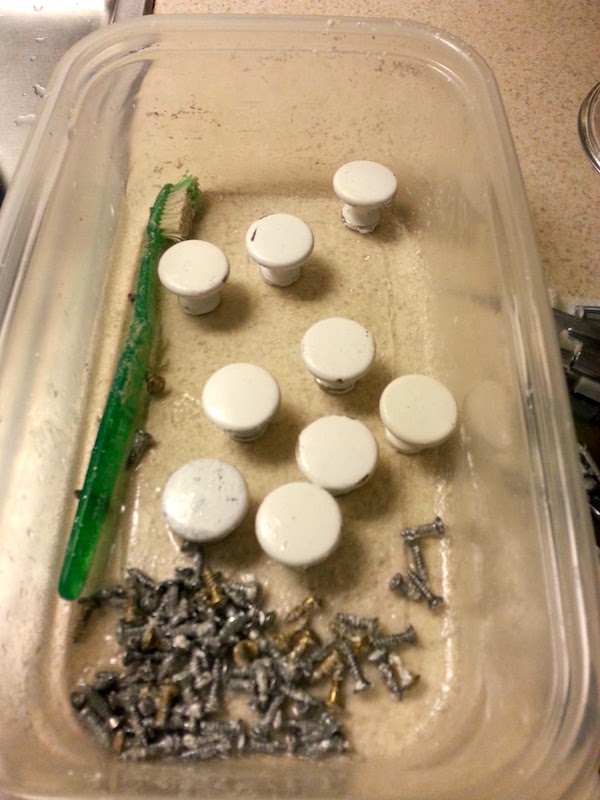
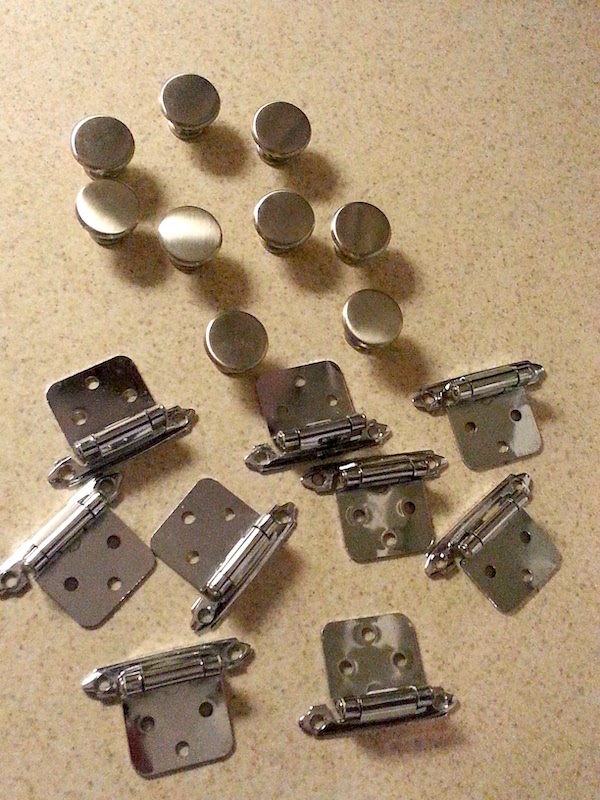
Next, I let all of the hardware soak in the paint stripper in a plastic box. I used an old toothbrush to get the final remnants of paint off of everything. They looked brand new!
I purchased some farmhouse drawer pulls and a few more matching knobs. I wanted the hardware to POP, so I spray painted it all with Rustoleum Oil Rubbed Bronze Spray Paint. They looked so good!!!
I took the door molding and cut the ends at a 45-degree angle. Then, I used my air gun and nailed them to the doors. I applied caulk to fill in any gaps.
I painted EVERYTHING white—even the insides of the cabinets.
I decided to hang crown molding while I was doing this project. There wasn’t enough room between the tops of the doors and the ceiling, so I had to move all the doors down about 1/2 inch when I hung them back up. (That was a pain in the butt!)
Some of the links in this post are affiliate links. This means if you click on the link and purchase the item, I will receive an affiliate commission at no extra cost to you. All opinions remain my own. Please read my full disclosure for more info.
SUPPLIES
- Beadboard Wallpaper
- Door Casing (I used the pro pack from The Home Depot.)
- Brad Nails
- Caulking
- White Latex Paint
- Rustoleum Oil Rubbed Bronze Spray Paint
- Paint Stripper
- Gloves
- Bucket
- Old Toothbrush or Scrubber


TOOLS
- Porter-Cable Finish Nail Air Compressor
- Miter Saw
- Scissors
- Paint Brush
HOW TO
Step 1
The first thing I did was clean all of the cabinet doors.
Step 2
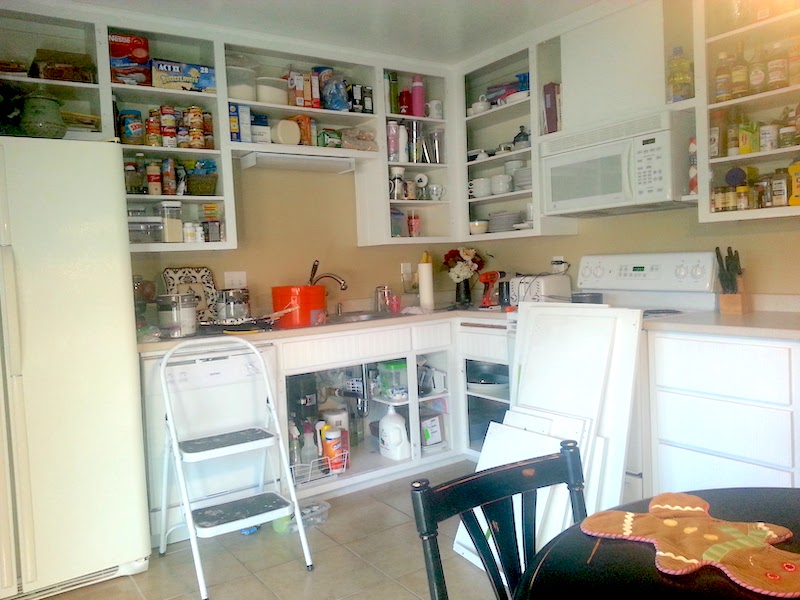
Next, I removed all of the cabinet doors, hinges, and hardware.
I used a piece of tape on the inside of each door and labeled them.
Step 3
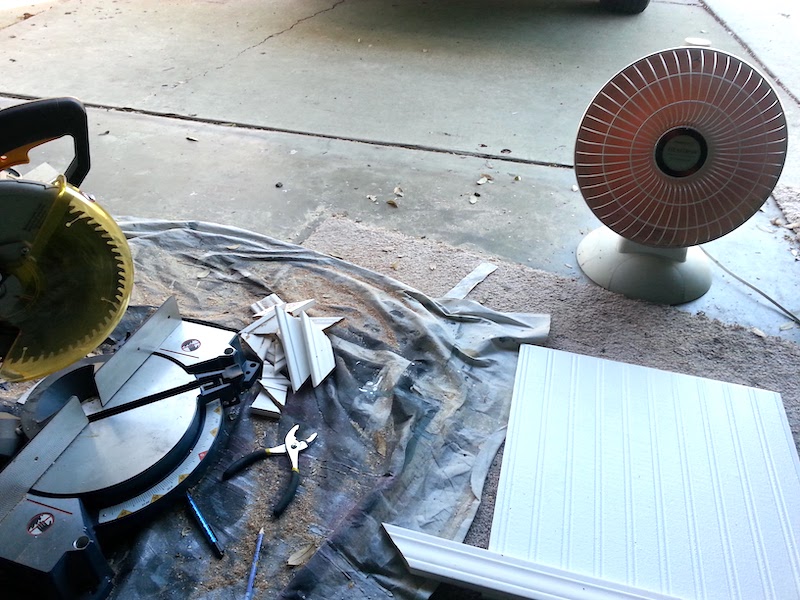
I started this project in December and finished it in January. I did most of the work outside.
I wallpapered each door front and drawer.
Then, I used my miter saw, on the ground, in my garage. I measured and cut each piece one at a time.
Step 4
Next, using my nail gun, I nailed the trim around the edge.
Once they were finished, I caulked around the edges.
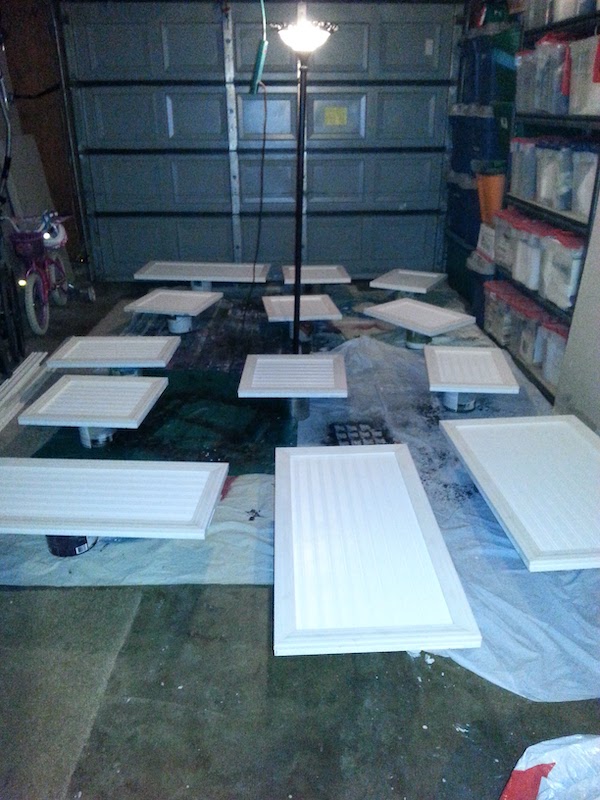
Here are all the doors before they got painted.

Step 5
I played out all of the cabinet doors in my garage and painted them using latex paint.
Step 6
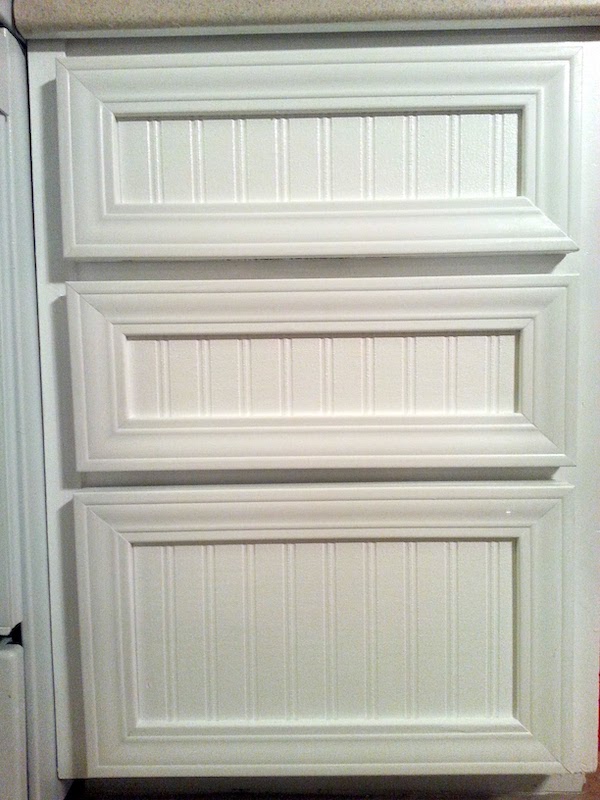
Here are the cabinet drawers after they’ve been painted.
Now they’re ready for the new drawer pulls.
Step 7
Here’s an up-close of the lower cabinets before the knobs were added.

Step 8
I took all of the hardware and placed them in a plastic shoebox. I added paint stripper and let it sit for a little bit.
I wore gloves and used an old toothbrush to clean off all the paint.
Step 9
They look brand new!!!
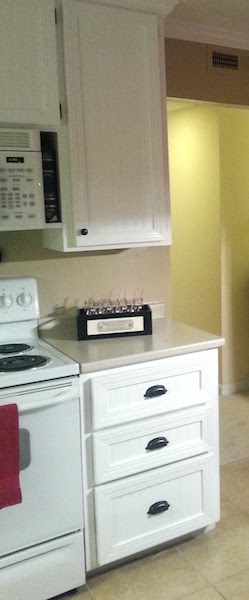
But, I wanted all of the hardware to pop and give it that farmhouse look. So, I took the old hardware and the new drawer pools and spray painted everything in Rustoleum Oil Rubbed Bronze spray paint.
They looked so good! (It’s been a few years since I painted them, and they’re still holding up!)
Step 10
Here is a closer picture of the drawer pulls and knobs.
Step 11
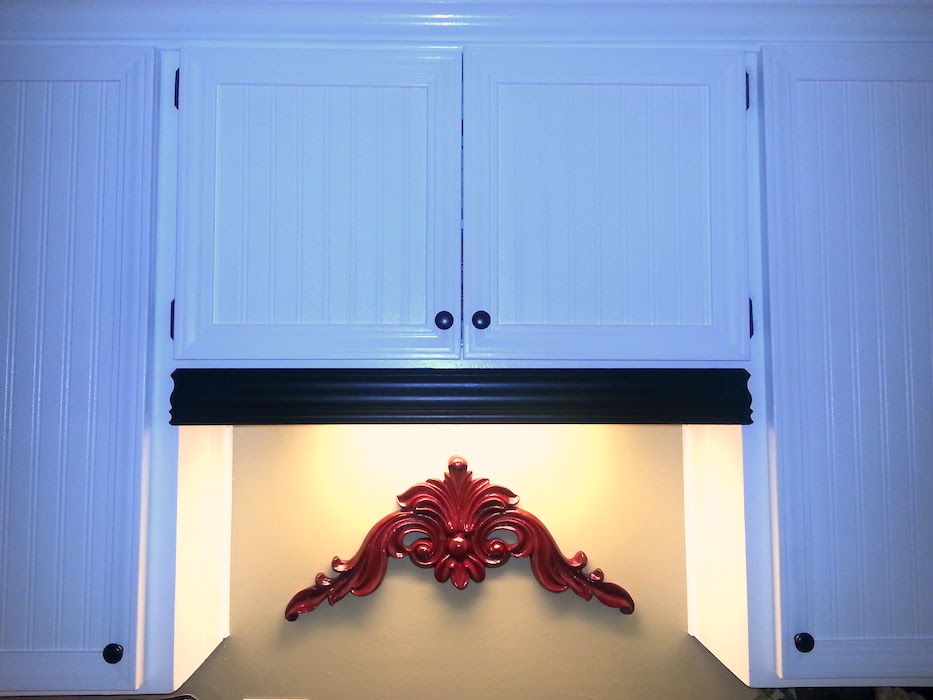
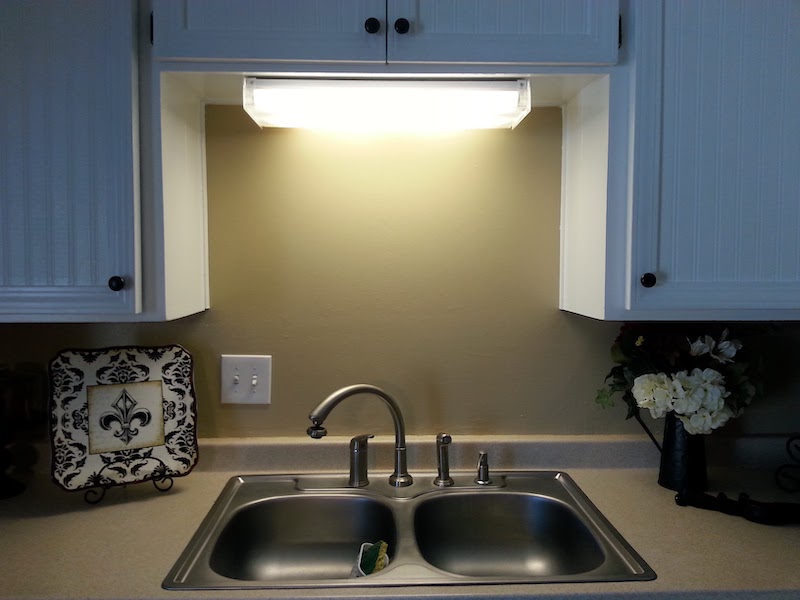
I always disliked this halogen light above the sink.
So, I took a piece of leftover trim from the cabinet doors and made a little apron around it.
I painted it black so it would stand out.

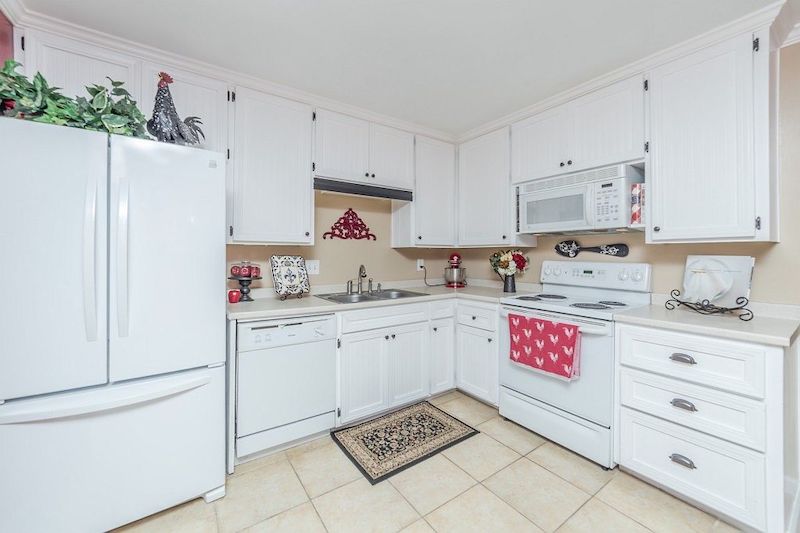
Overall, this was a lot of work. It wasn’t hard. Just time-consuming. I am so happy with the results, though!!
Whenever I had guests over, they couldn’t believe that the beadboard was actually wallpaper.
I would definitely do this again if I wanted to re-do my kitchen on a budget.
BLOOPERS
This was a very time-consuming project. And, I was on a timeline, so I had to work swiftly. I don’t recall any bloopers. But, I’m pretty sure that I had to cut some of the trim more than once. Sometimes I cut the angle the wrong way.
This technique seriously transformed the look of the cabinets and drawers. I am so glad that I did it!
If you’re considering doing something like this, you will be very pleased with the results.
