Some of the links in this post are affiliate links. This means if you click on the link and purchase the item, I will receive an affiliate commission at no extra cost to you. All opinions remain my own. Please read my full disclosure for more info.

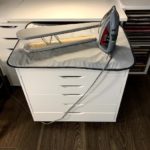
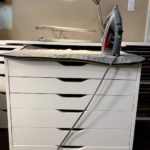
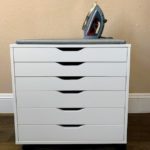
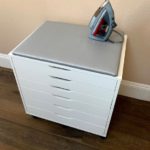
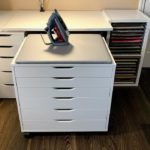
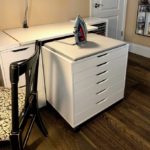
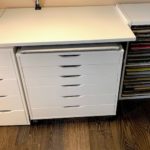
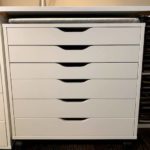
I love this new ironing station. This is the Alex drawer unit on casters, from IKEA. It’s only 26 inches high, so it fits right under my counter. If I sit at my corner desk, I can pull it out and just spin around in my chair to use it. I don’t even have to get up if I don’t want to.
I had an old ironing mat. It was probably 15 years old or even older. It served the purpose, but I needed an upgrade. Superman was headed to the Home Depot and asked if I needed anything. That was a loaded question. One of everything, please!
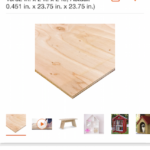
He found the perfect piece of plywood for me to upholster! After he got home with it, he cut off about 6 inches of it. It ended up being 24″ x 19″. I wanted it about an inch smaller on the sides so that it doesn’t bump the table leg or anything else.
I picked up some wonderful cotton batting. I specifically wanted 100% cotton batting after a microwave baked potato maker fiasco a few years ago. I made a bunch of family members baked potato makers that you use in the microwave, but some were made with polyester thread. Well, in case you didn’t know, polyester can catch fire in the microwave. Let’s just say I learned my lesson about using cotton thread for anything that might get hot.
This project was so easy, and the ironing station works like a charm! It’s light enough to pick up and move around if I need to. And heavy enough to stay still while ironing. I’m so pleased with how it turned out!
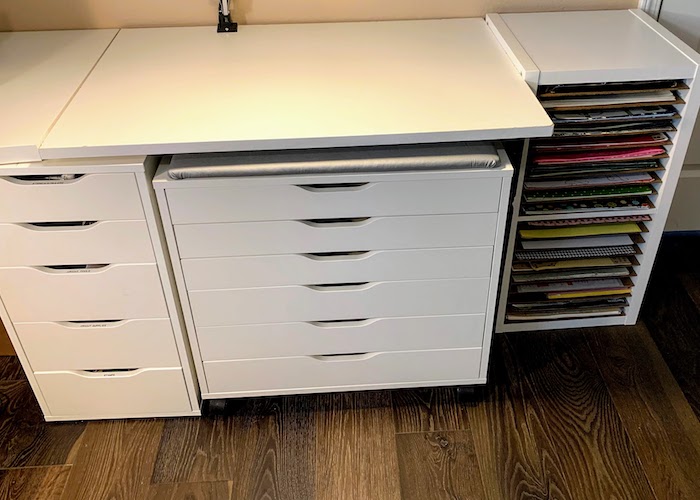
I did grab some shelf stabilizer from the Dollar Tree and put it under the board, mostly to protect the top of the drawer unit. I’m not sure if I need it, but if the ironing station stays in place, I’ll probably keep it under there.
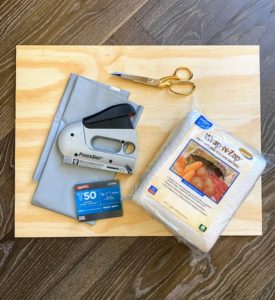
SUPPLIES
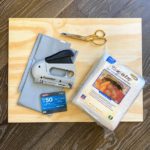
- Alex Drawer Unit on casters from IKEA
- Sanded Plywood from the Home Depot 1/2″ x 24″ x 24″
- 1 yard Utility Fabric from Joann’s
- 1 package of 100% cotton batting 45″ x 1 yard
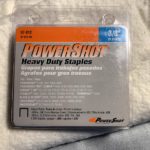
- staples for the staple gun (I ended up using 3/8″ instead of the 1/4″ ones in the image.)
TOOLS
- saw (If you ask the guys at the Home Depot, they’ll cut your wood for you for free.)
- staple gun
- scissors
HOW TO
STEP 1
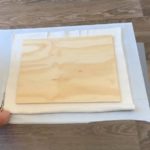
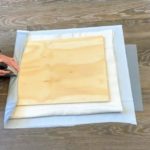
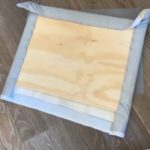
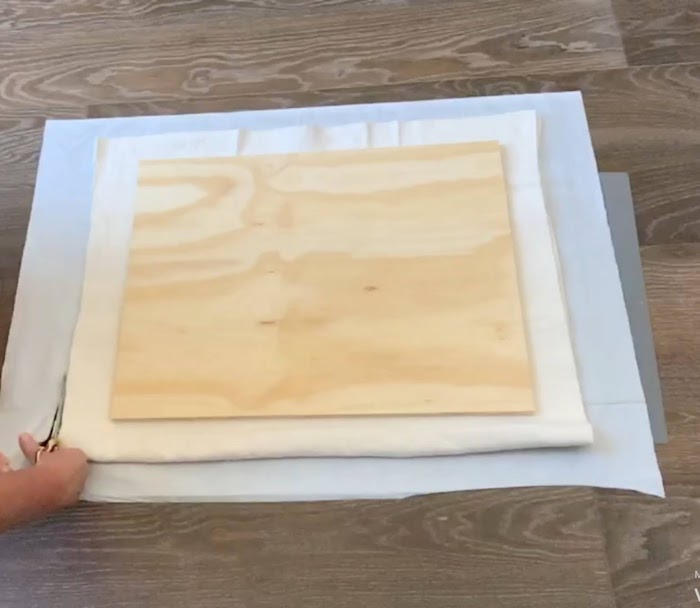
Lay fabric face down. Then fold batting so that there are two layers and place that on top of the fabric. Place the board on top of the batting. Trim batting to about 3 inches larger than your board. Trim the fabric to be about 1/2" bigger than your batting.
STEP 2
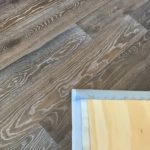
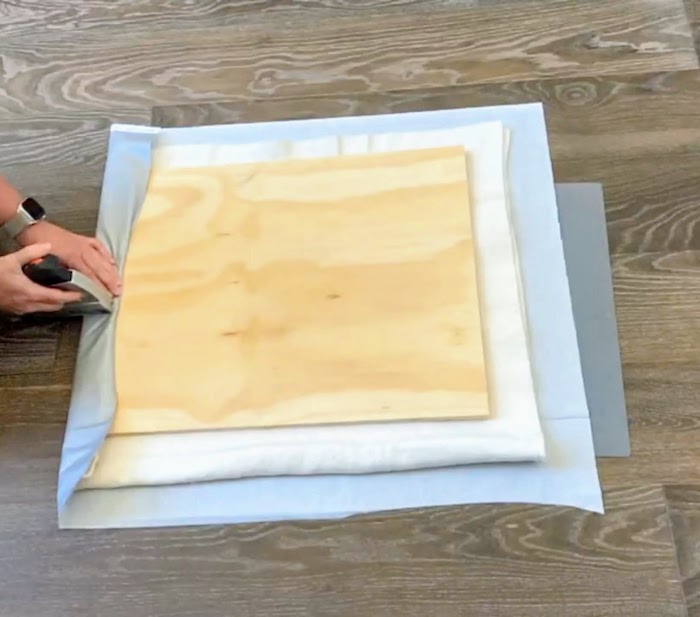
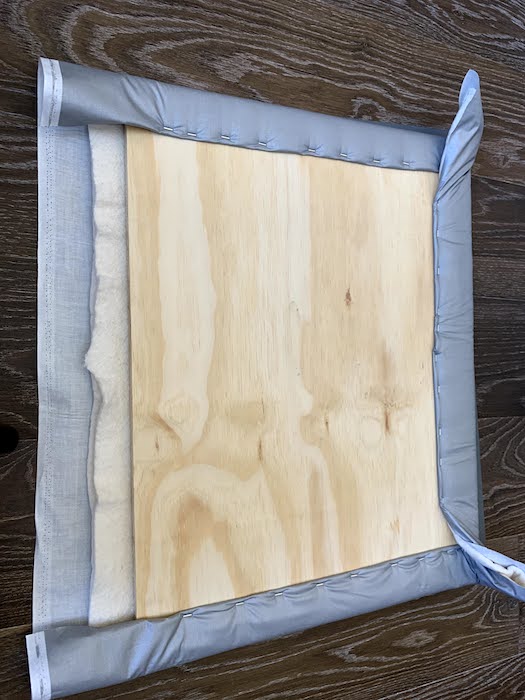
Start with the front. Tuck the fabric behind the batting and staple. Tucking the fabric gives it a nice finished edge. Place your first staple right in the middle. Work your way out in either direction.
STEP 3
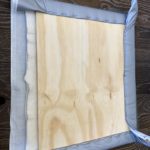
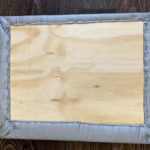
Do front, back, side, and then the last side. Leave the corners last.
STEP 4
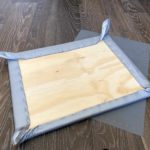
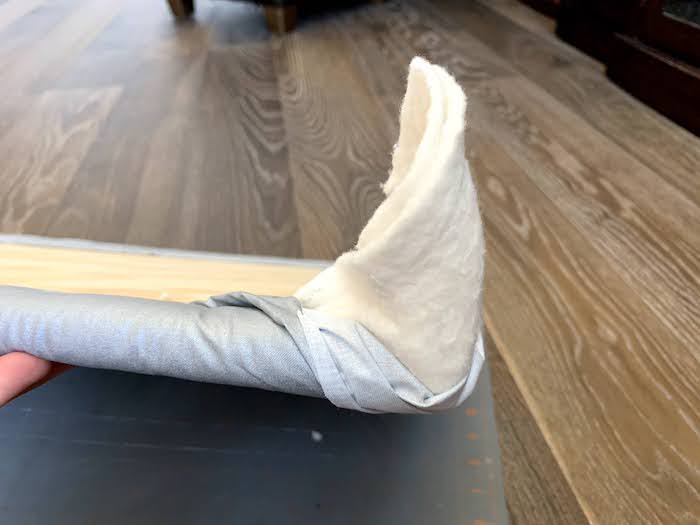
Pull back the fabric and trim the batting.
STEP 5
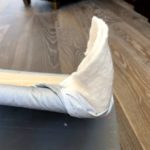
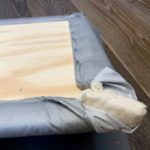
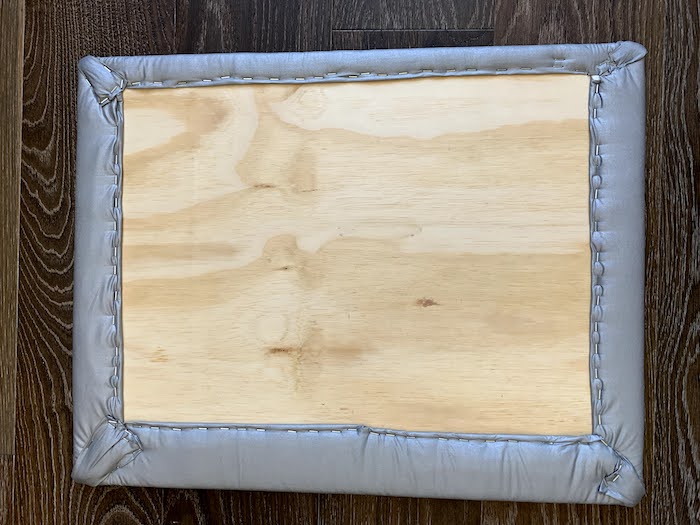
Pull corner fabric and staple.
FINISHED PROJECT
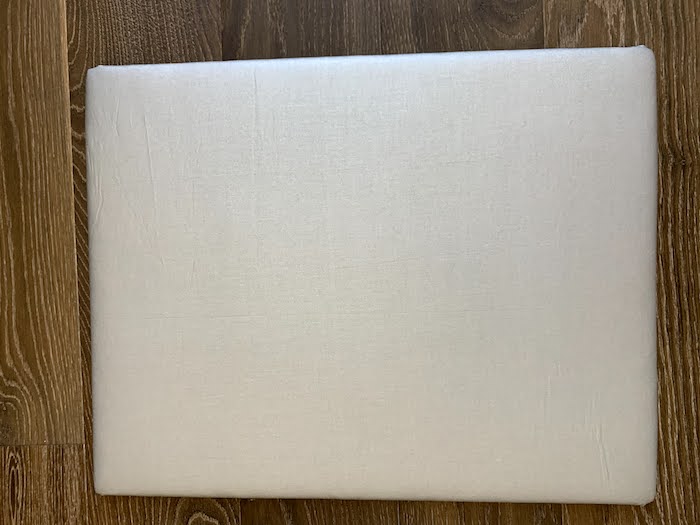
I love it! I have already used it and it works great!
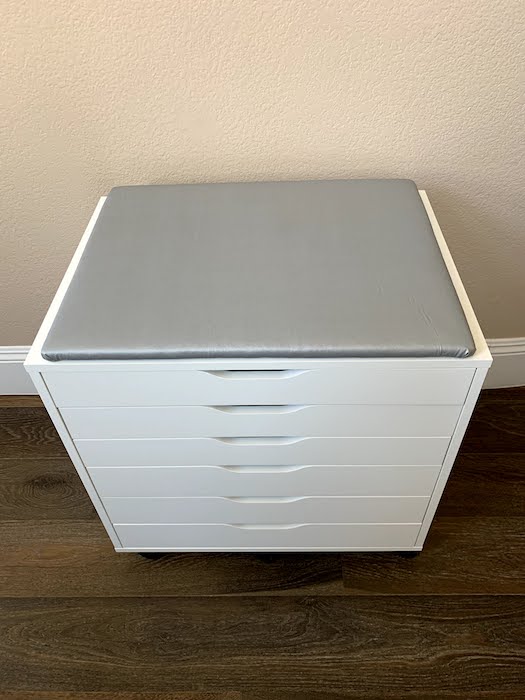
Placed on the Alex Drawer Unit
It is the perfect space to use all of my ironing tools.
BLOOPERS
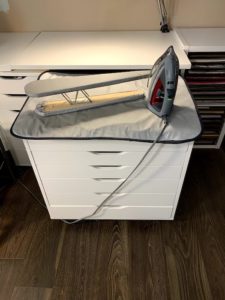
This is what I was using before I made the ironing board. I thought I could take this mat and cover the board with it. I ended up accidentally cutting the fabric, and then I didn’t have enough to cover the board. I tried using it anyway. That just created more work, because I ended up having to remove all the staples. I’m glad it didnt work out though. This mat was old and stained. My new ironing board looks brand new. I love it!

