Some of the links in this post are affiliate links. This means if you click on the link and purchase the item, I will receive an affiliate commission at no extra cost to you. All opinions remain my own. Please read my full disclosure for more info.
New Cricut Maker and It Can Cut a Freezer Paper Template Easily!
So, I finally broke down and purchased a new Cricut! Oh. My. Word. Why did I wait so long? What a considerable difference it is! I bought the Cricut Maker from Amazon. I forgot it was coming, so I didn’t have a project prepared when it got here. But, I decided that a freezer paper template would be the first thing I make.
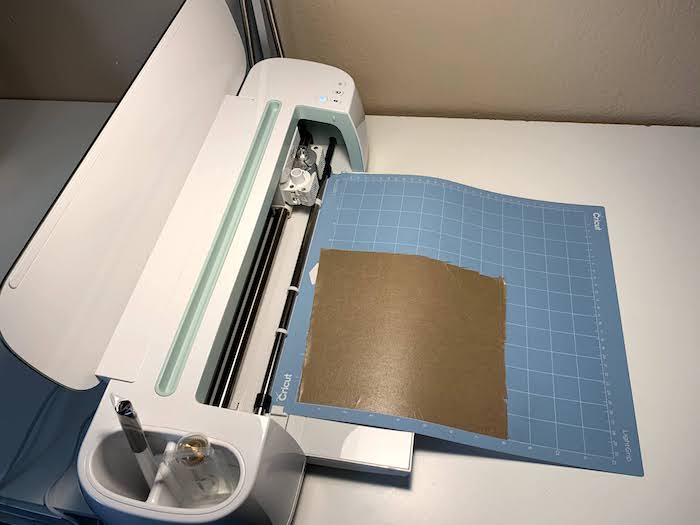
Every time I tried to cut a freezer paper template, the blade would rip it to shreds. Not this time! This baby cuts like B-U-T-T-E-R!
I have been on a pajama bottom kick lately. The other day, I purchased a few flannel fabrics at Joann’s for 50% off and then all the discounts on top of that they offer. This morning, I made these for the Little Hunter and thought I’d make a matching t-shirt to go with them.
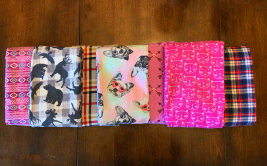
Look at all this scrumptious material!
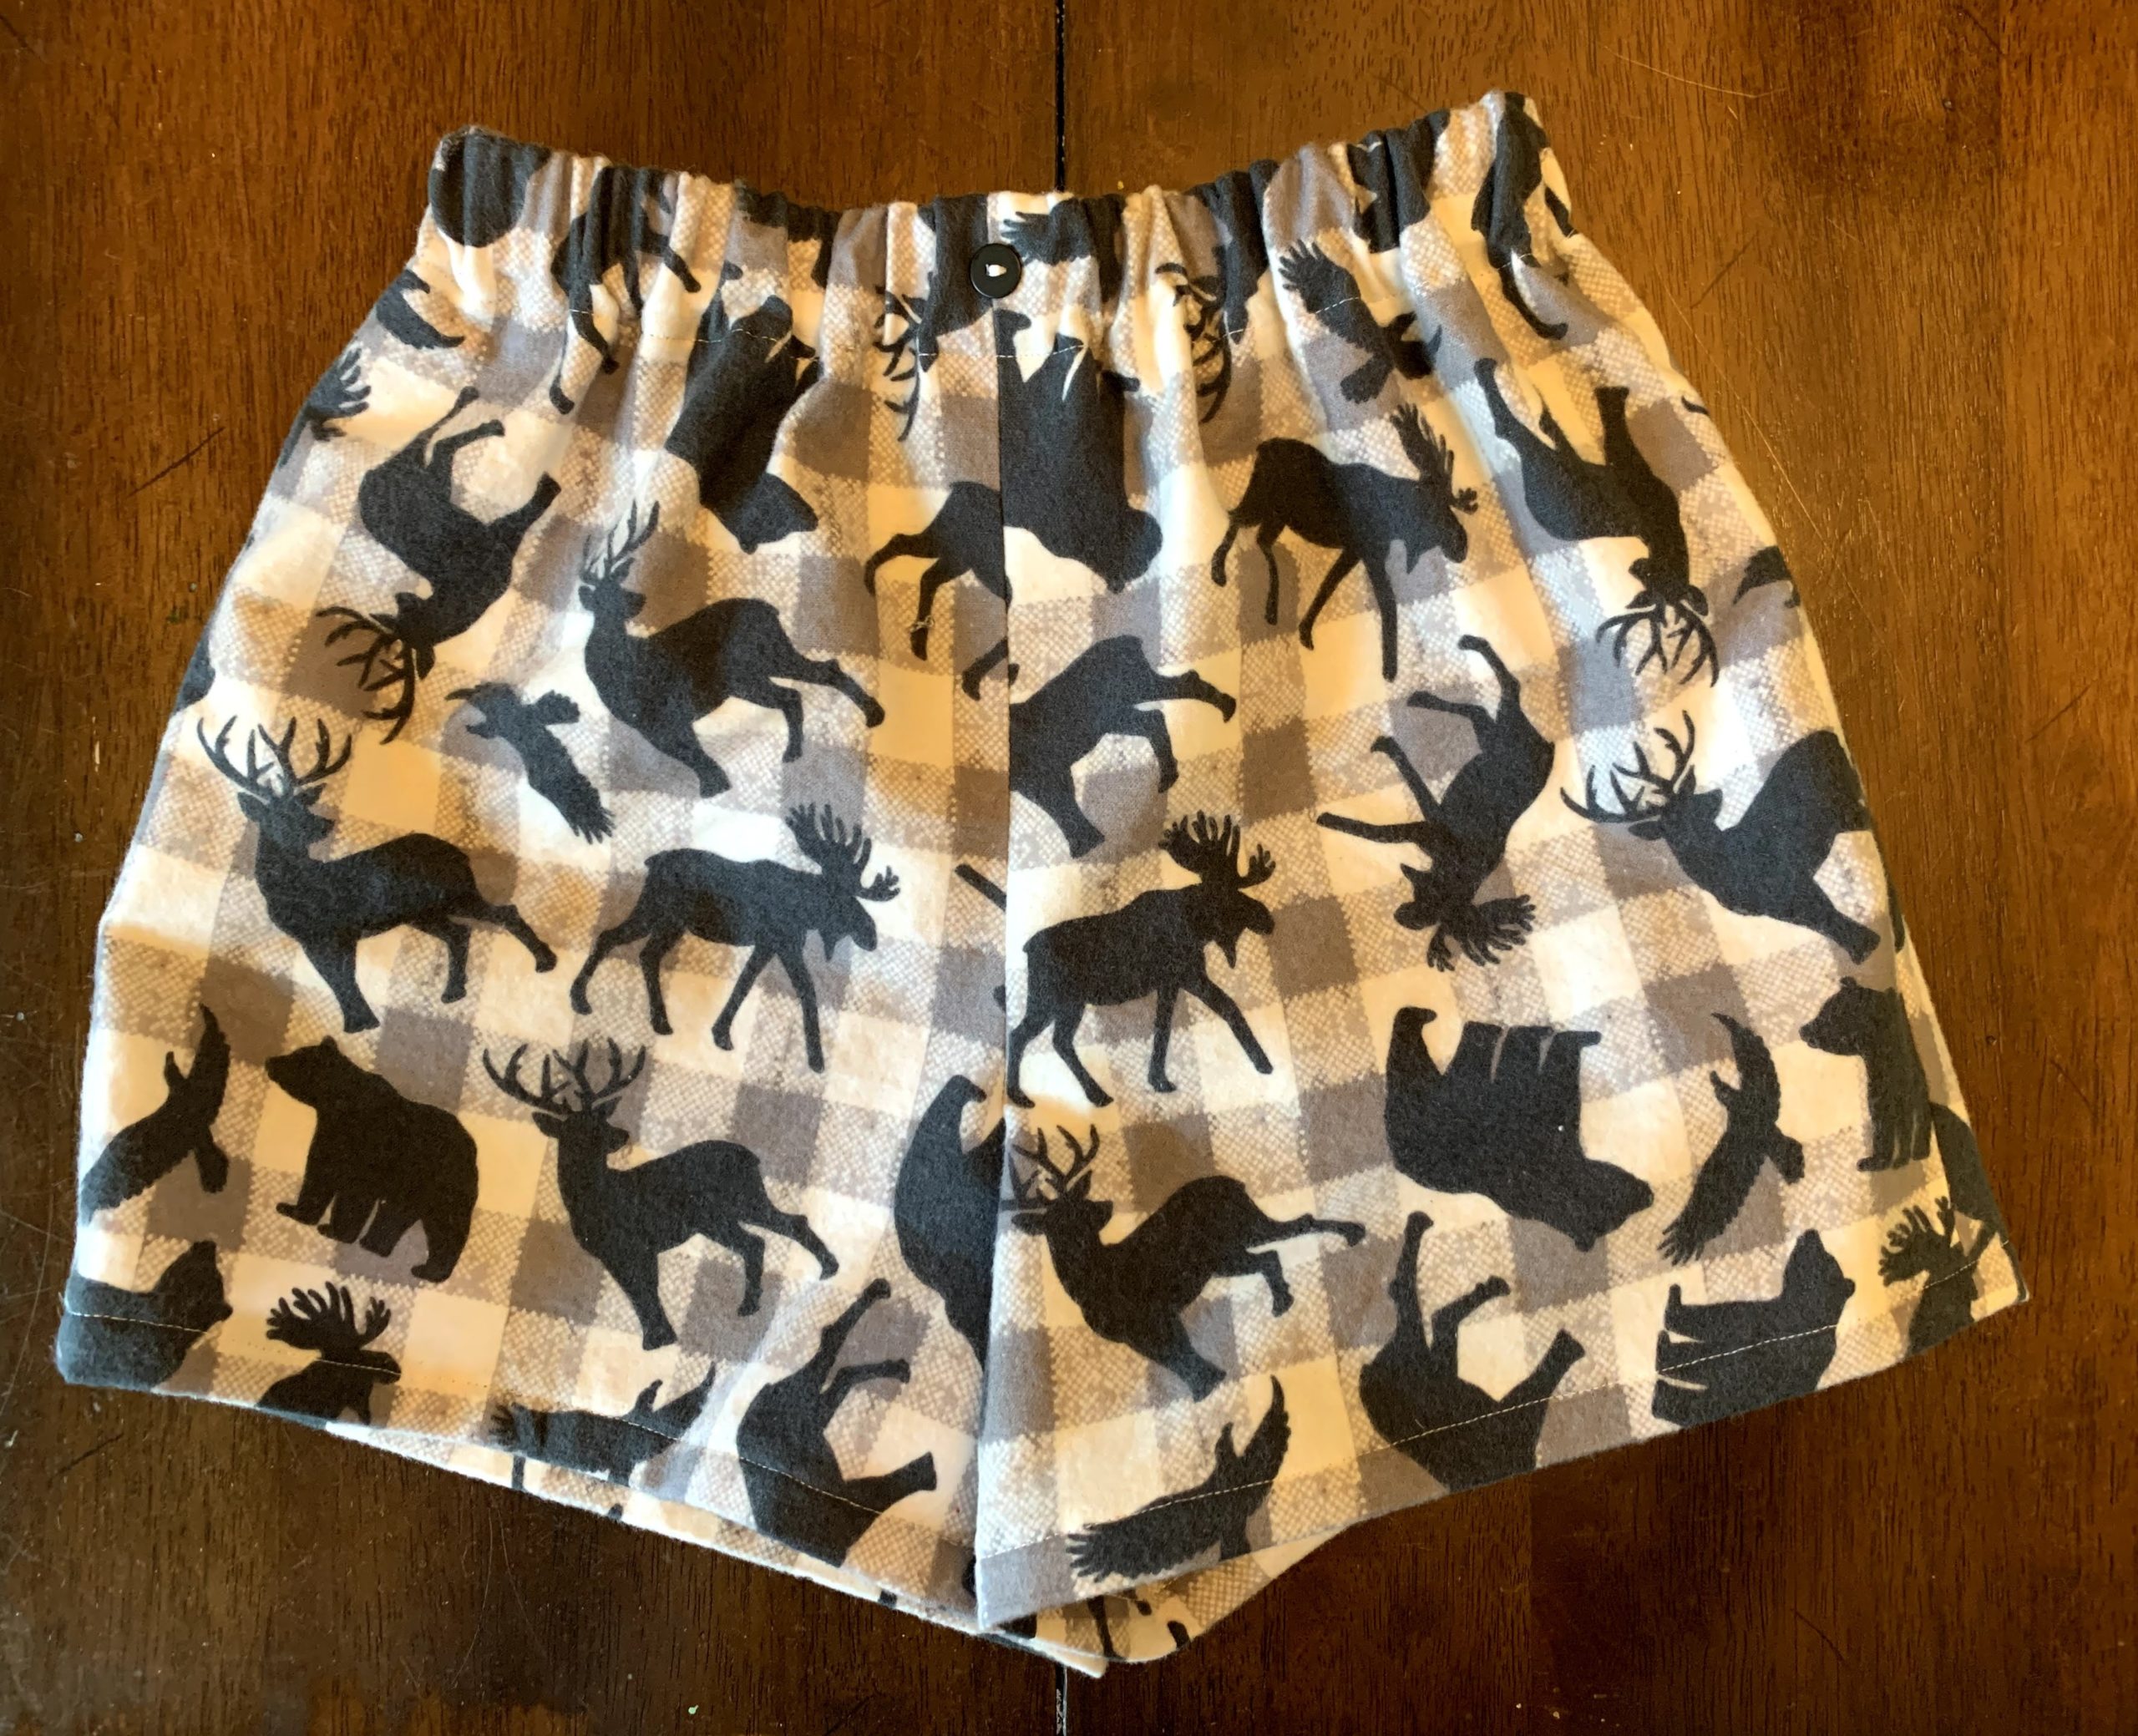
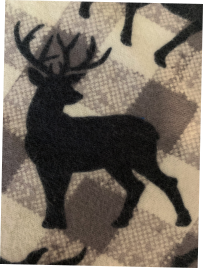
The first thing I did was take an up-close picture of this buck on the material. Next, I uploaded it to Inkscape and created an SVG file. I opened that up in the Cricut Design Space™ app that you can download for free.
I will list the steps of how to get the design on your t-shirt, below.
SUPPLIES
- t-shirt
- SVG design (Download here for free!)
- freezer paper (Every store was out due to the pandemic. I got mine from the meat department at our local grocery store. They just gave a large piece to me for free.)
- Speedball screen print ink for fabric
- parchment paper or something to put over the design when you’re ready to iron (I used a sheet of teflon.)
- blue painter’s tape
TOOLS
- Cricut or scissors if you are cutting by hand
- iron
HOW TO
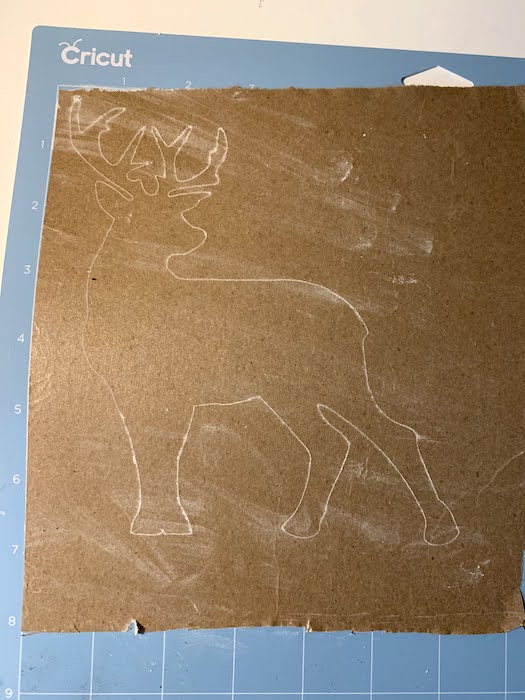
Place your freezer paper wax (shiny) side down on your mat.
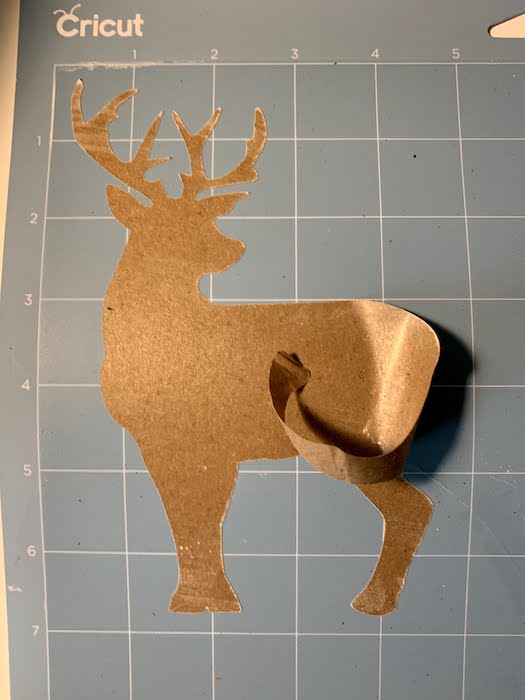
Look at that precision! [TIP] I put my finger in cornstarch and rubbed it over the design to see it better. This is an excellent technique if you are weeding small areas and can’t see the design.
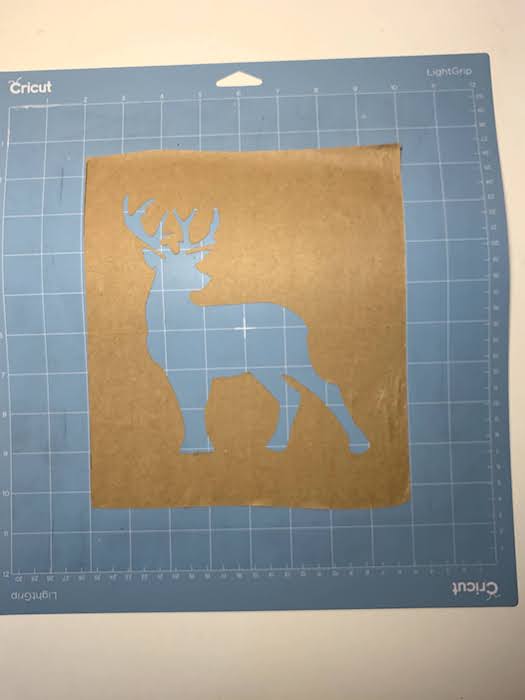
Be sure to remove the actual design. You want to keep the outline to use as a template.
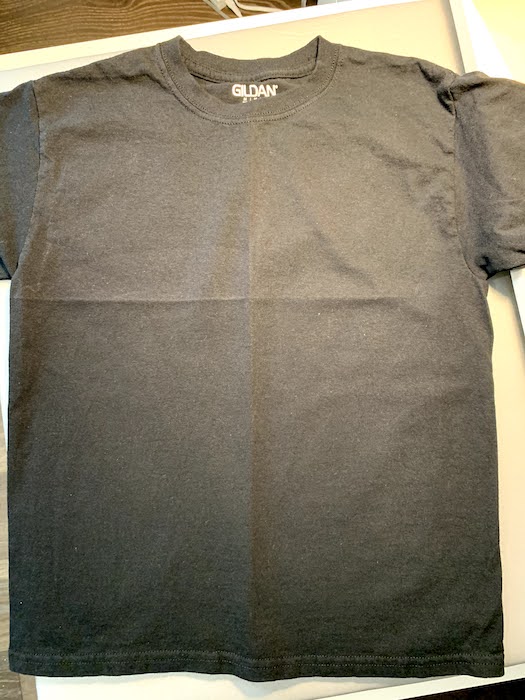
Prepare your shirt by ironing in half vertically and horizontally. You’ll want the horizontal line to be where the armpits are for this design.
You’ll use this as your placement guide so that your design isn’t crooked.
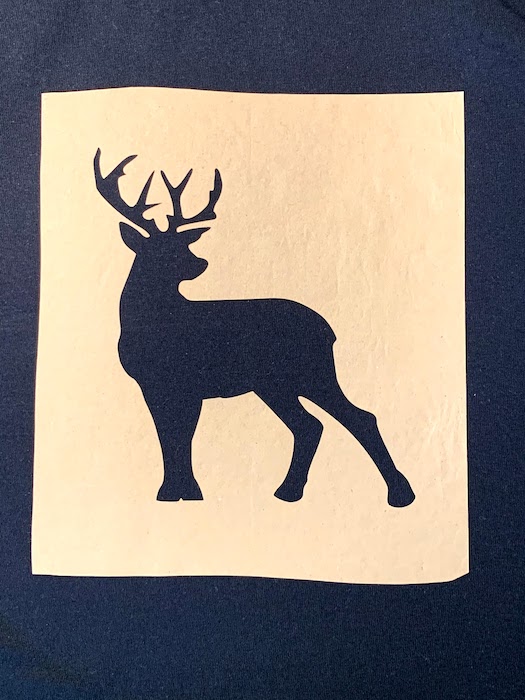
Fold the template in half vertically and horizontally to give you a guide. Place it onto your t-shirt matching the lines, wax (shiny) side down.
Iron the freezer paper to the shirt. Just use the setting of the garment you are ironing. In this case, my iron was set too COTTON.
I added tape around the design because I can get messy with the ink. (Not shown.) Dabble on some white Speedball fabric ink and using your squeegee, pull the ink down the design.
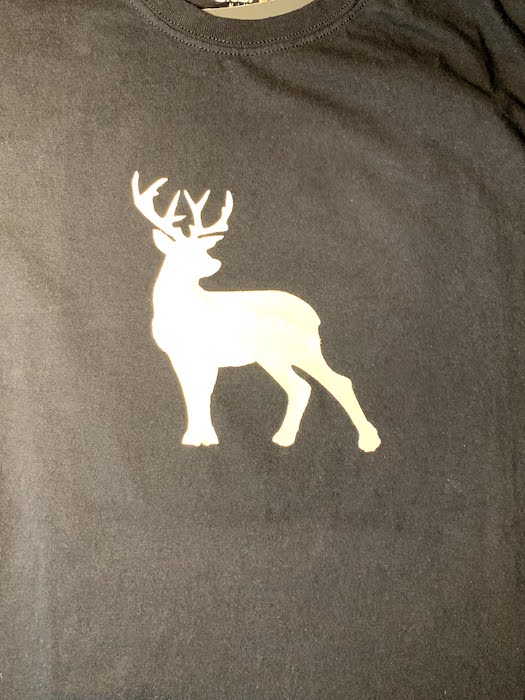
After a couple of hours, I peeled the tape and the freezer paper template off of the design and let it dry a little longer.
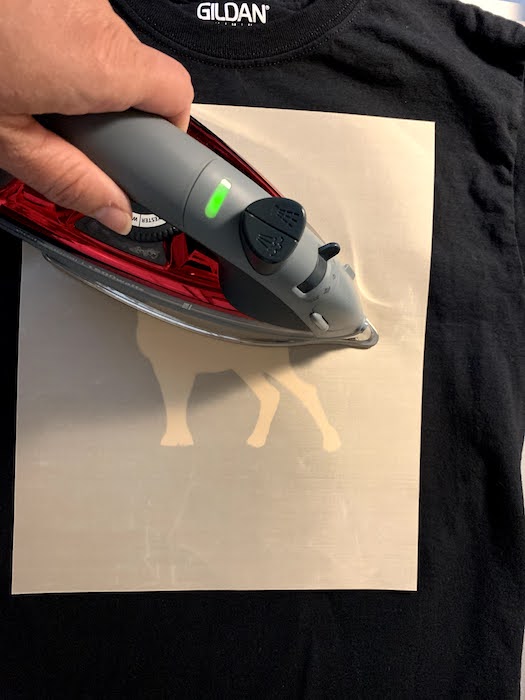
Place a Teflon sheet or parchhment paper over the design and heat set with an iron. Again, I have my iron set to COTTON. Move the iron around so that it doesn’t sit still too long.
These are so cute, and he loves them! In his words, they’re “dope.” This fabric is so comfy; the kids have been wearing them for their AM jammies and their PM jammies during their summer break. LOL
BLOOPERS
I was so excited to try my new Cricut that when it finished cutting the design, I weeded the outline instead of the buck. I was supposed to do it the other way around.
I grabbed my freezer paper and cut it out again, this time being mindful to only remove the part that I want to be painted.

