
FOIL IRON ON
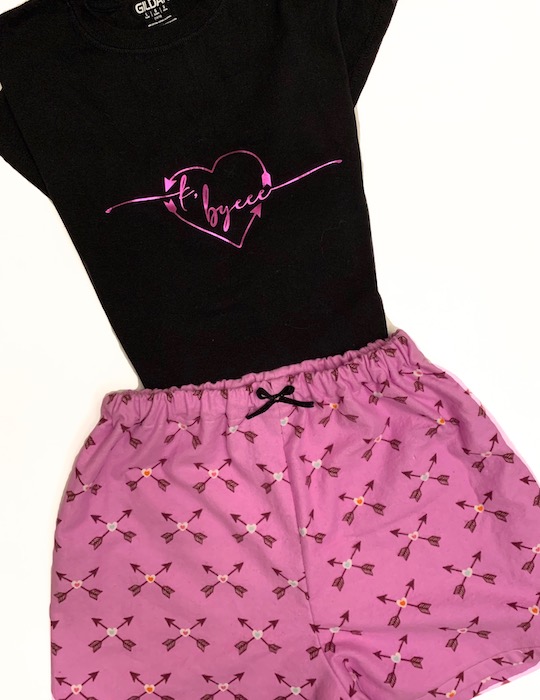
I have been enjoying making pajamas. They are so easy and so comfy! And, the shorts only take a yard of fabric. I created the SVG cut file design in Inkscape because I wanted something to go with the pattern on the shorts. But, I didn’t want it to be too matchy matchy.
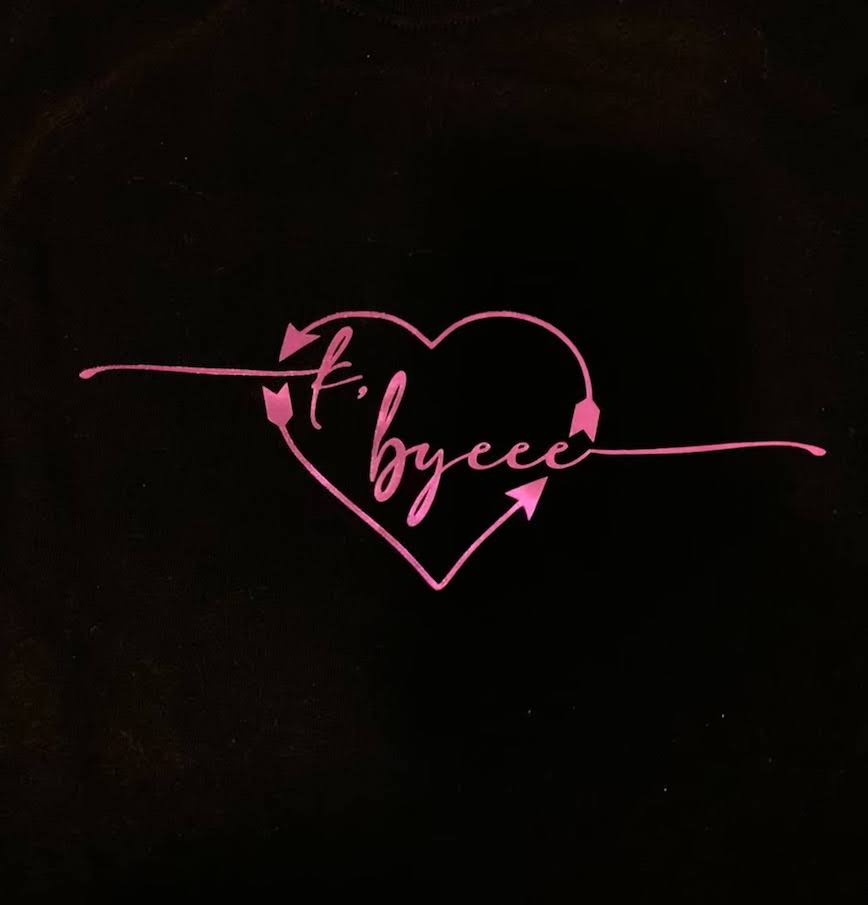
Every time that Bug wears these PJ’s, I can’t help but to read the shirt in my most valley girl accent. “k, byeee!” Oh how I miss the 80’s! Big hair, acid wash jeans, and not a care in the world.
Some of the links in this post are affiliate links. This means if you click on the link and purchase the item, I will receive an affiliate commission at no extra cost to you. All opinions remain my own. Please read my full disclosure for more info.
SUPPLIES
- T-shirt
- Design
- Foil Iron On
TOOLS
- Cricut (or you can cut out your design with scissors)
- Iron

HOW TO
Step 1
Lay your freezer paper on your mat, shiny side down.
I use this little roller to smooth out any bubbles. I was skeptical about buying it, but I use it often.
Make sure that you use a much larger piece of freezer paper than your actual design. You’ll be pulling the ink across the paper with the squeegee and you don’t want to get any on your t-shirt that isn’t part of the design.
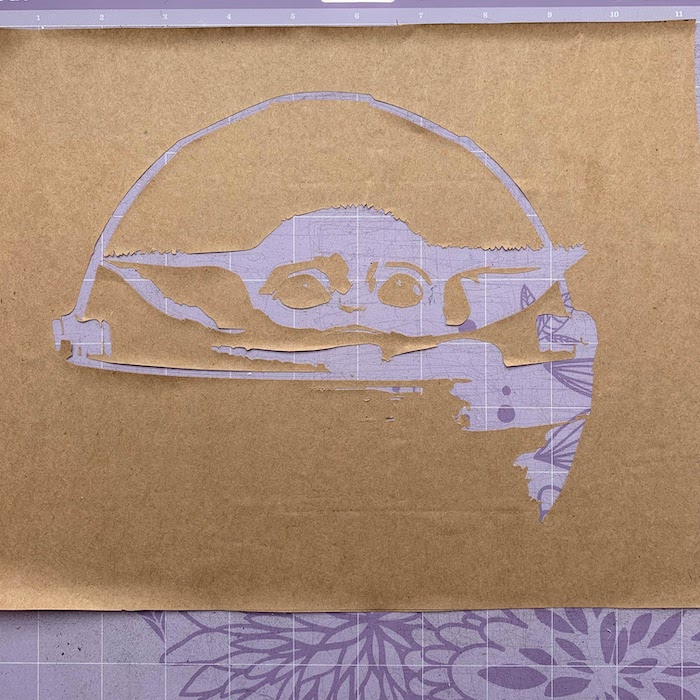
Step 2
Use your Cricut to cut out the design. Use the Freezer Paper setting for the cut.
You could also use scissors to cut out a design that you draw onto the freezer paper. Just remember, shiny side down.
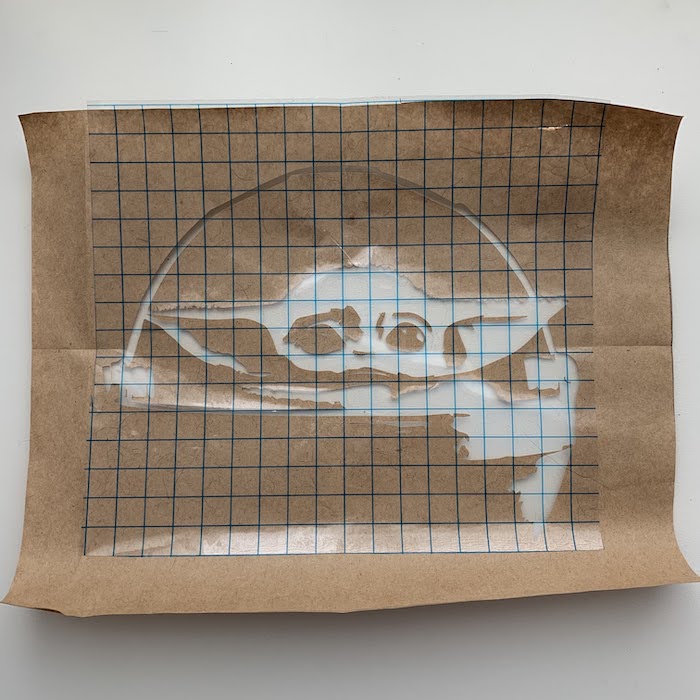
Step 3
You’ll need some transfer tape for this design. I purchased THIS transfer tape from Amazon. It says medium tack. It is very tacky, so I have to lay it on some fuzzy fabric a couple of times before putting it on something like freezer paper, or I’ll never be able to get it back off.
Before I bought this big roll, I was using the clear contact paper from the Dollar Tree. What kind of transfer tape do you use?
Step 4
Prepare your shirt by ironing down the middle and across where the armpits are. This crosshairs design gives you a guide for placing your design.
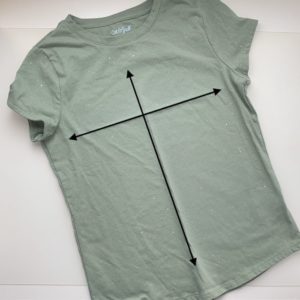
Step 5
Fold your design in half horizontally and vertically to give you the crosshairs to match up with creases you made on your shirt.
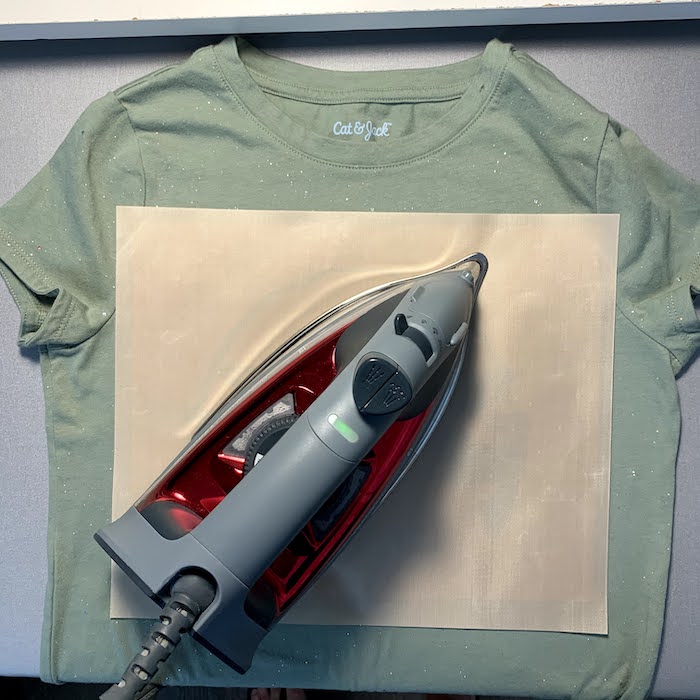
Cover with a Teflon sheet or piece of parchment paper or piece of fabric.
NOTE: I left the transfer tape on my design and ironed for a few seconds before peeling it off.
Peel off the transfer tape, place your Teflon sheet over the freezer paper, and iron.
The heat setting on your iron should be set to your fabric type. I had mine on the cotton setting.
Iron for about 10 seconds. Flip the whole thing over and iron the back of the shirt.
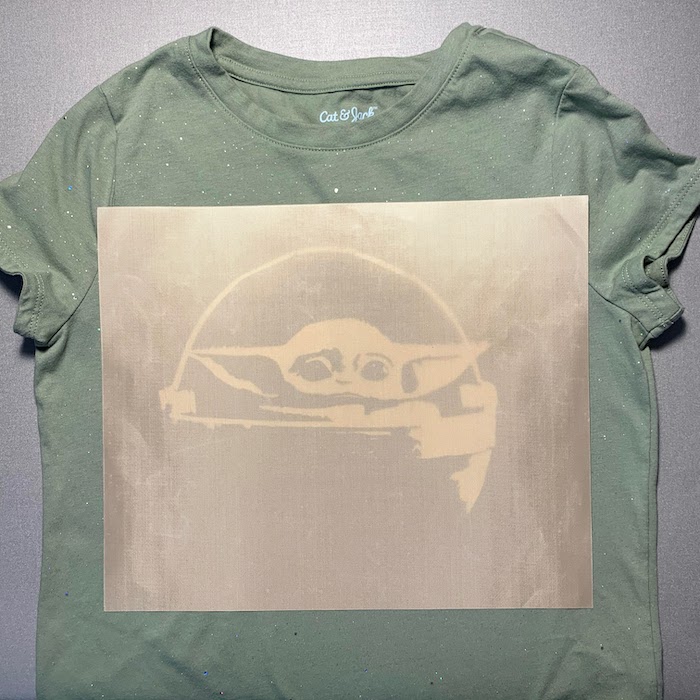
Step 6
Here is what it looks like when it’s ironed on.
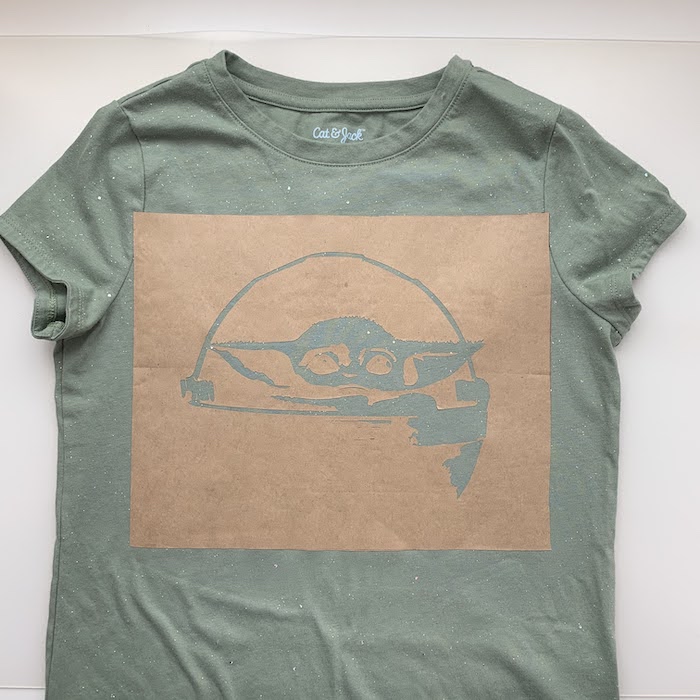
Step 7
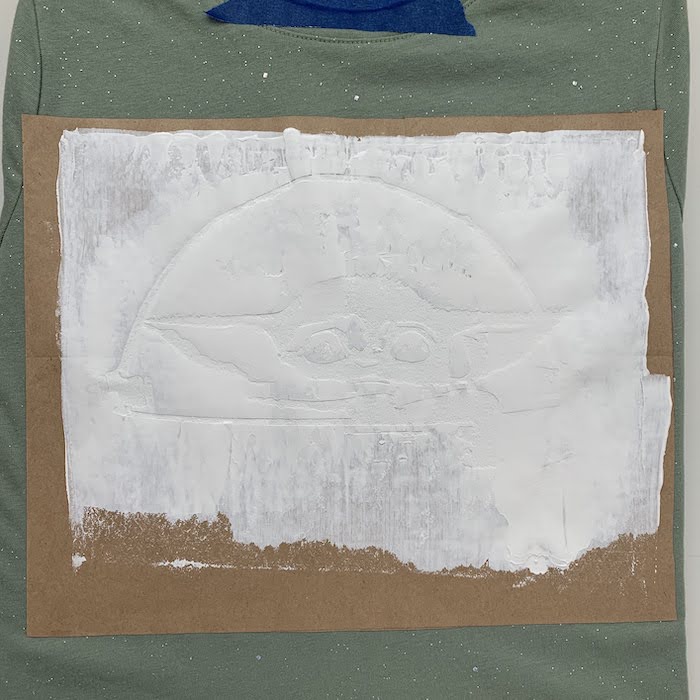
Notice how big of a piece of freezer paper I used. This way, I can dabble some screen print ink at the top and pull it across the design with my squeegee.
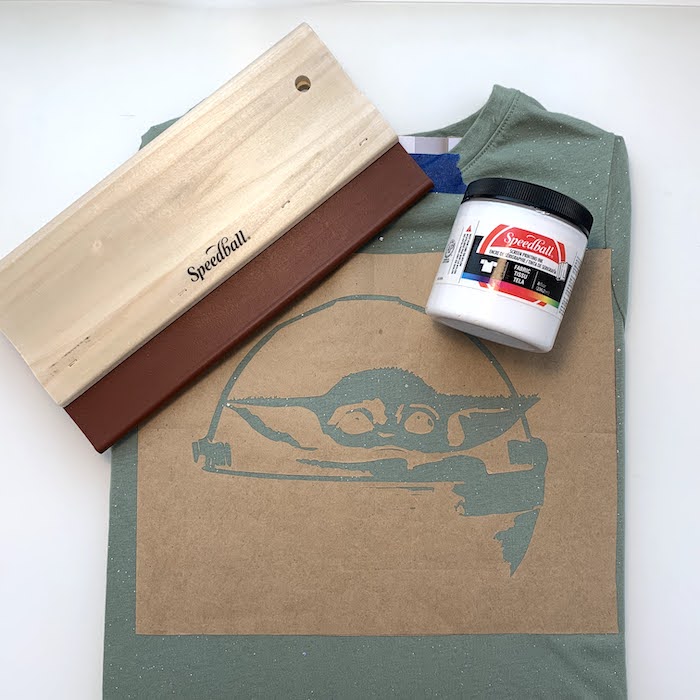
Step 8
The squeegee I used is wide enough to cover the entire image in one pass. That way, there won’t be any drag lines from the edge of the squeegee.
The hard part is waiting for it to dry. I just set it aside and started working on another project.
I let it dry for a few hours. Some suggest to let it dry overnight. But, I was careful and was able to peel the freezer paper off without getting ink anywhere.
I used my weeding tool to get the small pieces up.
Step 9
The squeegee I used is wide enough to cover the entire image in one pass. That way, there won’t be any drag lines from the edge of the squeegee.
The hard part is waiting for it to dry. I just set it aside and started working on another project.
I let it dry for a few hours. Some suggest to let it dry overnight. But, I was careful and was able to peel the freezer paper off without getting ink anywhere.
I used my weeding tool to get the small pieces up.
Step 10
Once it’s dry, you’ll have to go over it again with the iron to heat seal it. I use a Teflon sheet, but you could also use parchment paper. That’s it! Easy peasy!
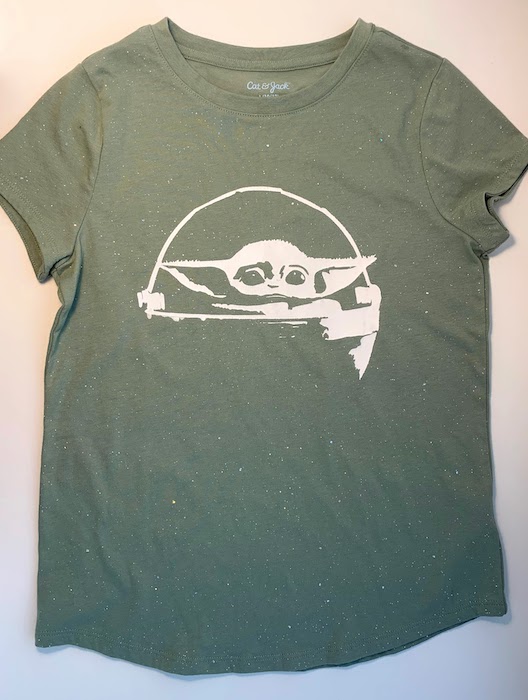
I think it turned out cute and Bug loves it!
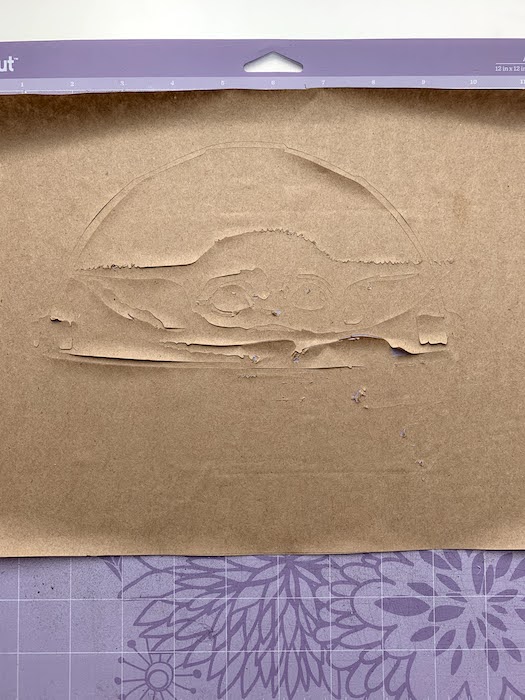
BLOOPERS
The design I chose had small jagged edges. It would probably cut vinyl a lot easier than it cuts freezer paper. I didn’t have my material settings on freezer paper at first (I had it on wax paper). So, it took a few tries to get it to cut right.
I also used my light-grip mat initially. I switched it up to my heavy-grip mat, and that worked a lot better.