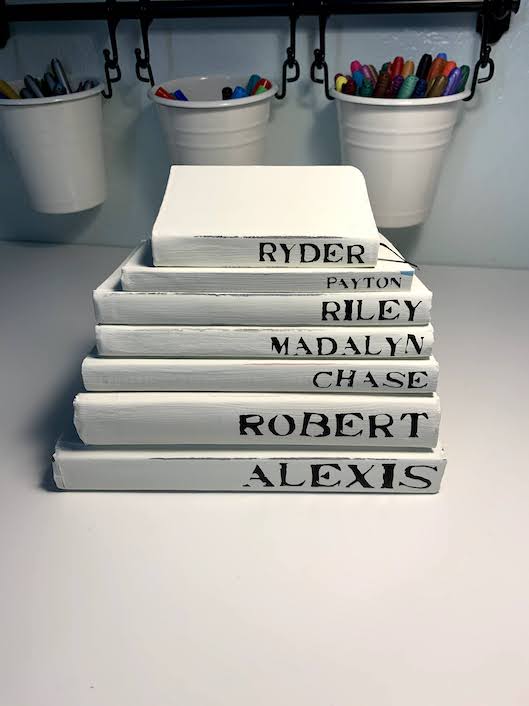
Make Your Own Farmhouse Stacked Books
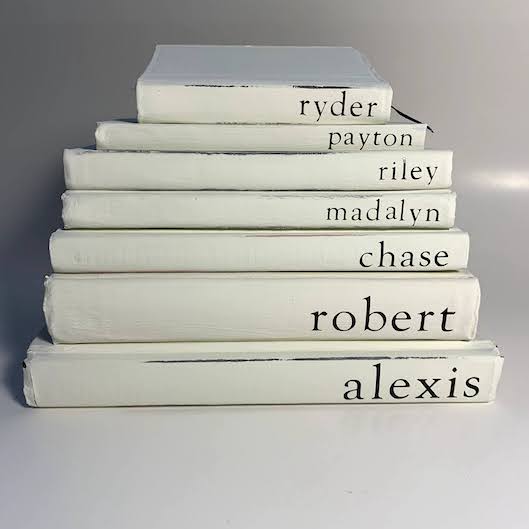
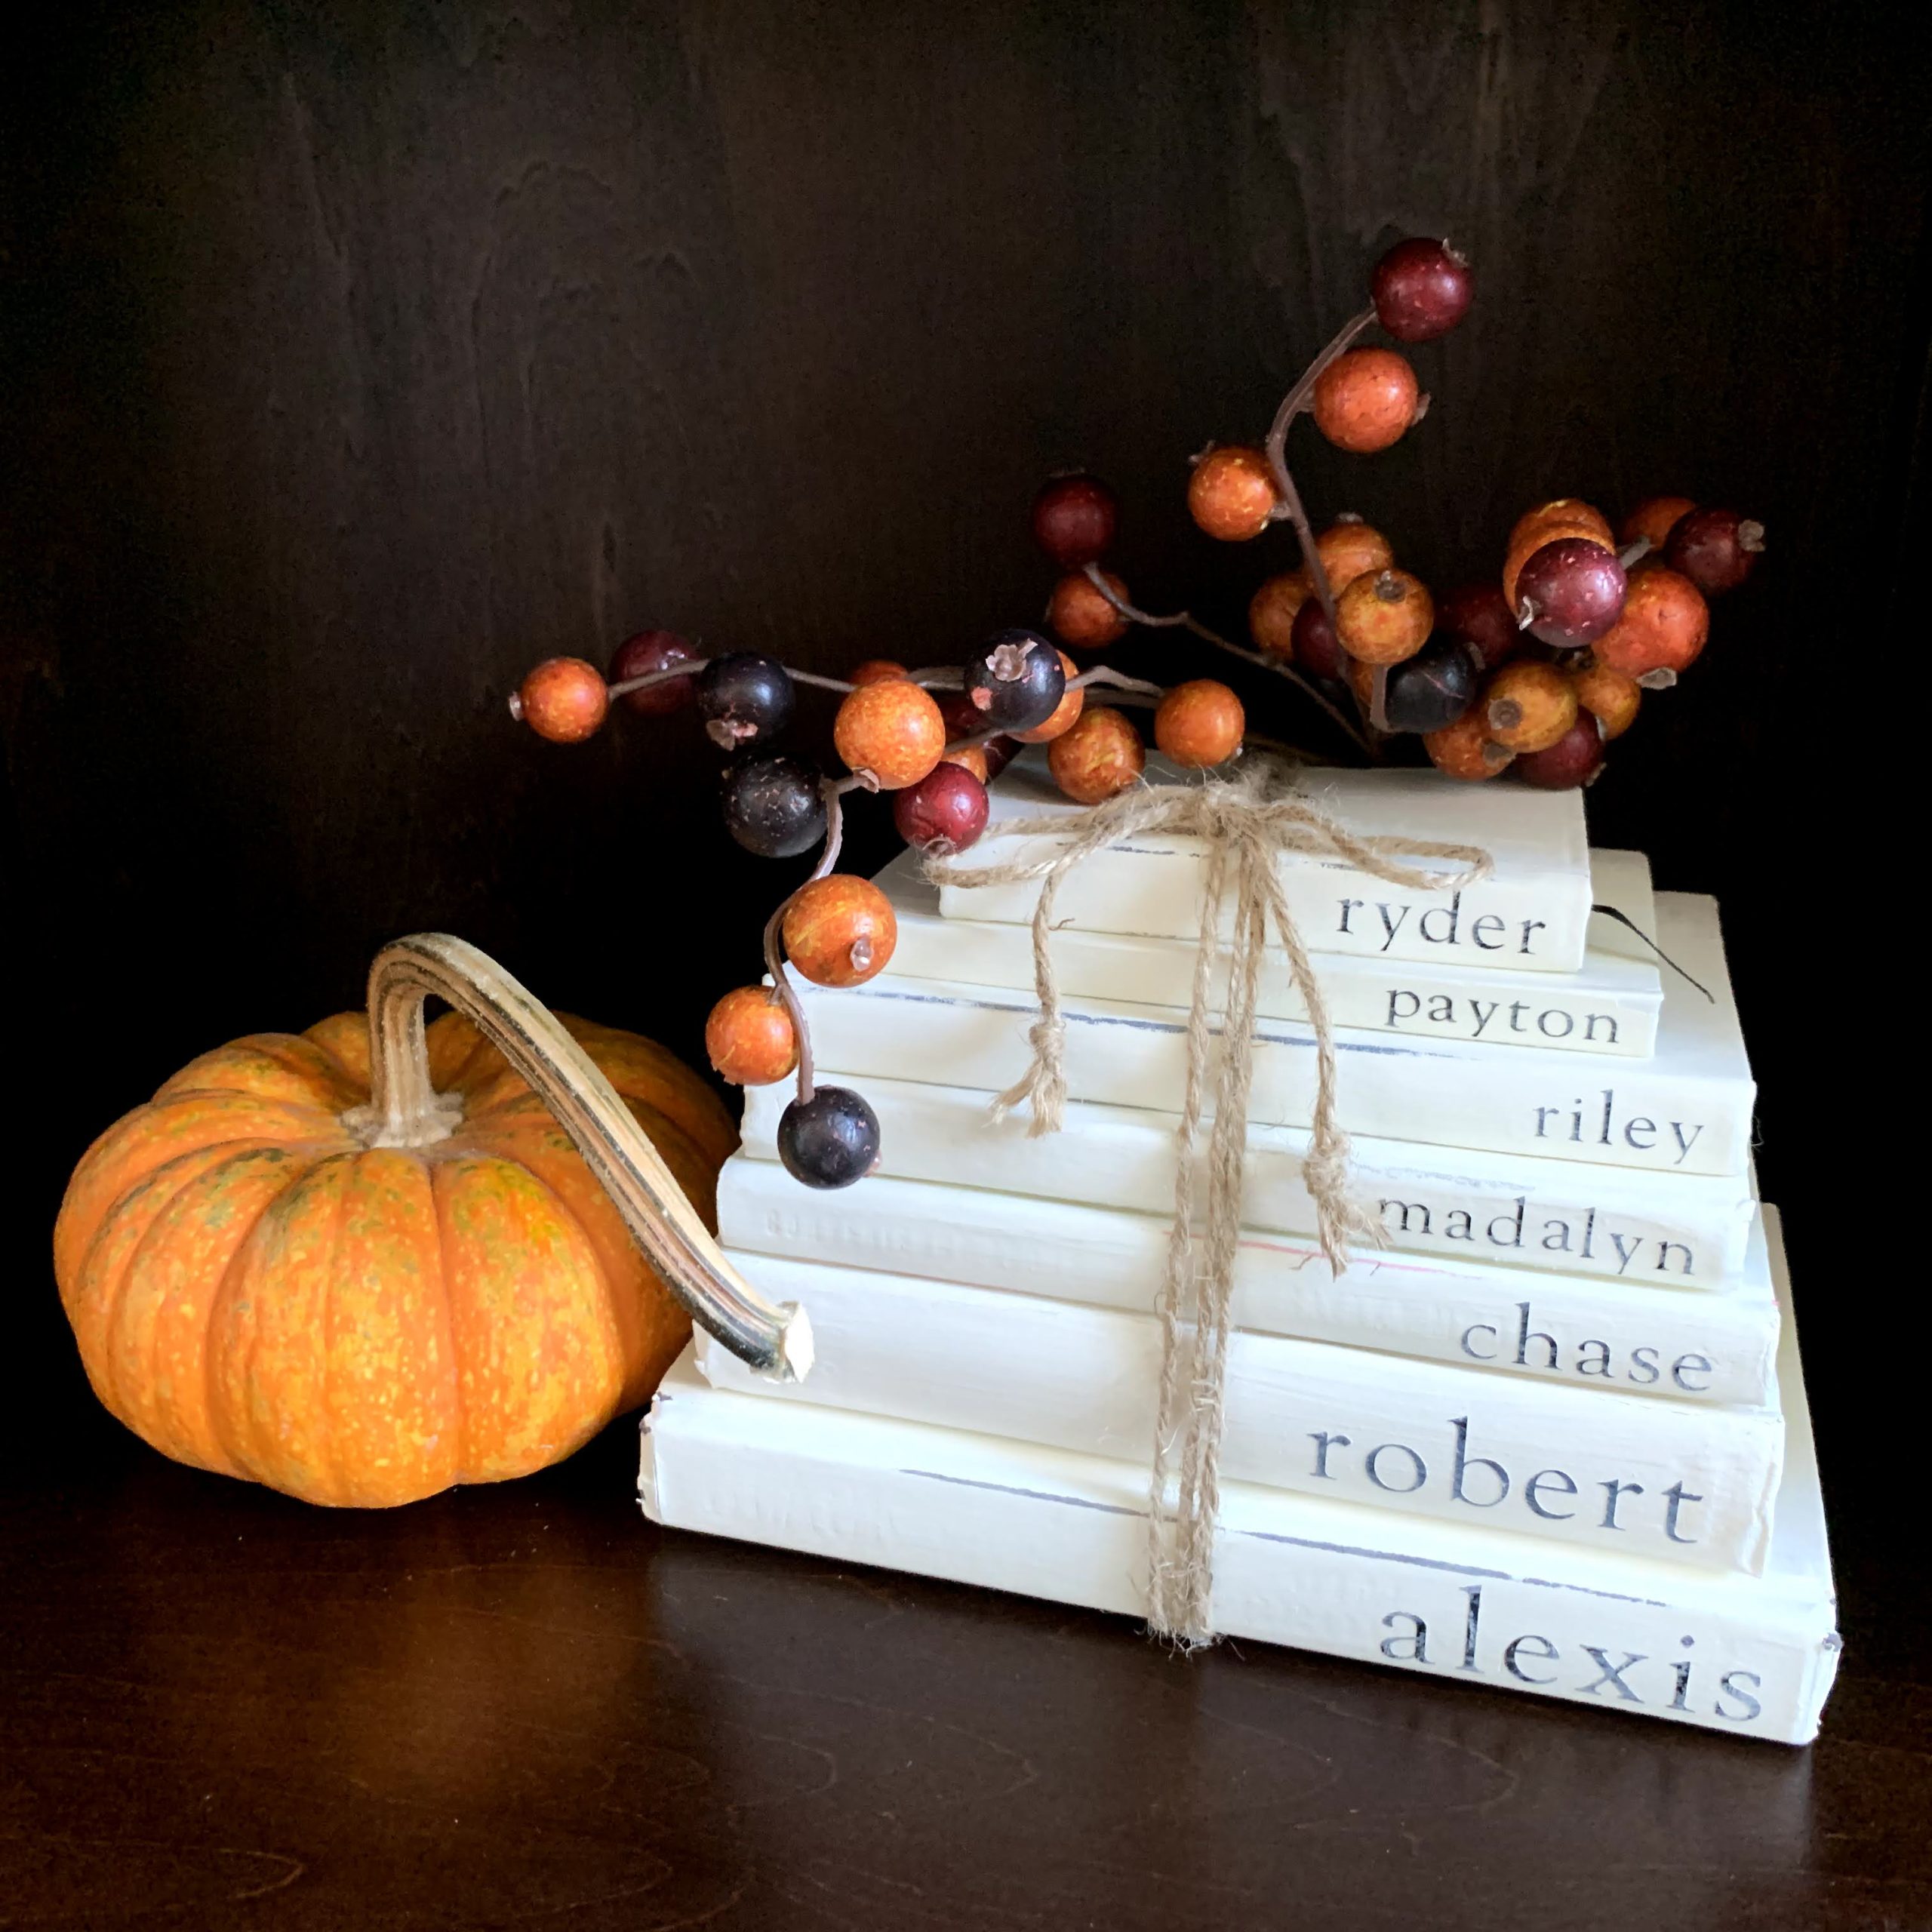
I jumped on the Farmhouse Stacked Books bandwagon! I just love how they look! We have a billion kids, and my soon-to-be grandson, Ryder, is due in a few weeks! I am so excited! So I had to add one for him, too!
They turned out adorable and are super easy to make!
The ones that I have seen online are usually all the same size. But, because I needed to stack seven of them, I thought I’d try doing them in sizes that range from big to small.
I had most of the books sitting on my bookshelves already. But, I did purchase the two smallest ones at the Dollar Tree for this project. One of them is actually a little journal. It was the size I was looking for, and it was going to be painted anyway.
Some of the links in this post are affiliate links. This means if you click on the link and purchase the item, I will receive an affiliate commission at no extra cost to you. All opinions remain my own. Please read my full disclosure for more info.
SUPPLIES
- Books
- Waverly Chalk Paint (Wal-Mart)
- Permanent Vinyl, Black
- Jute or Twine
TOOLS
- Paint Brushes
- Sanding Block
- Scissors
- Cricut (or you can scissors)
HOW TO
Step 1
Collect your books and clean them with a damp cloth.
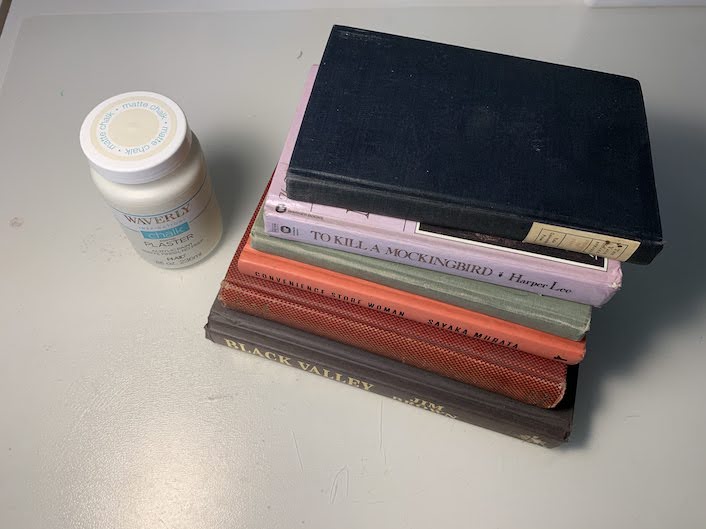
Step 2
Lay your books out and paint with Chalk Paint.
After you’re done painting the book covers, you can shabby them up by sanding the edges a little.
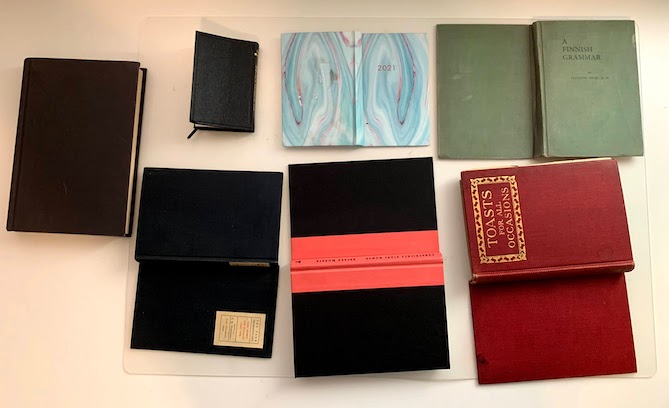
Step 3
Measure the spines and cut out each name or word with your Cricut. You can also use a stamp or pre-cut letters.
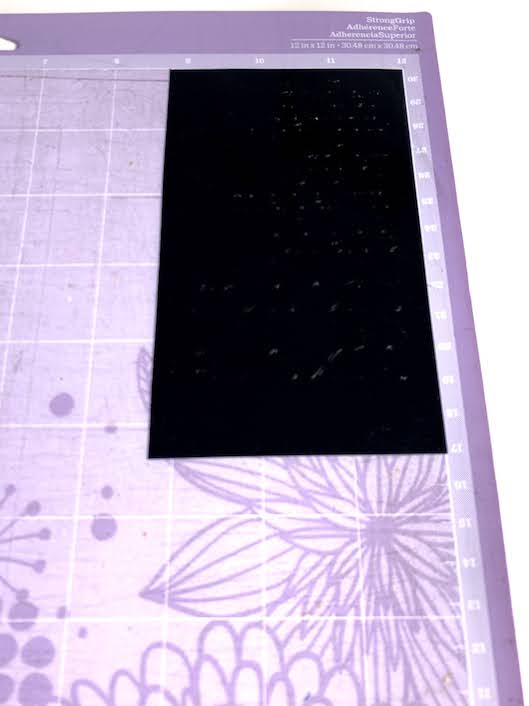
Step 4
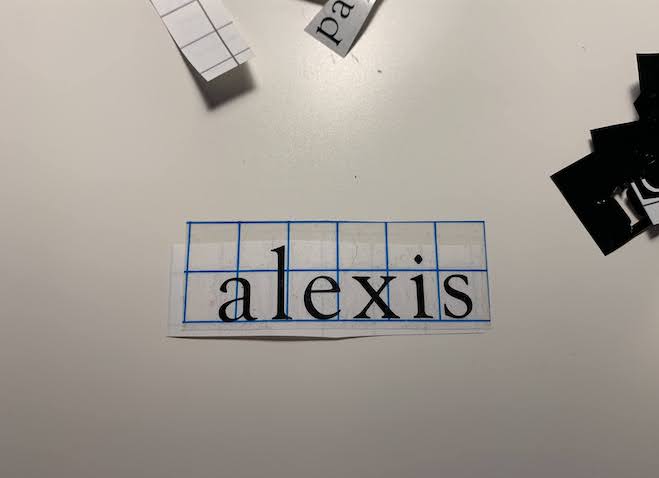
After cutting the names out with my Cricut, I weeded out the extra vinyl.

Step 5
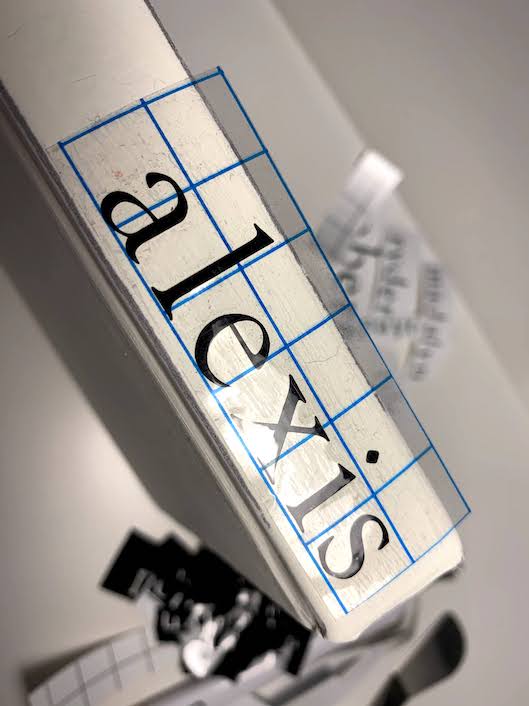
I used a piece of transfer tape on each name and applied it to each book’s spine.
Step 6
I used my scraper tool and rubbed all of the letters onto the books.
Step 7
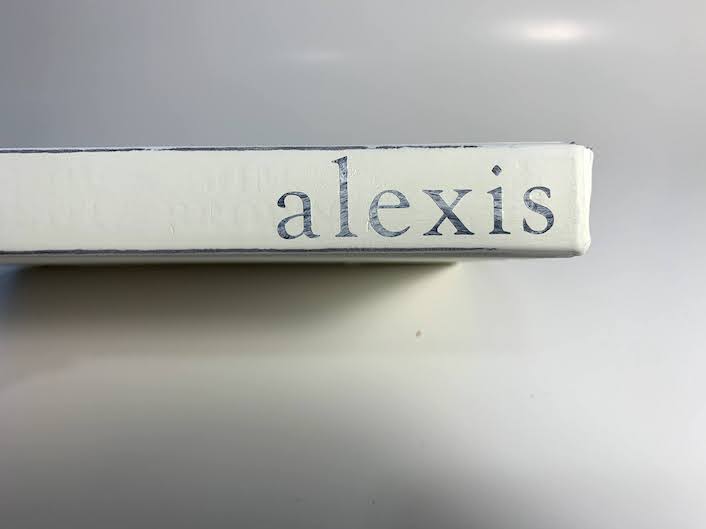
I felt like the letters were too glossy for the shabby books.
Step 8
So, I used a small makeup brush that I keep in my paint supplies and dabbed on a little of the chalk paint over the letters.
Step 9
Next, I took a dry paper towel and wiped some of the paint off. It worked like a charm!
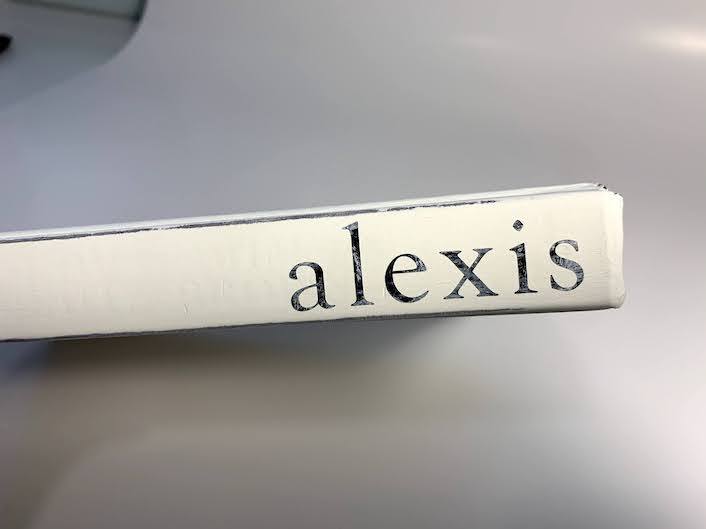
Step 10
Let the paint dry. This chalk paint only needs a few minutes to dry.
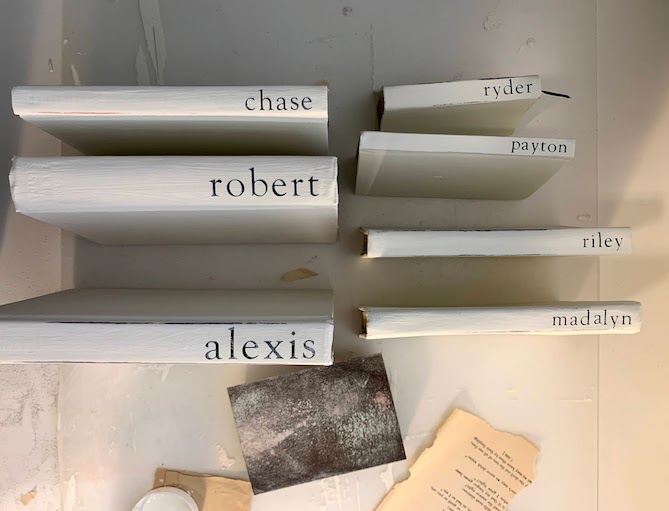
Step 11
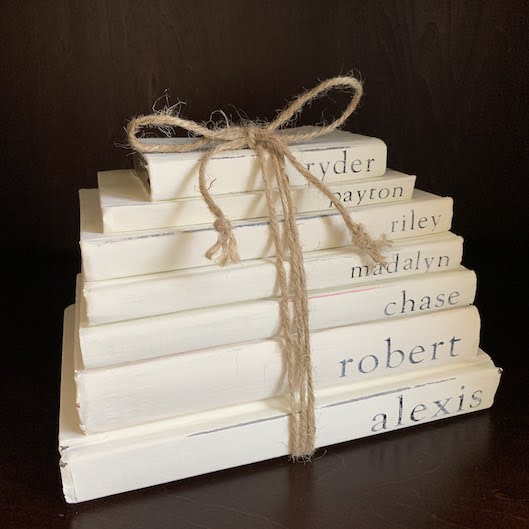
Wrap in jute. (Twine) Then, tie a bow on the top.
I put little knots at the ends of the string and then frayed them.
BLOOPERS
I thought it would be fun to use this old typewriter font on the books.
But, after I applied the names and stacked them all up, I didn’t like how it looked.
So, I had to use my weeding tool to take all the letters off and try again.
And…I painted them so quickly that I got paint all over the edges of the pages. I let it dry and used sandpaper to get it off. :/ Phew!
And, And… one of the books was red when I started and it took at least 5-6 coats to cover it because it kept bleeding. I think it still has a hint of pink. If you’re trying to figure out which one it is, it’s the one that says “robert”.
