Hey There, Pumpkin!
Friends! This doormat was so easy!! Let me show you how to make your own!
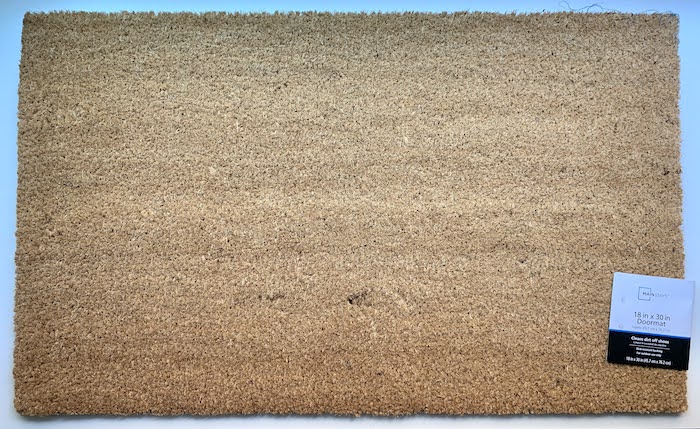
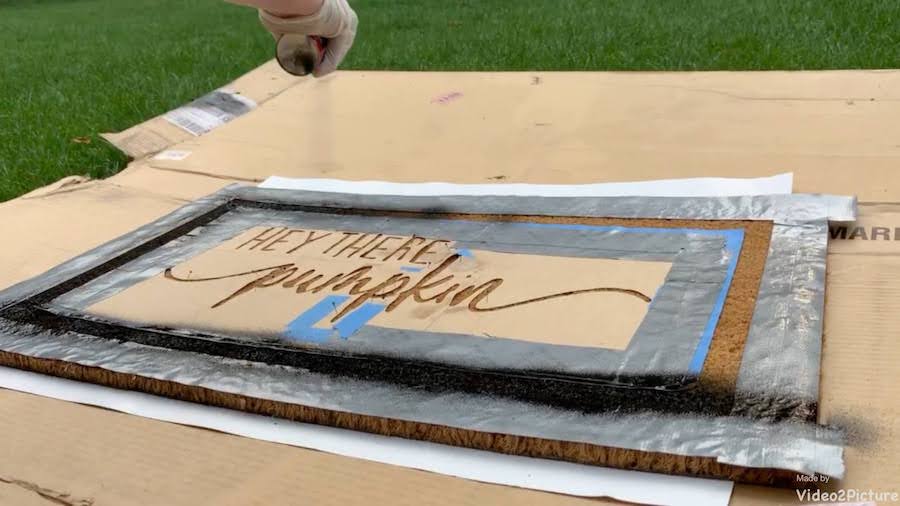
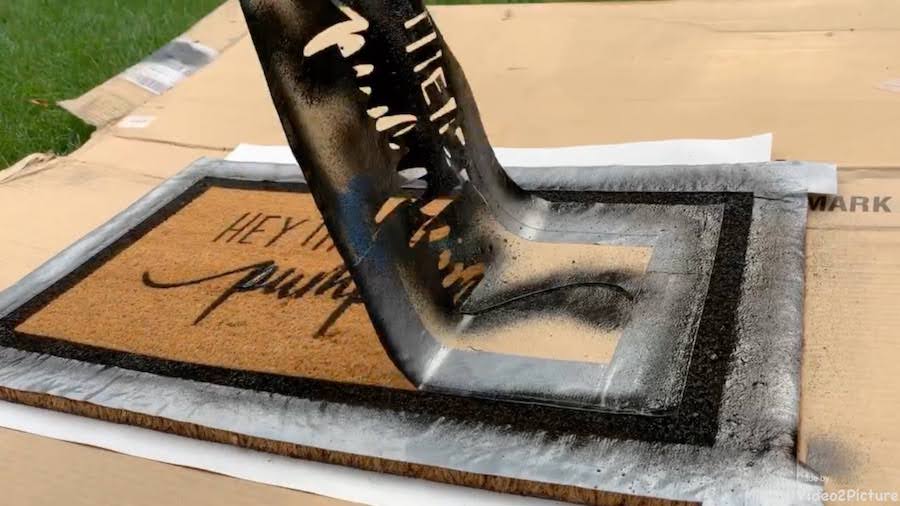
You really only need two things. A coir doormat and Flex Seal. Have you heard of either of these? LOL, sure you have! A Coir doormat, also known as a Coco mat, is made for the outdoors. It’s made from coconut husk fibers. The Flex Seal is black rubbery glue. I didn’t realize what it was until the Little Hunter pointed it out.
Little Hunter: You’re using Flex Seal?!? Cool!
ME: How in the world do you know what Flex Seal is?
Little Hunter: Cuz, it’s that stuff that guy uses on the commercial to make the glass boat!
ME: Oh, yeah!
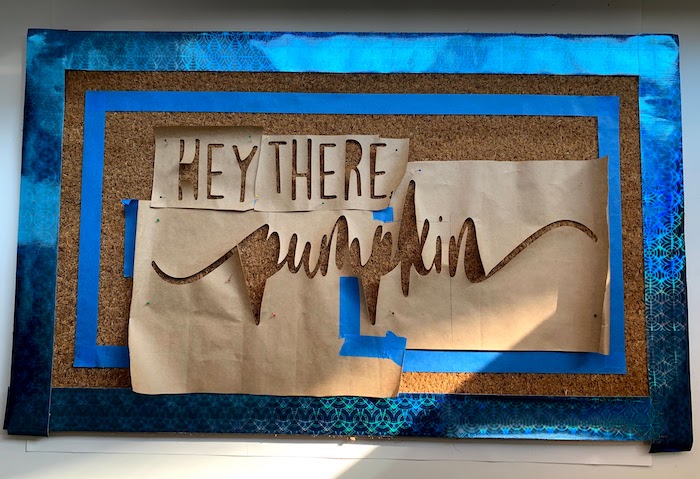
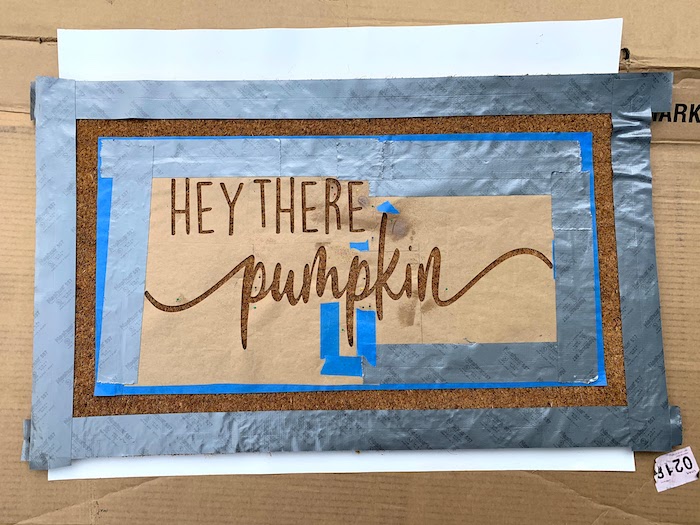
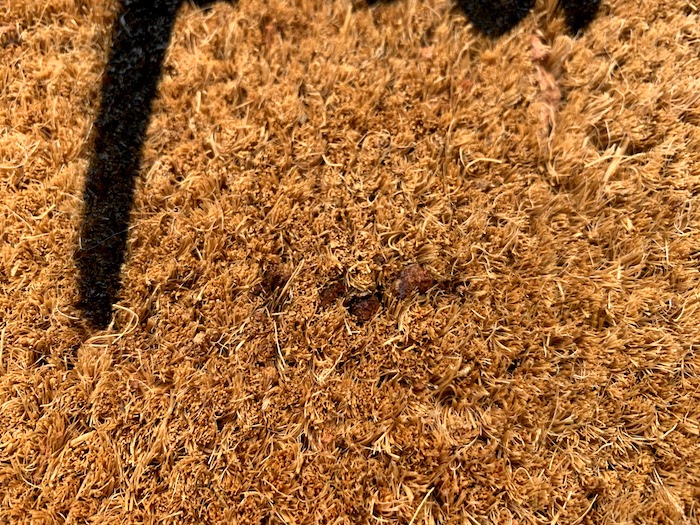
I found the coir doormat at Wal-Mart for $5.97. It has a couple of flaws. You can see them under the word “pumpkin.” But it was the last one on the shelf, so I bought it anyway. I purchased the Flex Seal at The Home Depot for $4.98.
They are so inexpensive and easy to make. I plan to make ones for every season!!
Some of the links in this post are affiliate links. This means if you click on the link and purchase the item, I will receive an affiliate commission at no extra cost to you. All opinions remain my own. Please read my full disclosure for more info.
SUPPLIES
- Coir (CoCo) Doormat
- Flex Seal Aerosol (2 oz)
- Freezer Paper
- Duct Tape (2 inches)
- Masking, Blue, or Duct Tape (1 inch)
- Latex Gloves
- Sewing Pins
- Paper Towels
TOOLS
- Iron
- Scissors
- Cricut (or you can cut out your design with scissors)
- Weeding Tools for Cricut
HOW TO
Step 1
Start with a new Coir (Coco) Doormat.
![coir doormat](https://flyanddesign.com/wp-content/uploads/2020/10/IMG_5858.jpg)
Step 2
Outline the edge of a doormat with 2-inch Duct Tape.
NOTE: At first, I used this cheap stuff, but you’ll see later on that I switched it out for strong quality duct tape.
![Duct Tape Border on doormat](https://flyanddesign.com/wp-content/uploads/2020/10/IMG_5859.jpg)
Step 3
Place 1-inch tape inside the border.
This is just a placement piece that will be removed after the next step.
![Doormat with tape](https://flyanddesign.com/wp-content/uploads/2020/10/IMG_5860.jpg)
Step 4
Add another inner-border of 1-inch tape.
Be careful not to overlap the other tape. Try and butt it up as close to the other ones as possible.
![mat with tape](https://flyanddesign.com/wp-content/uploads/2020/10/IMG_5861-300x192.jpg)
Step 5
Now remove that placement piece of tape. This is where it’s going to get painted.
![Doormat with tape removed](https://flyanddesign.com/wp-content/uploads/2020/10/IMG_5862.jpg)
Step 6
Cut your design out using Freezer Paper.
You can use a Cricut or Scissors.
I only had scraps of Freezer Paper in my stash, so I had to do it in several pieces.
![Freezer Paper cut out](https://flyanddesign.com/wp-content/uploads/2020/10/IMG_5863.jpg)
Step 7
The Freezer paper curls after you remove it from the Cricut mat.
I used sewing pins to secure it to the mat temporarily.
![freezer paper cutouts](https://flyanddesign.com/wp-content/uploads/2020/10/IMG_5864.jpg)
Step 8
Iron the freezer paper to the mat. I used the “cotton” setting.
Using Duct Tape, secure any exposed area that you do not want to get paint on.
![Freezer Paper design taped down.](https://flyanddesign.com/wp-content/uploads/2020/10/IMG_5865.jpg)
Step 9
Using Flex Seal, spray straight down so that you don’t get it under your stencil.
Make sure you do this outdoors.
Spray two coats.
![doormat with flex seal](https://flyanddesign.com/wp-content/uploads/2020/10/IMG_5963.jpg)
![Flex Seal painted on template](https://flyanddesign.com/wp-content/uploads/2020/10/IMG_5965.jpg)
Step 10
Pull up the stencil as soon as you’re done spraying it with Flex Seal.
Do not wait until it dries to pull it up.
![Removing the Freezer Paper Template](https://flyanddesign.com/wp-content/uploads/2020/10/IMG_5966.jpg)
Step 11
Let it dry for a couple of hours before moving it. Then, let it dry 24 hours to cure.
Take pictures of your accomplishment!!!
This mat was so simple and fast.
![Hey There Pumpkin Doormat](https://flyanddesign.com/wp-content/uploads/2020/10/IMG_5910.jpg)
![hey there pumpkin doormat with pumpkins](https://flyanddesign.com/wp-content/uploads/2020/10/IMG_5917-scaled.jpg)
BLOOPERS
I don’t this really qaulifies as a blooper, but the mat had some imperfections in it when I purchased it. You can see it in the picture. There’s one spot under the “u” and one under the second “p”.
It was the last mat on the shelf, so I bought it anyway. Oh, well.
![Hey There Pumpkin Doormat](https://flyanddesign.com/wp-content/uploads/2020/10/IMG_5945.jpg)
![Imperfections with the mat](https://flyanddesign.com/wp-content/uploads/2020/10/IMG_5872.jpg)