
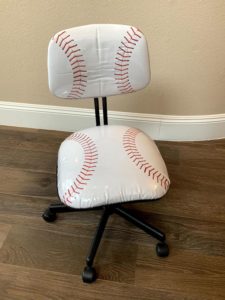
Baseball Chair
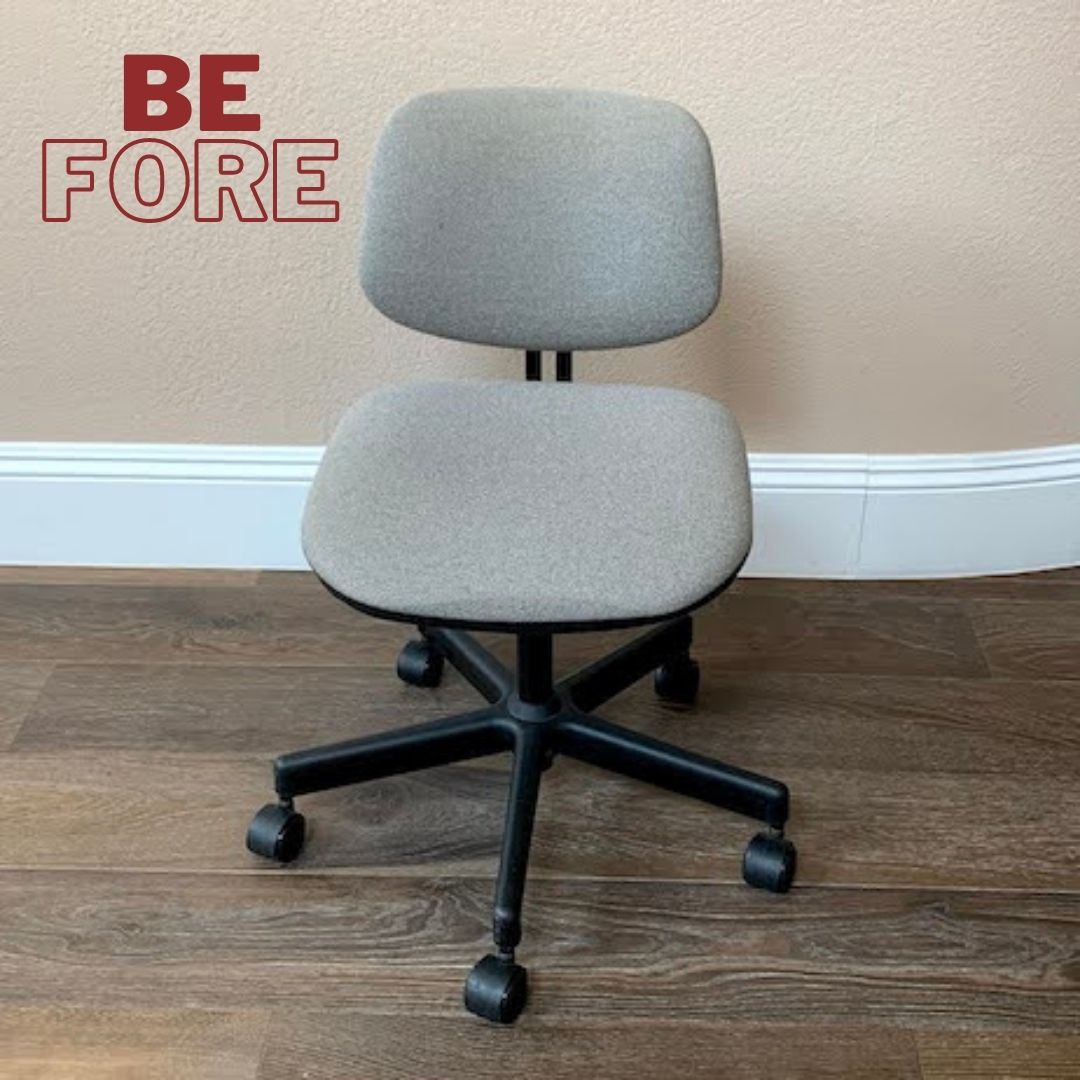
Little Hunter recently inherited his Great Grandfather’s desk chair. It was perfect timing as we are in the middle of distance learning, and he has to sit at his desk all day. Goodbye, dining chair!!
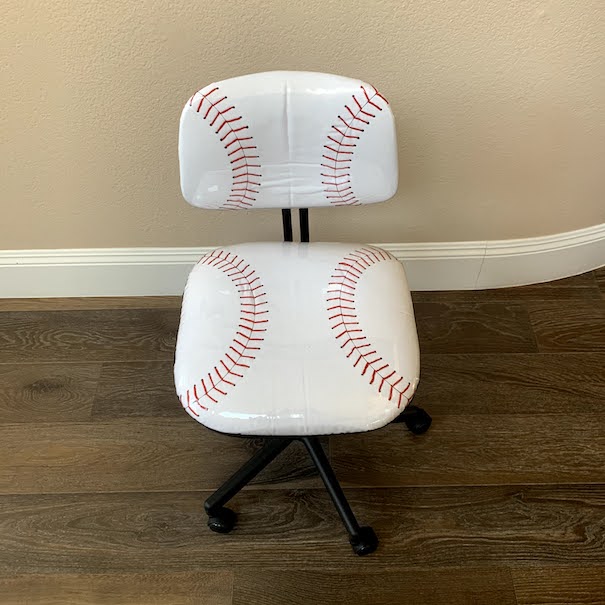
One of Little Hunter’s favorite activities is baseball! So, I thought I’d give this chair a little makeover, baseball style. I thought the leftover white vinyl from my Tufted Desk Chair would be the perfect material to use since it looks like the leather of a real baseball. But, after making a few mockups, I ended up using white duck fabric.
I was able to make an image in Inkscape to iron onto the fabric to use as a guide for the stitches. I then hand-stitched all of the stitches. Then, I covered the whole thing in clear vinyl to protect it. Little Hunter loves it!
Don’t get rid of those old chairs; just give them a little makeover.

Some of the links in this post are affiliate links. This means if you click on the link and purchase the item, I will receive an affiliate commission at no extra cost to you. All opinions remain my own. Please read my full disclosure for more info.
SUPPLIES
- Desk Chair
- White Duck Fabric
- Clear Vinyl 137 CM thick
- Red (817) Embroidery Floss (I used 3 skeins.)
- Black HTV (Heat Transfer Vinyl) or Iron-On
TOOLS
- Cricut (or you can cut out your design with scissors)
- Embroidery Needle (or large sewing needle)

HOW TO
Step 1
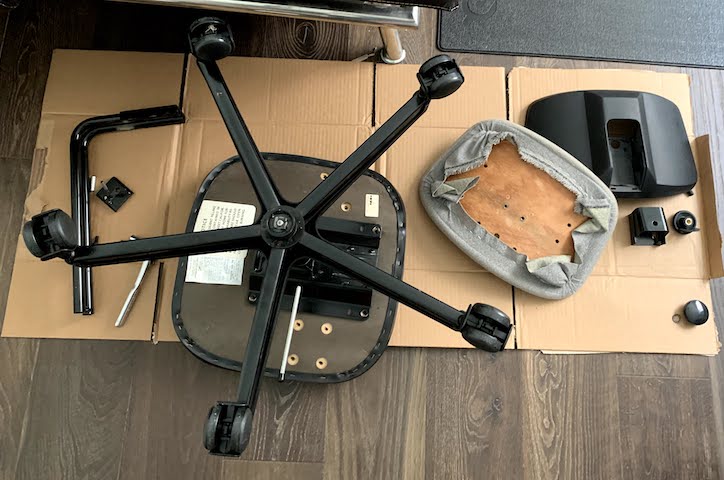
Disassemble your desk chair being sure to document where all the screws and pieces go. TIP: Take pictures as you go so that you’ll know how to put everything back.
Step 2
Strip all of the material off of the seat bottom and seat back.
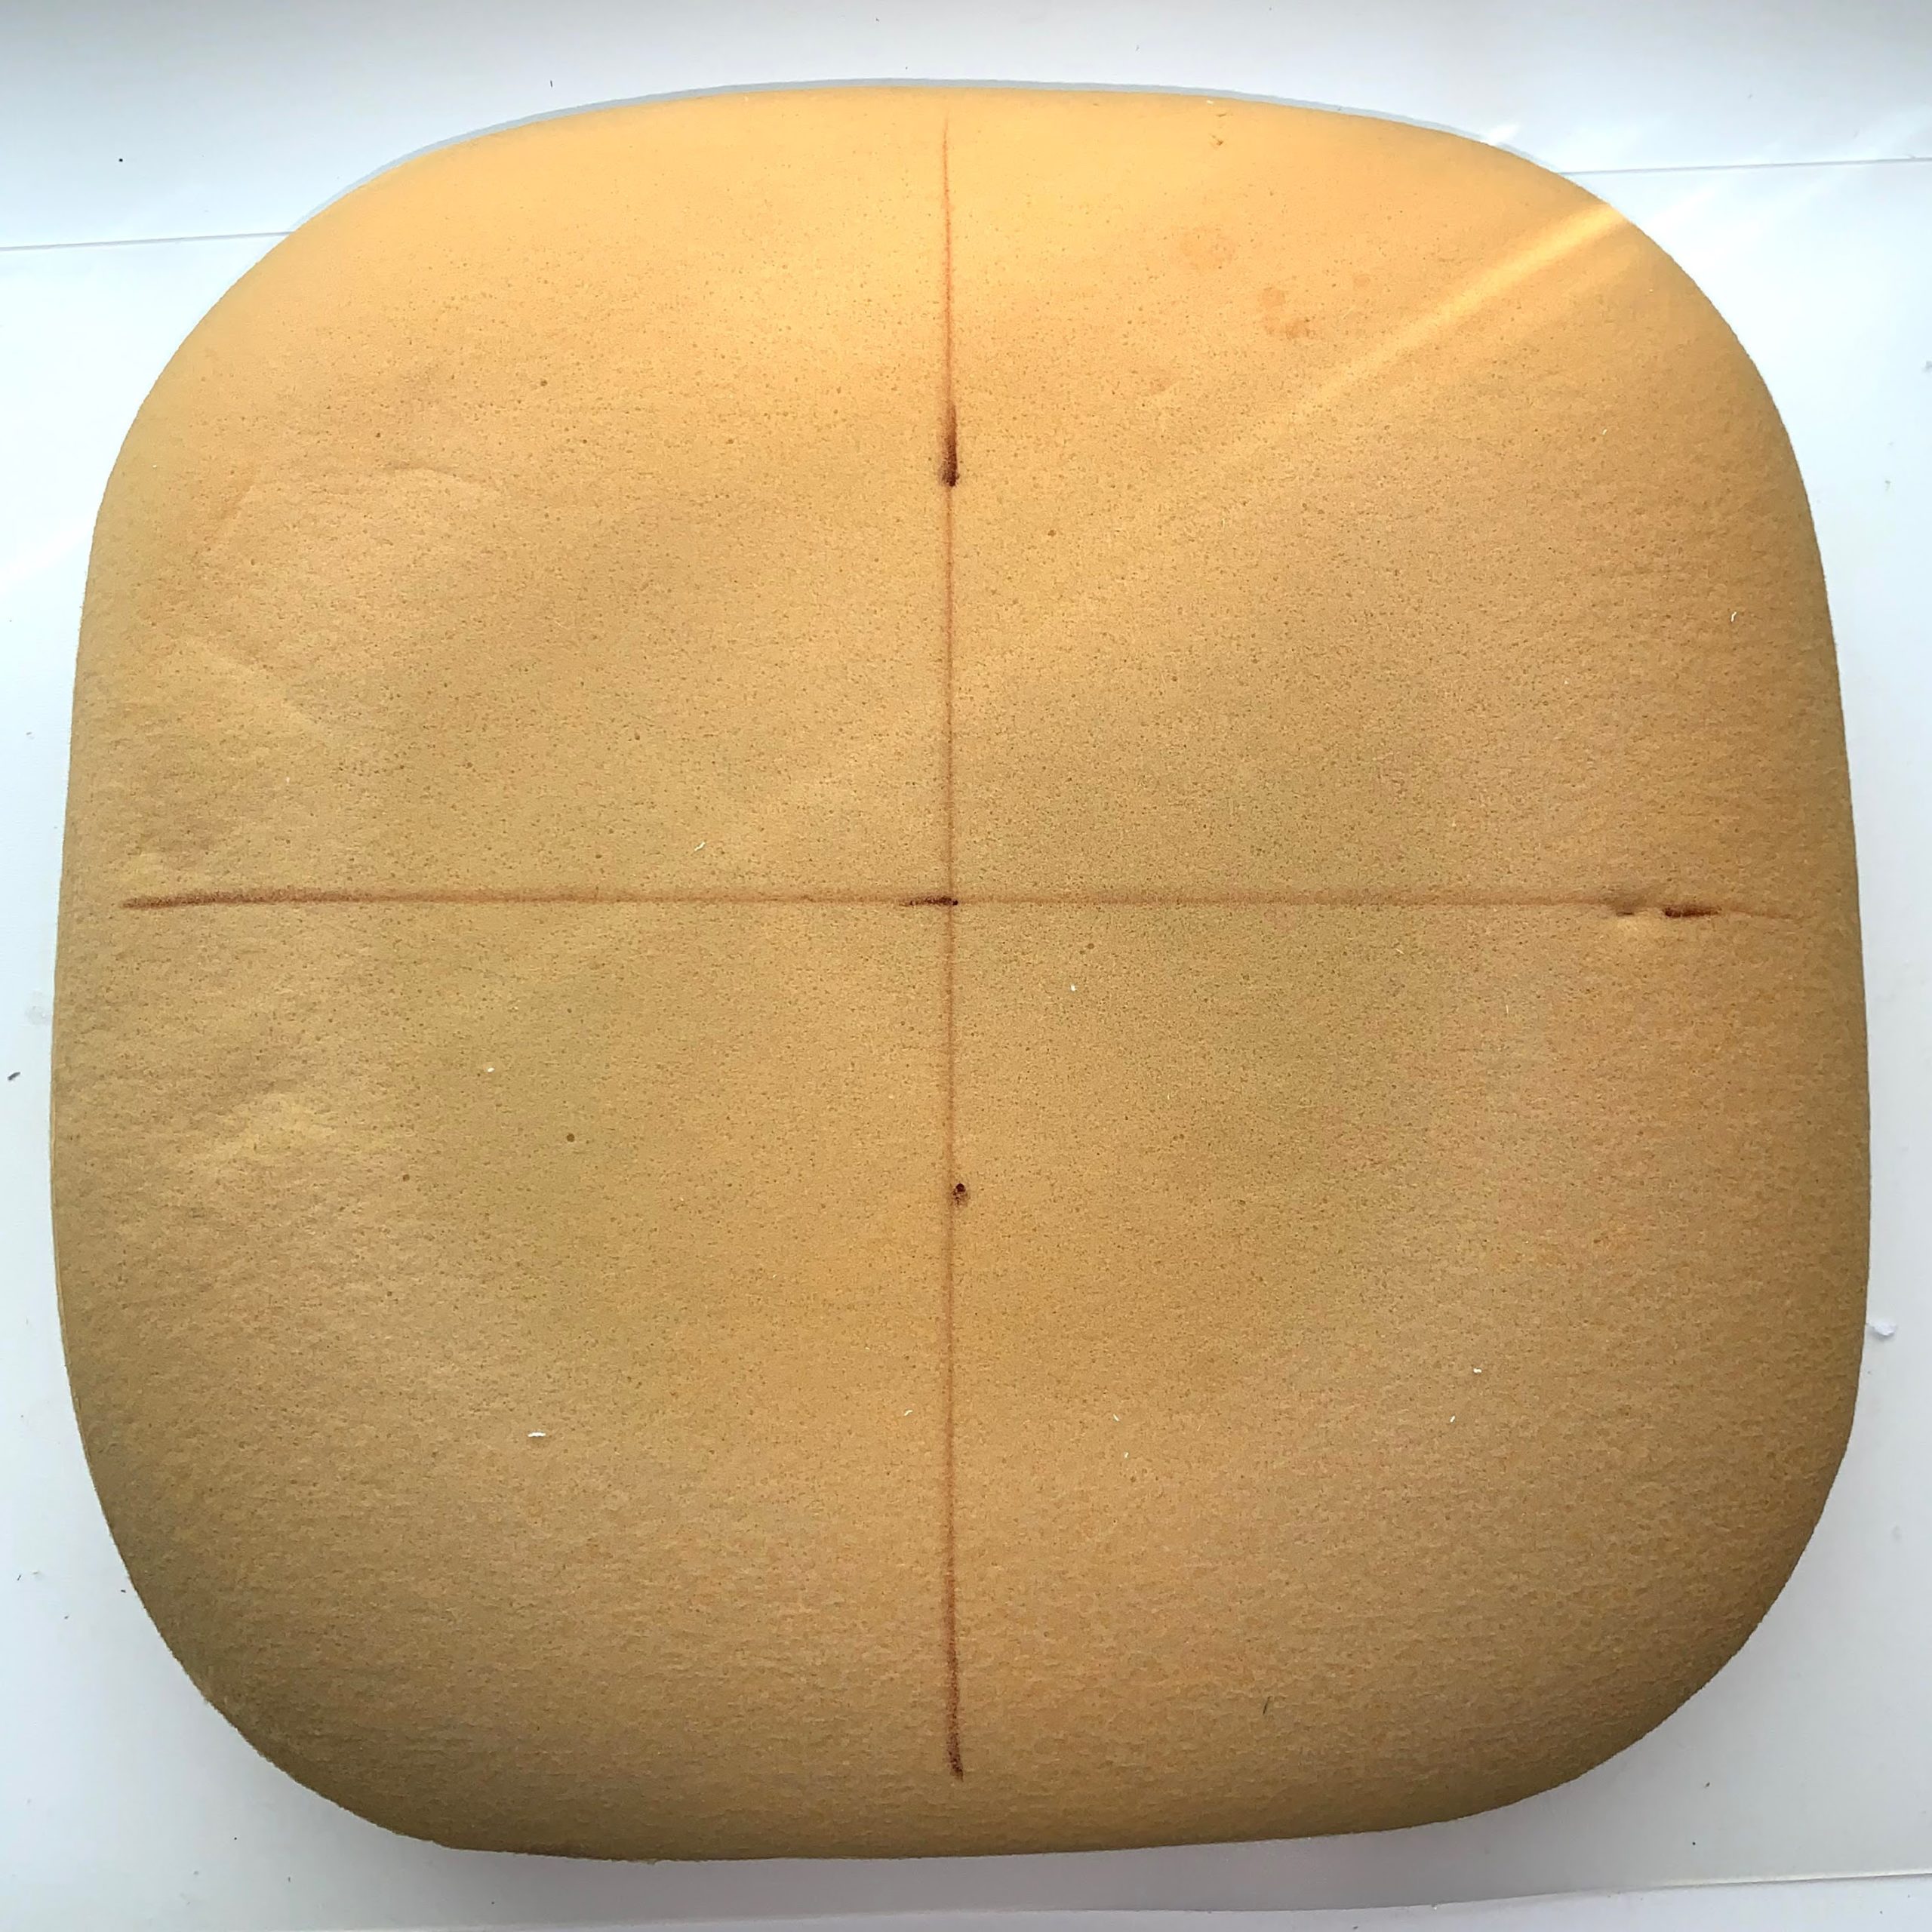
Mark the center of your foam with crosshairs so that you can put the fabric on straight.
Step 3
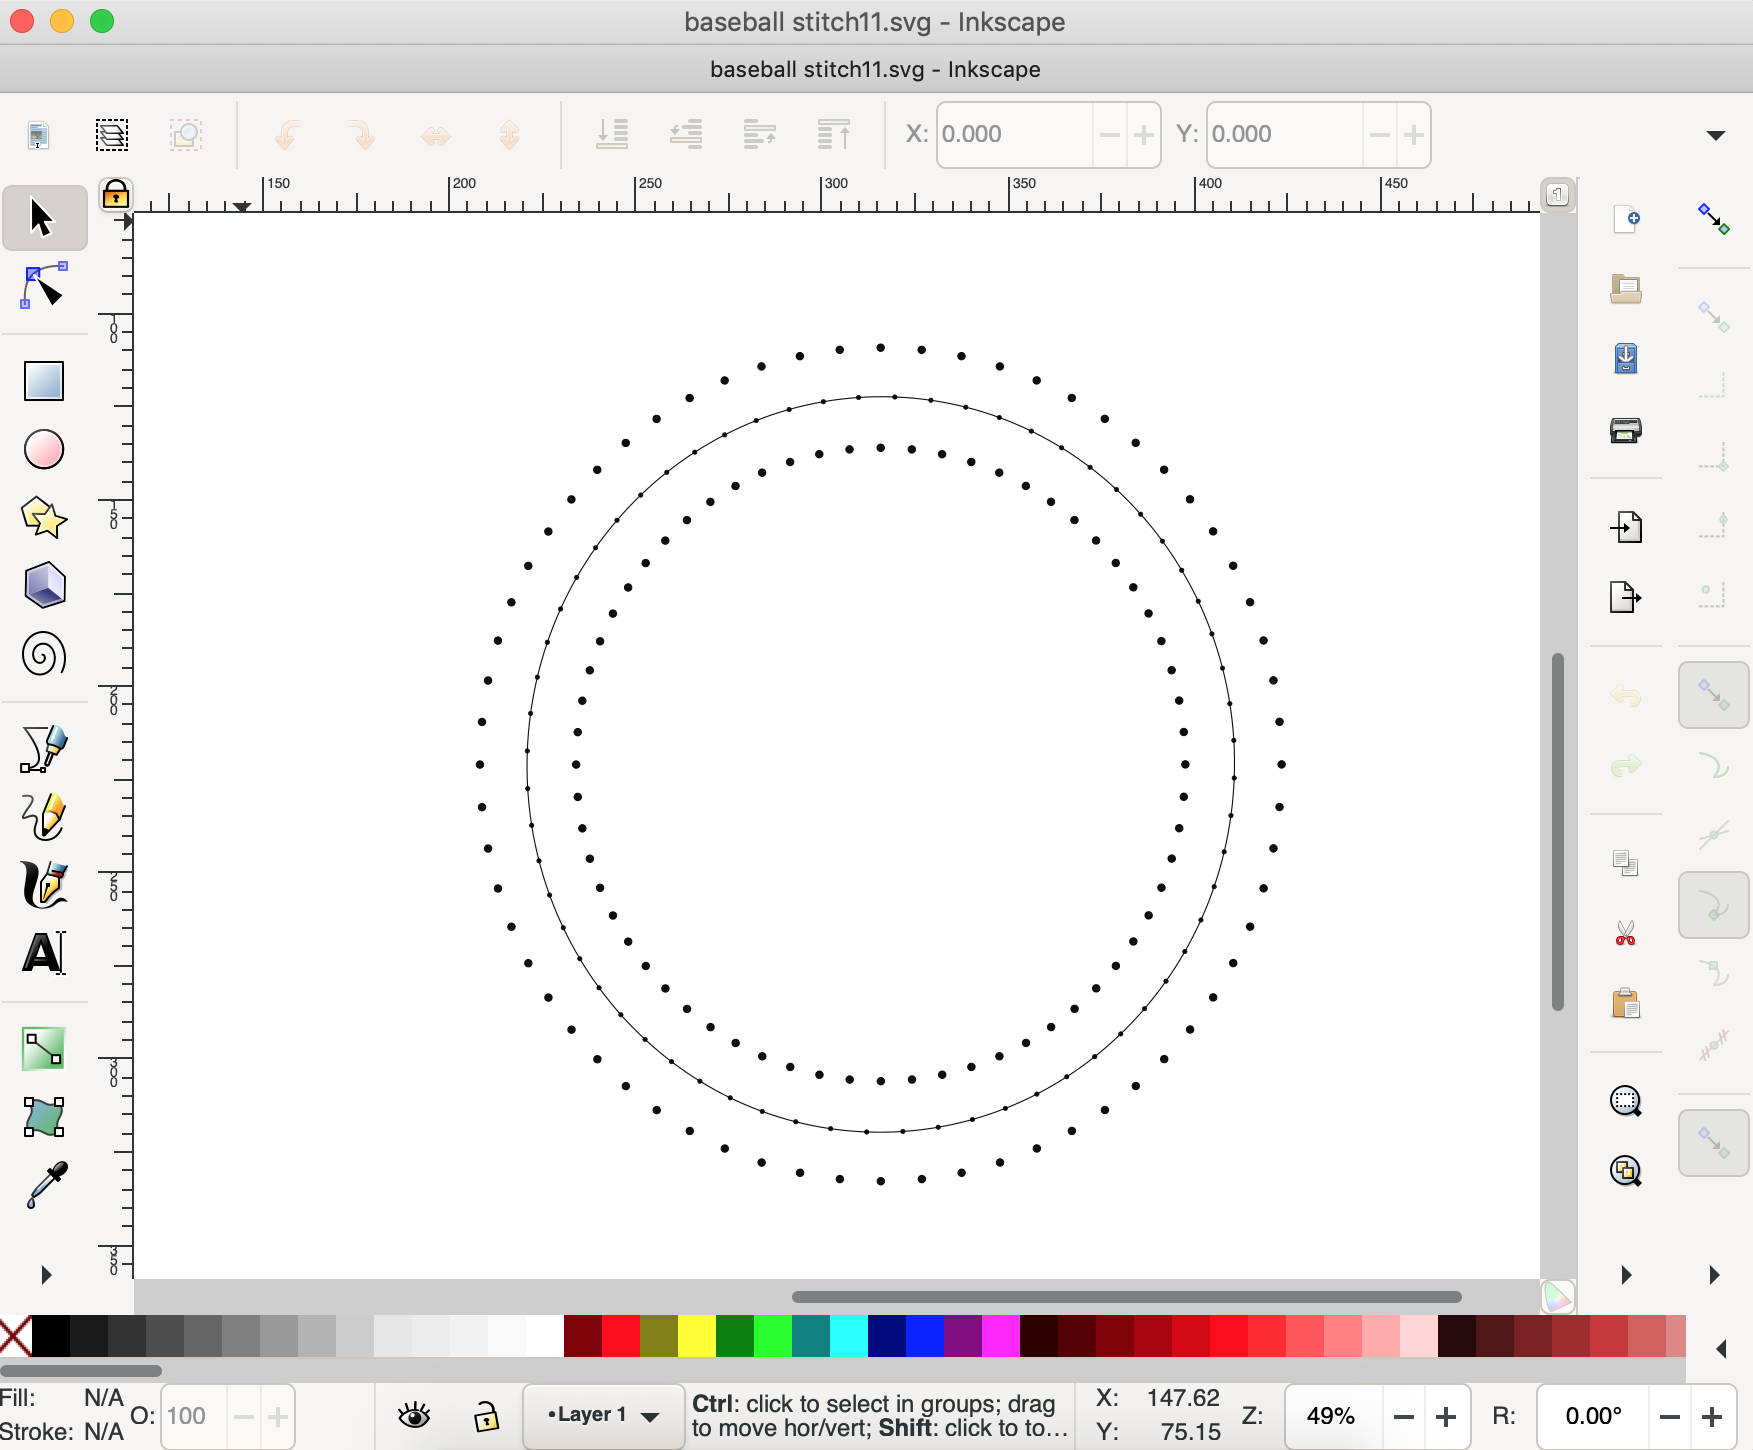
I created this design using Inkscape. I imported it into Cricut Design Space and split the design in half. I cut them out using black HTV (Heat Transfer Vinyl).
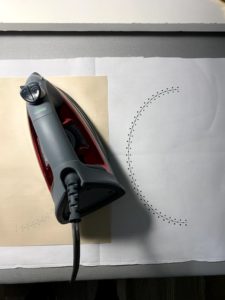
I then ironed it onto the duck fabric 4 inches apart.
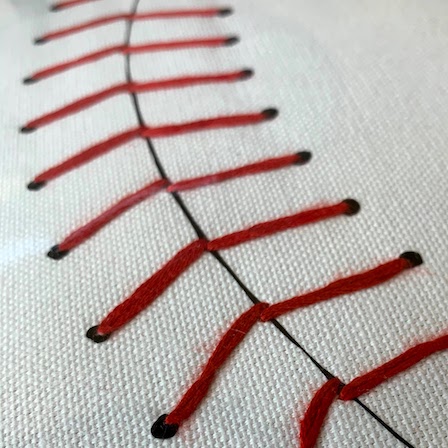
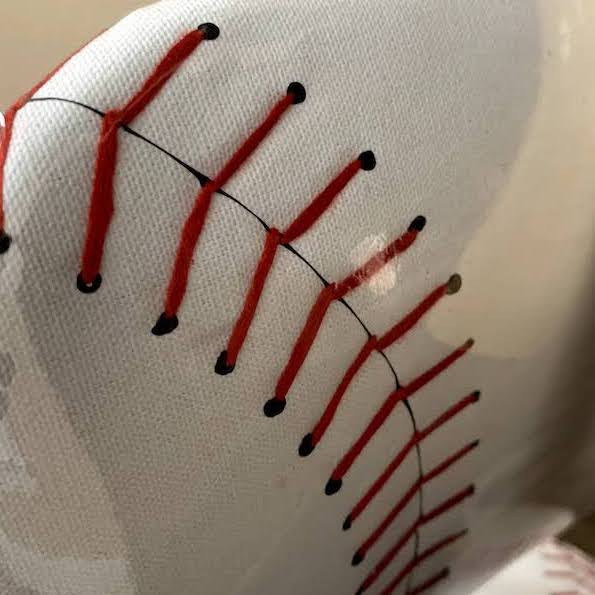
The dots were the little holes that the stitches on a baseball make. But, I used them as a template so that all of my stitches were uniform. The line was the seam of the stitches on a real baseball.
Step 4
I then ironed it onto the duck fabric 4 inches apart.
The dots were the little holes that the stitches on a baseball make. But, I used them as a template so that all of my stitches were uniform. The line was the seam of the stitches on a real baseball.
The dots were the little holes that the stitches on a baseball make. But, I used them as a template so that all of my stitches were uniform. The line was the seam of the stitches on a real baseball.
Using your red embroidery floss and needle, start with one end and sew the stitches onto the fabric.
Step 5
Fold your fabric in half and iron down the middle making crosshairs on your fabric. This will help you line it up onto the crosshairs on your foam.
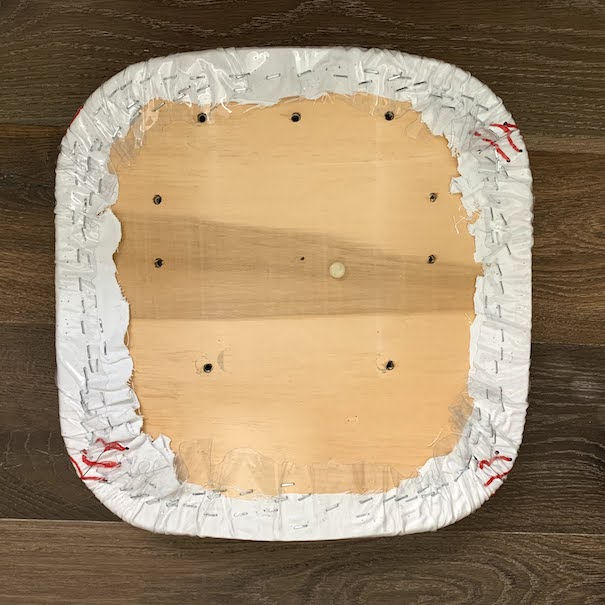
Begin stapling your fabric on the wood
Step 6
Next, add a piece of clear vinyl over the top to protect it.
I used a blow dryer to heat the vinyl around the edges, as I was stapling, to give it a smooth finish.
Step 7
I just reused the piece of cardboard that was on the chair previously. I flipped it over so that the faded side wasn’t showing. I stapled that on.
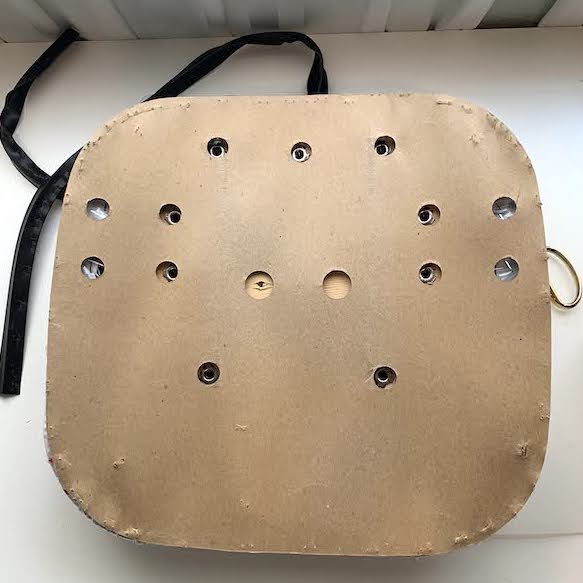
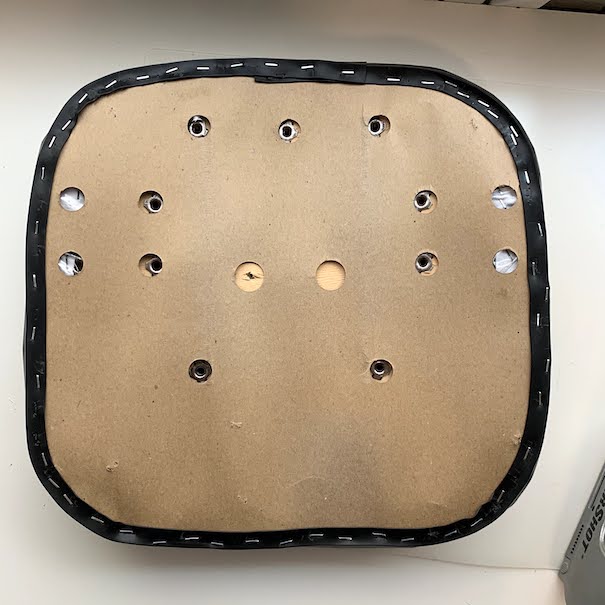
Step 8
Then, I reused the black rubber piece to finish it off.
Once the seat bottom was done, I did the same thing to the seat back.
Then I reassembled the chair. Voila!
Do you have an office chair that you can give a mini makeover to? Post pics!
BLOOPERS
So many bloopers, where do I start?
First, I had to try to iron the iron-on in many different ways. What I finally ended up doing, which I should have done from the start, was to import a picture of an actual baseball and use those measurements. It worked perfectly after that.
I was all done with everything and ready to put the seat back together when I realized that I had no idea where all the bolts went. I didn’t take enough pictures when I disassembled the chair. I elicited the help of Superman, and we were able to get it all put back together. But the lever to make the chair go up and down wasn’t moving. It kept hitting the seat bottom.
That’s when I noticed that the seat bottom was upside down. Meaning, I put the foam and fabric back on the wrong side. The wood boughs a little bit, and, well, I had to take everything apart, including redoing the fabric and vinyl and rubber edging.
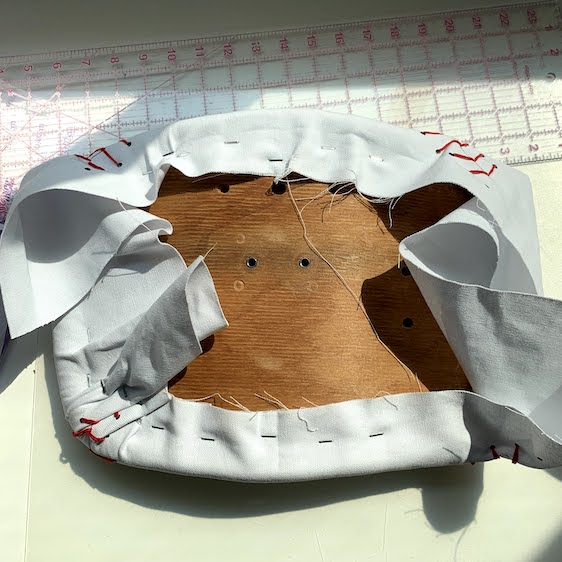
The following photo is a picture of the chair with the seat upside down. In them, you can see that I stapled the vinyl so tight that it creased the fabric. So not only did I take the seat bottom apart, but I took the seat back apart as well so that I could redo it and try and get some of the creases out.
I’m pretty sure I disassembled and reassembled that chair a half-dozen times. I’m glad the Little Hunter loves it so much; it was worth it.